63 hourglass coloring page
hourglass coloring page
Check out our hourglass coloring page selection for the very best in unique or custom, handmade pieces from our shops. 0

$6.99 1 New from $6.99 This fun and relaxing coloring book for kids and adults contains 40 Hourglass-themed coloring pages to enjoy. A great way to unwind, relieve stress, and get … 1
Check out our hourglass coloring page selection for the very best in unique or custom, handmade pieces from our shops. 2

Hourglass - Printable Adult Coloring Page from Favoreads (Coloring book pages for adults and kids, Coloring sheets, Colouring designs) Ad by FavoreadsAd from shop … 3

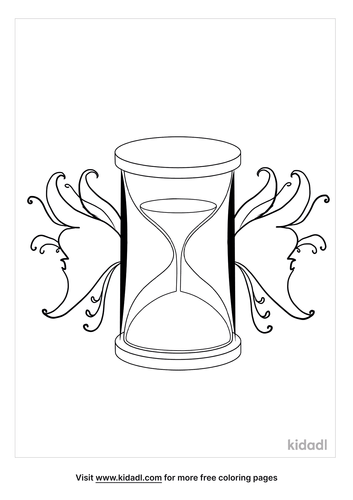
Printable Hourglass coloring page. Fun, easy & free to print. 4

Download Hourglass coloring for free - Designlooter 2020 👨🎨 5
Hourglass. Everyday life coloring pages & printables. Note: This article may feature affiliate links, and purchases made may earn us a commission at no extra cost to you. Find out more … 6

Hourglass coloring book Royalty Free Vector Image 7

Hourglass small art print - #Art #Hourglass #night #Print #small | Small art prints, Art prints 8

Print Color Online Download. Informations. Author: Vincent Le Moign Added: July 19th, 2022 9

Pin on color pages 10

Hourglass Coloring Page 11

P.S. (What I Haven't Said) | Hourglass tattoo, Hourglass drawing, Time tattoos 12
Download Hourglass coloring for free - Designlooter 2020 👨🎨 13

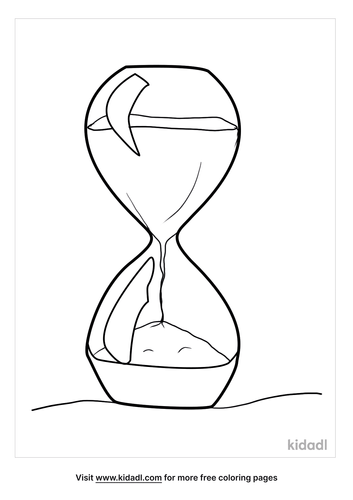
Sand Hourglass Coloring Pages 14

Zentangle Hourglass coloring page on ColorTherapy App | Color therapy app, Coloring pages, Color 15

Hourglass Coloring Pages 16
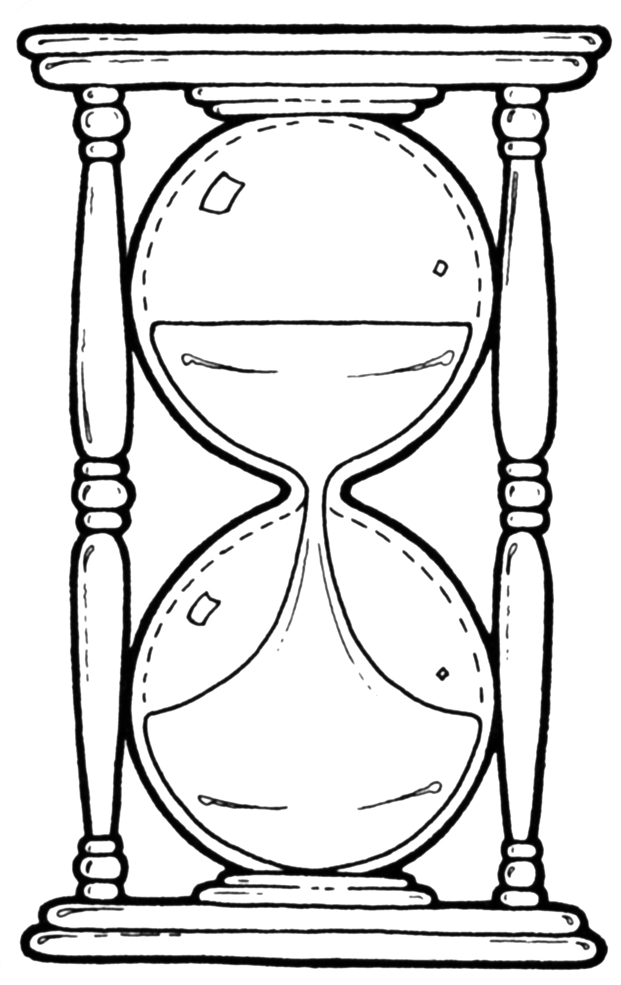
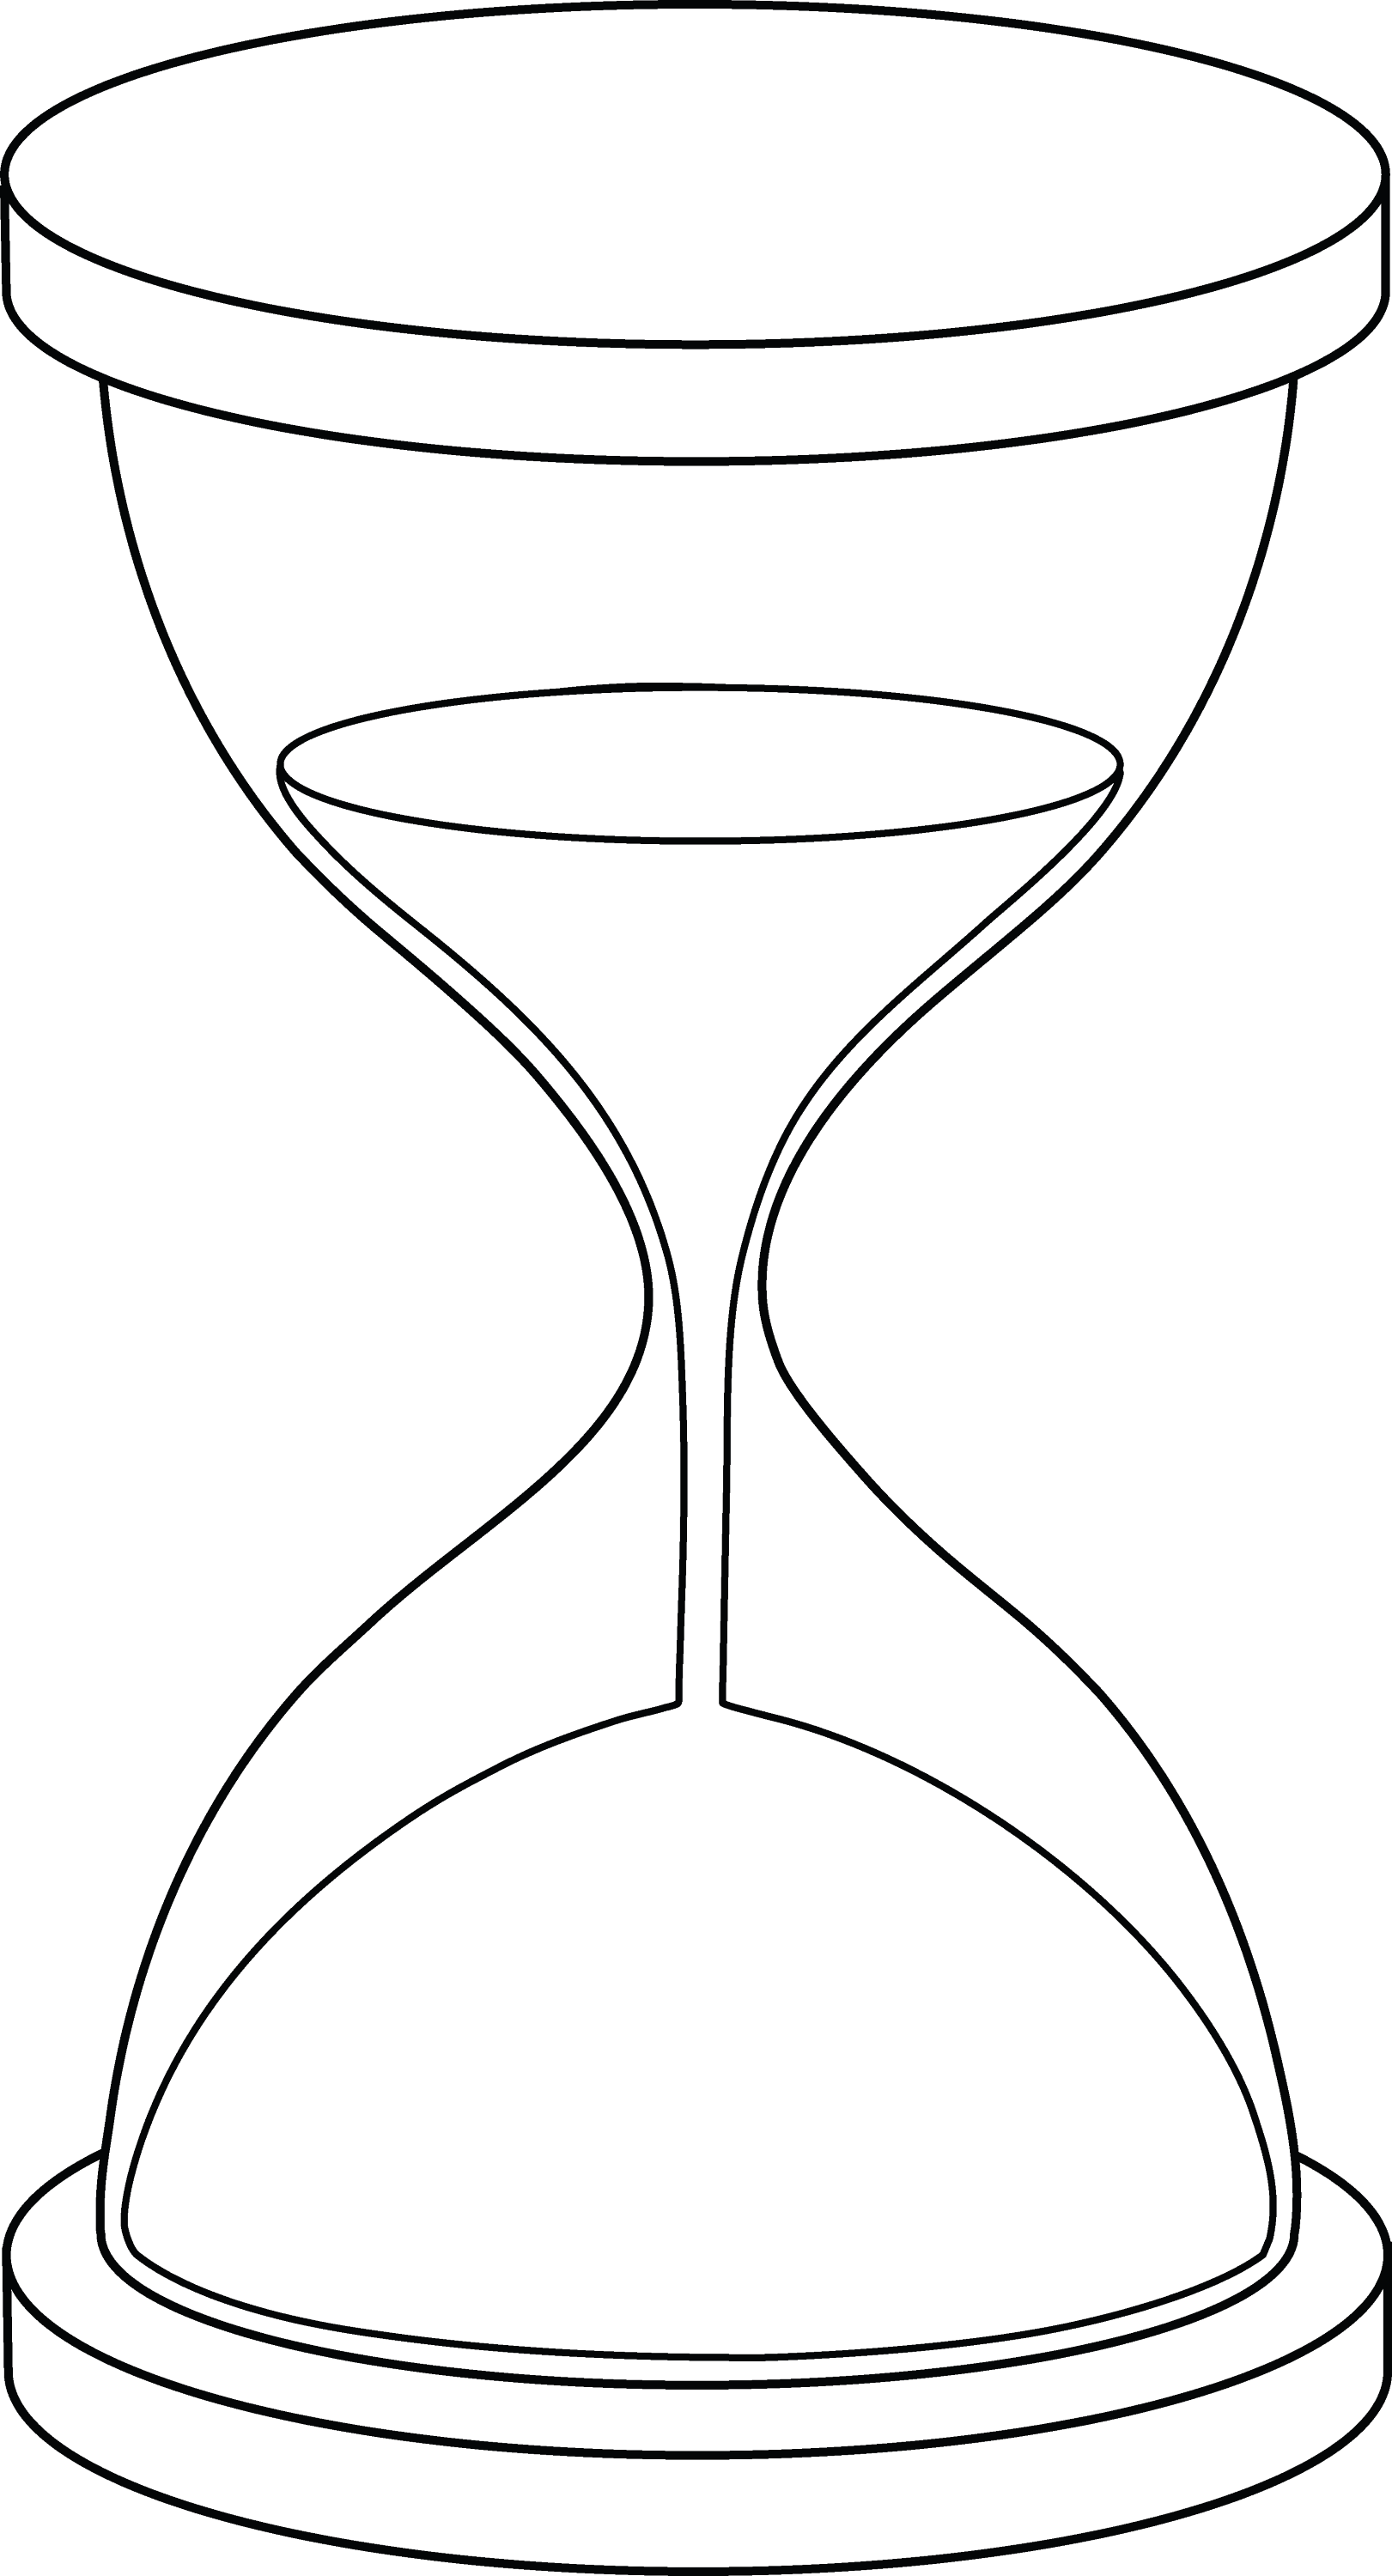
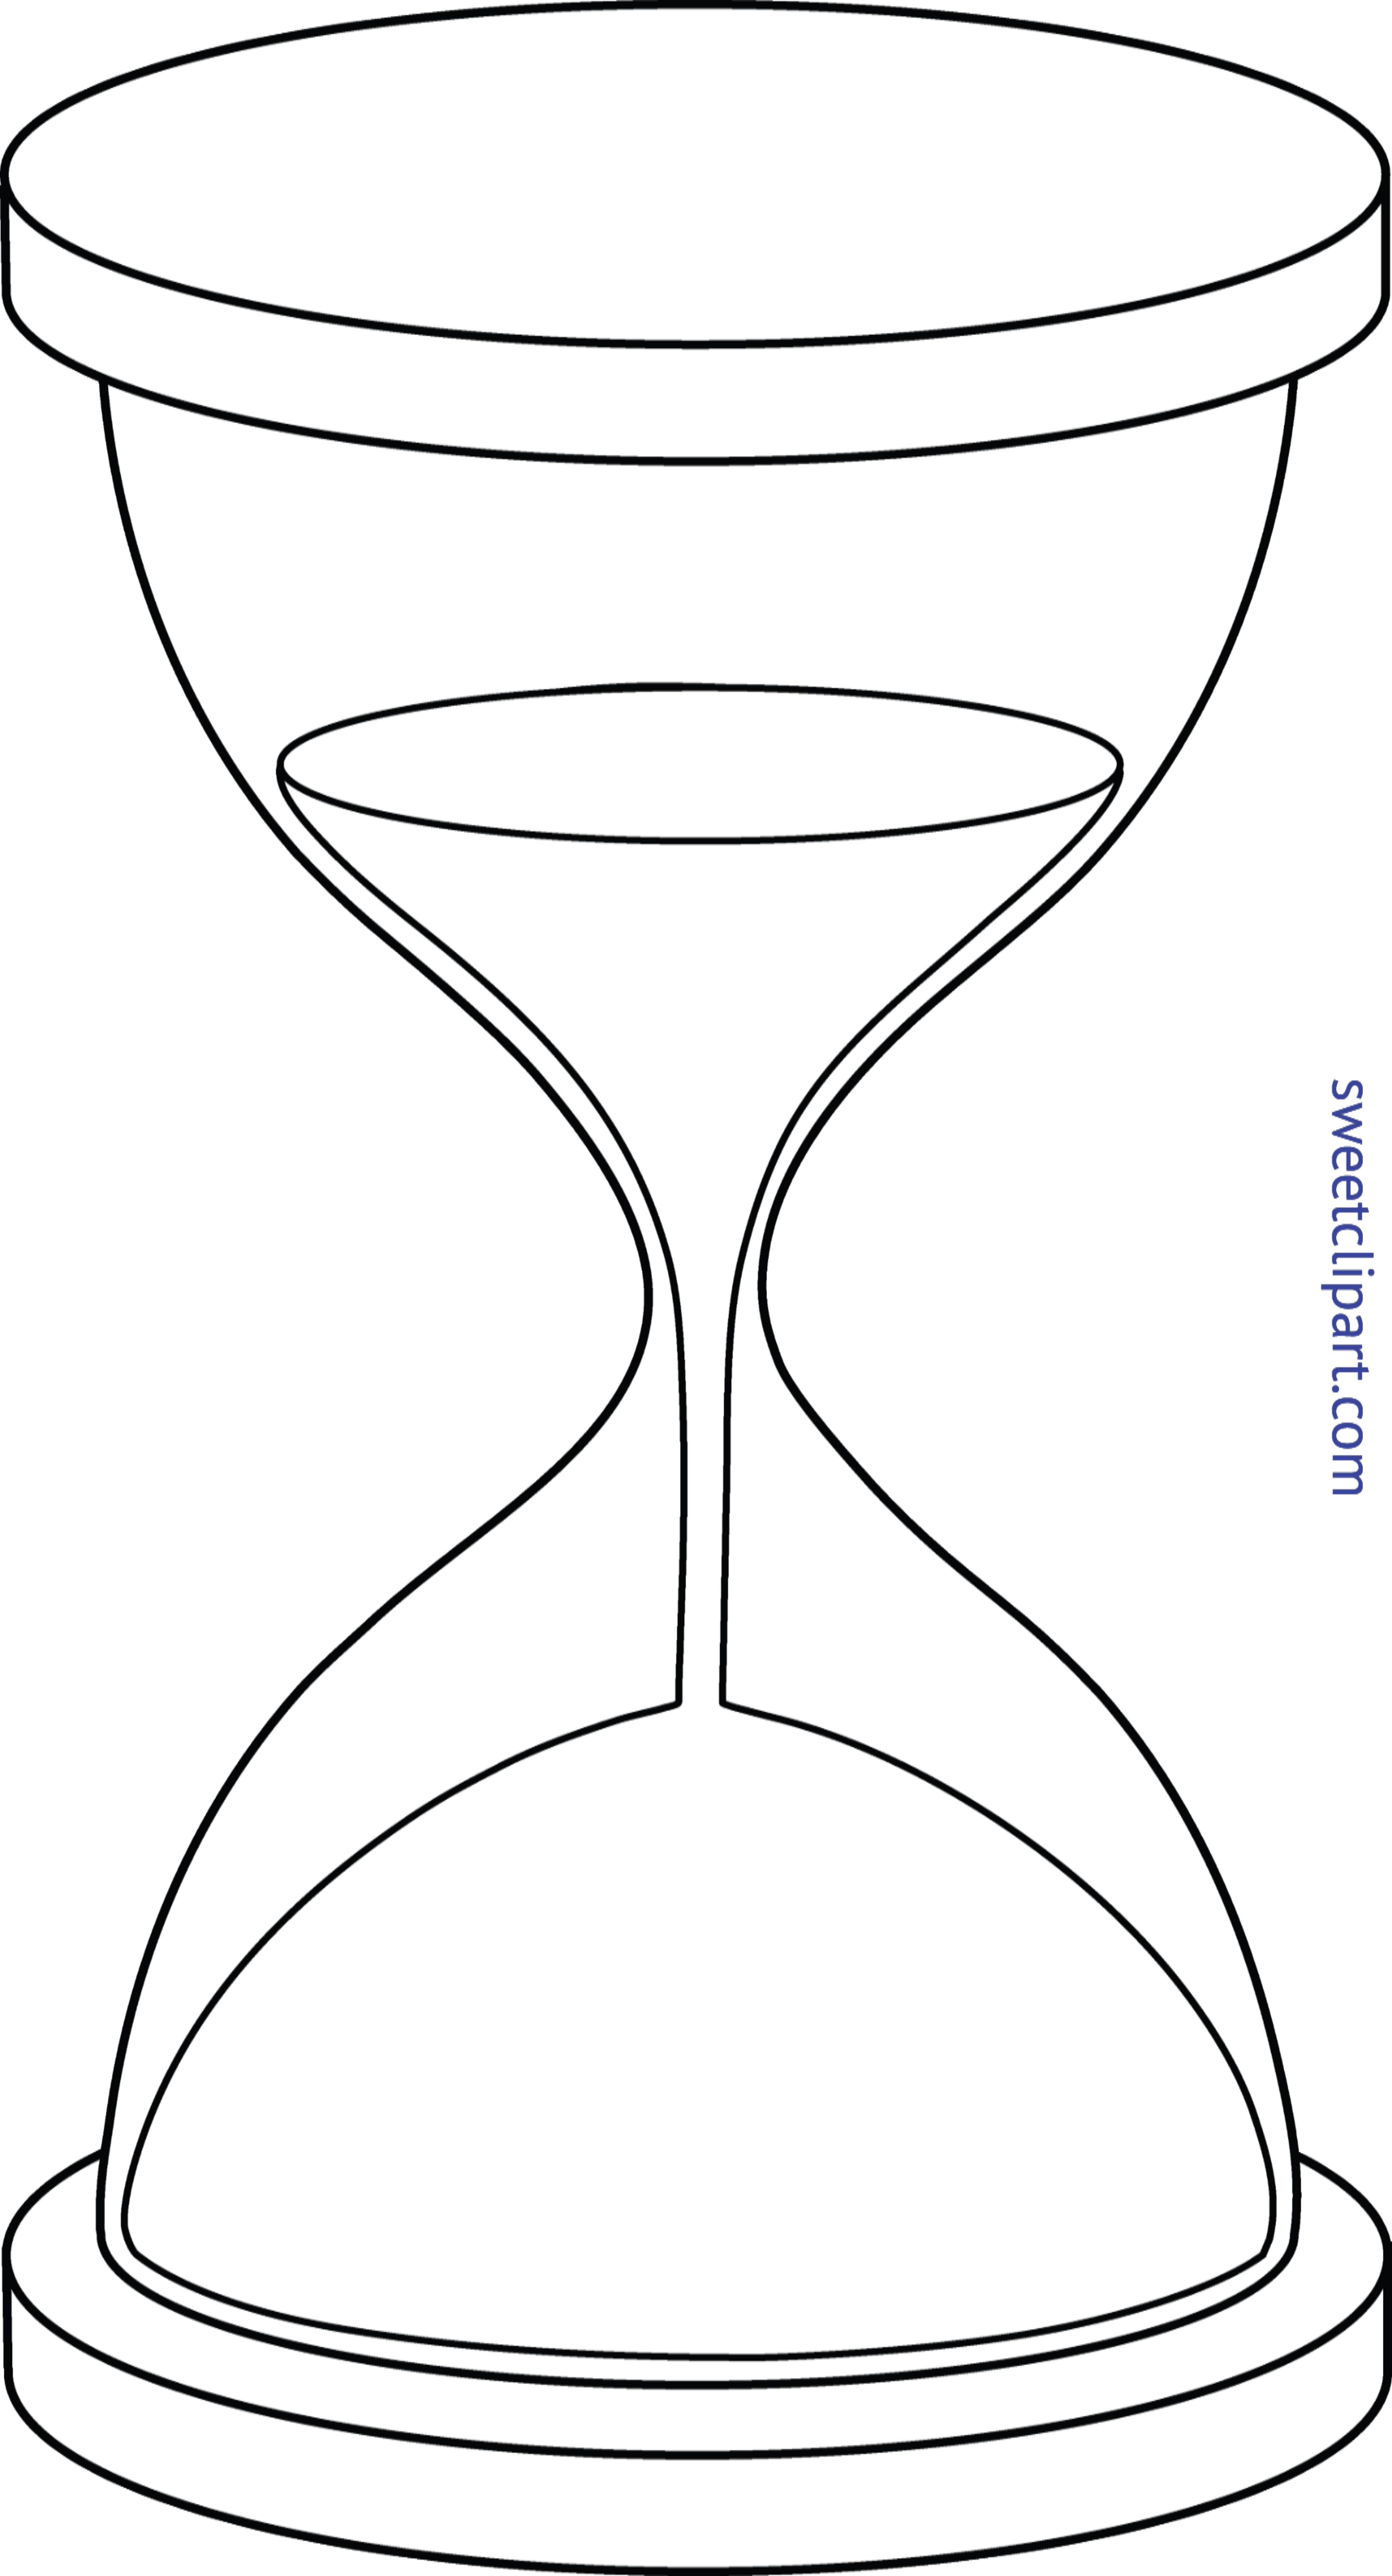
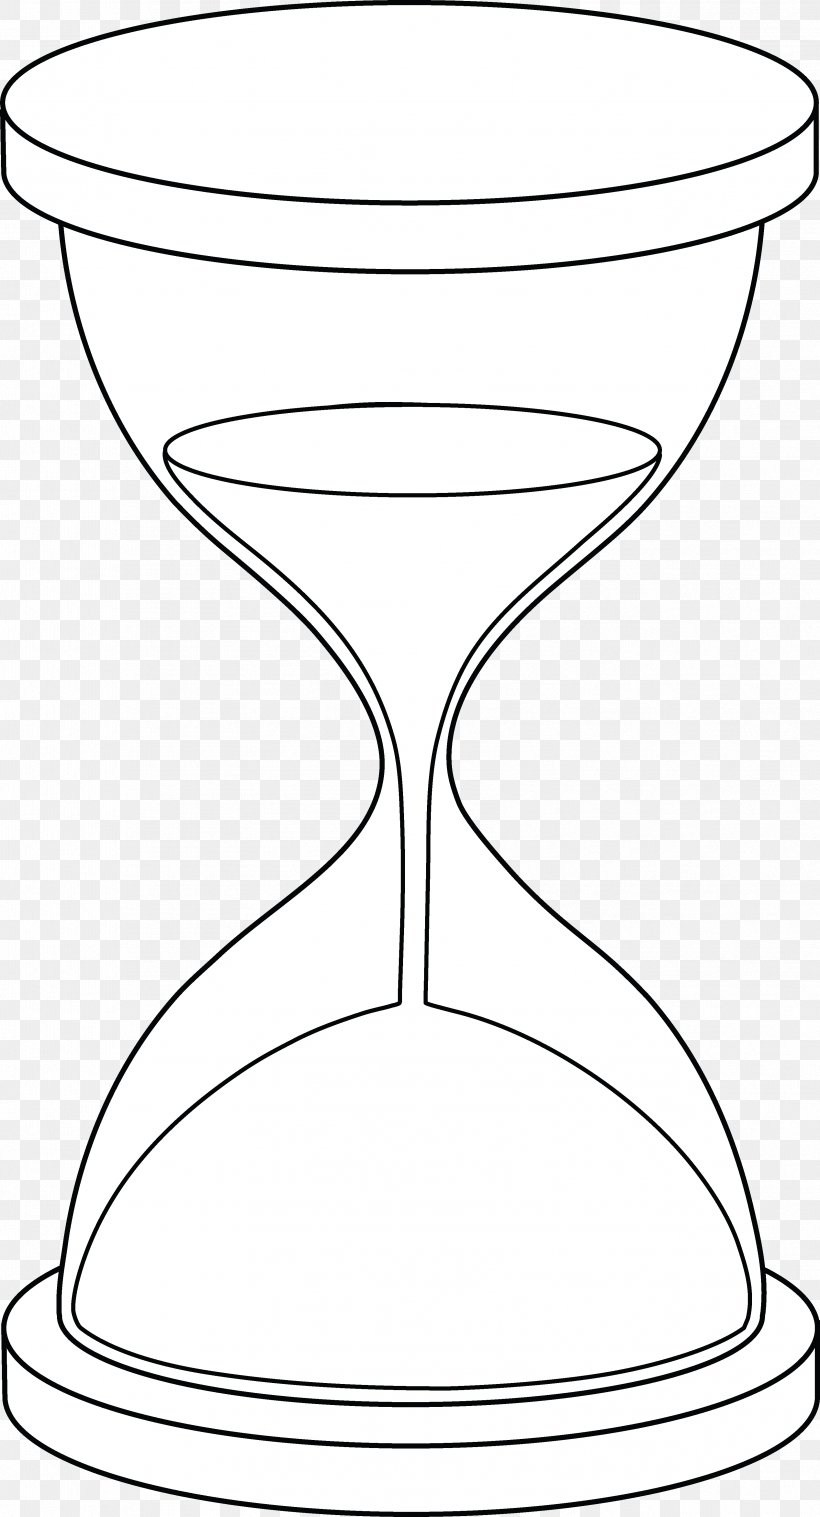
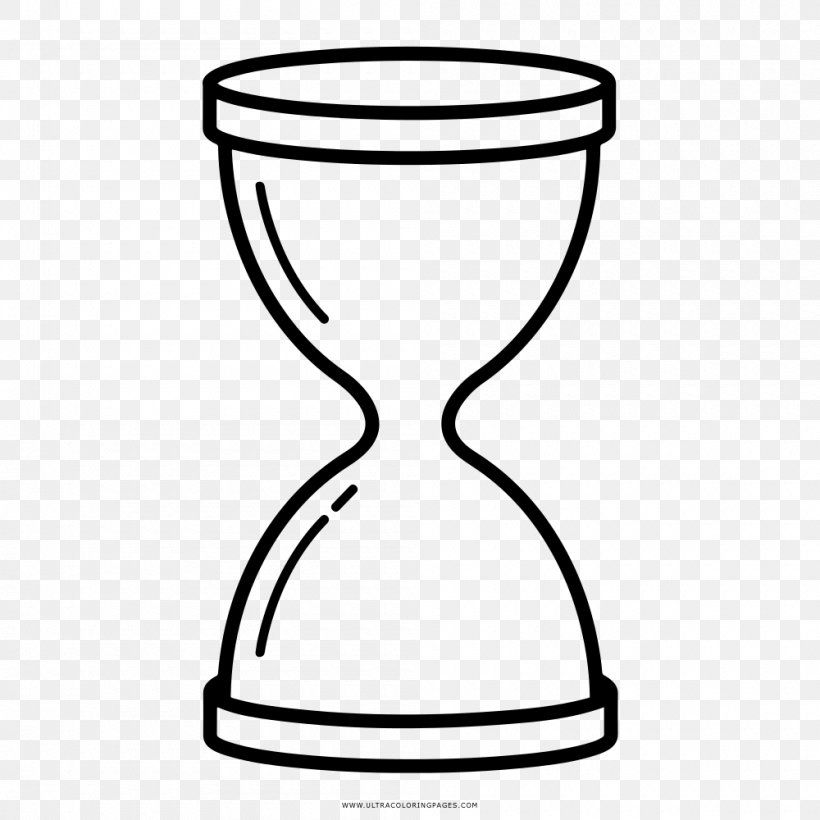
Hourglass Line Art - Free Clip Art 17
√ Hourglass Coloring Page : Easy Coloring Pages For Adults Best Coloring Pages For Kids 18
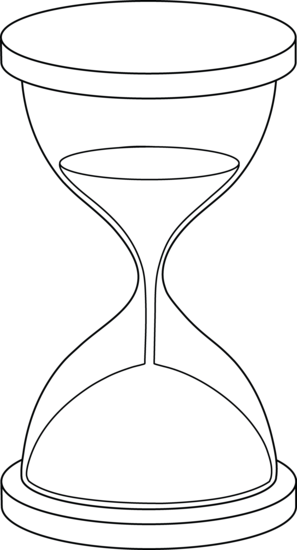
Hourglass Coloring Pages | Free At Home Coloring Pages | Kidadl 19

Hourglass Coloring Page 20
Hourglass Coloring Pages 21
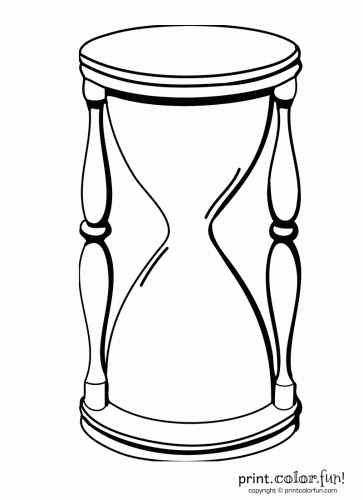
Hourglass - Print Color Fun! 22
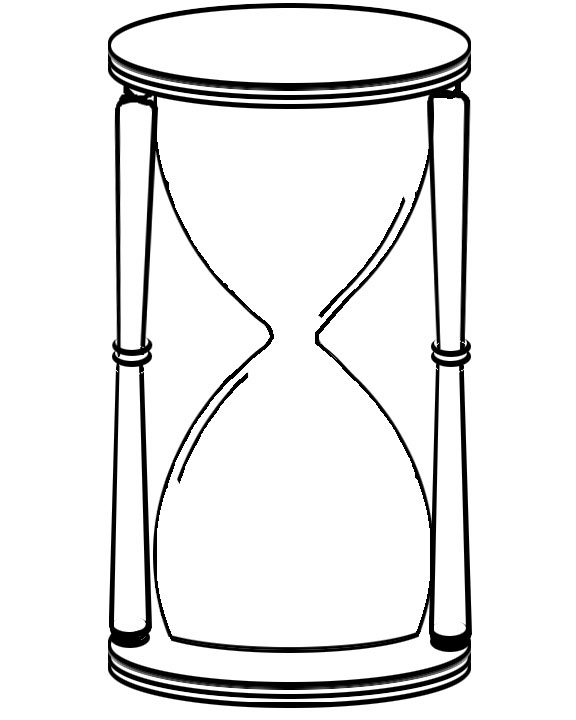
Drawing Hourglass Coloring Book Line Art, PNG, 1000x1000px, Drawing, Black And White, Calendar 23

Hourglass Lineart | Hourglass drawing, Clock drawings, Hourglass 24

Pin on Tattoos 25

Hourglass Line Art - Free Clip Art | Sanduhr zeichnung, Sanduhr, Sanduhr tattoo 26
Hourglass Clip Art - ClipArt Best 27

Hourglass Coloring Pages | Free At Home Coloring Pages | Kidadl 28

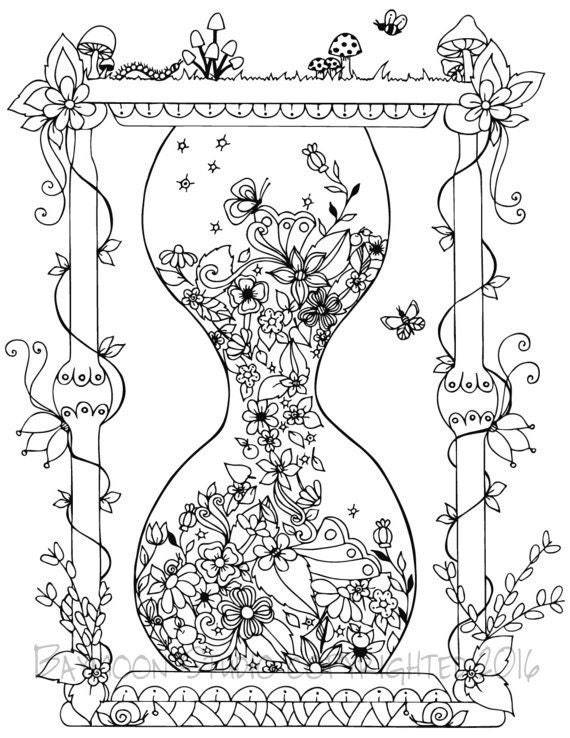
This new hourglass coloring design looks absolutely magical. Are you ready to try it? in 2020 29

HOURGLASS COLORING 30

In The Kitchen Coloring Pages 31
HOURGLASS Instant Download ADULT Coloring Pages Digital 32
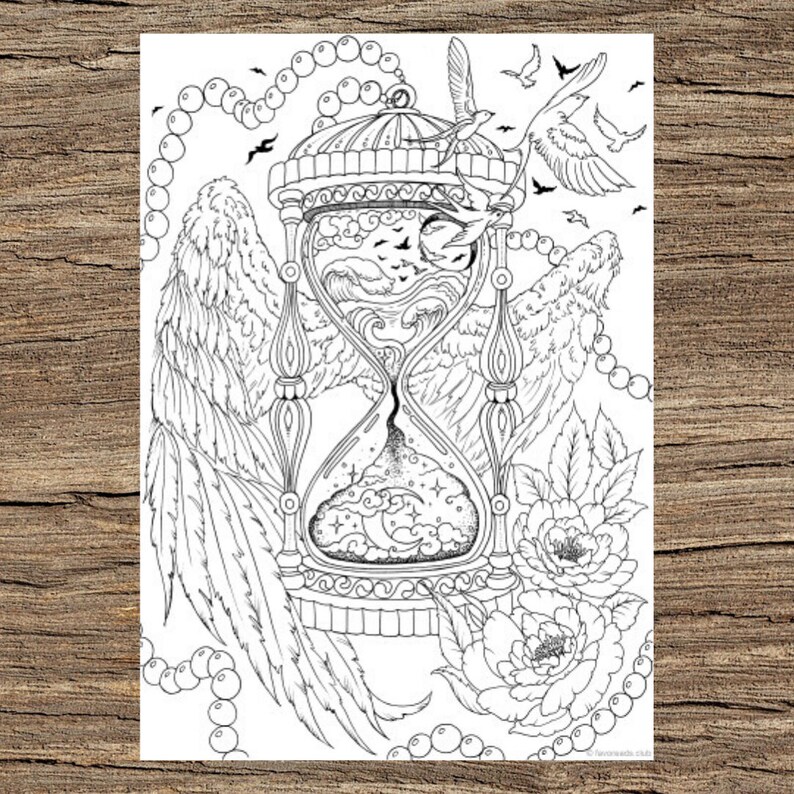
Hourglass Printable Adult Coloring Page from Favoreads | Etsy 33

Hourglass - Mandala Coloring Page - New Little Life 34
hey hey hey everyone, how's everyone doing i hope everyone's, safe, i hope everybody's enjoying their, memorial day holiday if you celebrate, um so today, i am finally starting our next color, along slash, coloring chat or whatever you guys would, like to call it, it is going to be in the circle of life, and if you haven't been following along, this, is the page that we will be doing, so everybody get your books out, and we will be using personal colors, now i know i always say i don't like, using them, but i know a lot of you who follow along, um well not a lot of you but some of you, probably don't have, the same pencils i have and i know, prismacolors you know it's kind of, widely used, so i'm going with prismacolors for this, one, so for today, we are going to do um, i was thinking of starting on the little, cabin or not cabin the little tint, island here so we'll do that, today now i want to use, since the last color along we did was, kind of, a lot of browns and oranges, for this one i kind of want to do blues, and purples and, you know greens and things like that so, we're going to start with this here so, the colors we'll be using, we're going to start with the the grass, and i kind of wanted to have, that bluish green kind of, grass um so, i want to bring in, some, we're gonna grab some light aqua, let me find that in here i do not use, these often so it might take me a minute, i should have did it before the video, but um, you know things happen so we're gonna, use some light aqua, and then i'm going to also grab, some, hmm i want to say, let's grab some aquamarine, so we're going to do light aqua, aquamarine and then, for the for the darkest of the dark you, guys know i like to call it the darkest, of the dark, we're gonna grab um our cobalt, turquoise so let me grab that, all right i got my colors here, so this is what we working with light, aqua, aquamarine and cobalt turquoise, you guys see those all right so, um, let me sharpen them because as you can, see they are not, so i'm going to be using um my tagalog, sharpener, uh i do have other sharpeners like i, have, this one this is the prismacolor one i, use it sometimes when i can't find this, one, and i also have the m r sharpener but i, usually just use that for, um my whole blinds and my, uh what do you call them polychromos, but most of the time i just grab this, little pink one because this is the one, that's usually on hand around, it's a good sharpener i probably need to, um, get another one because the blades might, be getting a little dull so, because i use it so much okay so we're, gonna start, with the grass here and even though, prisma colors you know they say you're, supposed to like blend them together i'm, still gonna layer because, that's how i color so i'm just gonna put, a light layer down, i have not used personal colors in this, book yet so i don't know how this is, gonna turn out, but we're gonna hope for the best so, we're gonna put a light layer down, like always and i know some of you are, saying you need to practice more, with a light layer instead of holding, your pencil down here, or down here try holding it higher, and if you hold it up higher you can, there's it's not so much pressure and, you can get that, light layer for those of you who are, struggling with putting down a light, layer, and you don't really have any control, over how, hard you're squeezing the pencil so, but for me i can actually hold it, anywhere because i have a light hand, anyway when i color, so i can pretty much hold it in the, middle, at the bottom wherever and still get, that light layer, okay so, there's our light layer so now i'm going, to come in, and i'm going to add some of this, aquamarine, and i'm going to just come in from where, um, these items are so well not items but, you know the tent and the trees, and i'm gonna work my way outward, and so this most of this is actually, gonna be just, kind of light, it won't be so much because it's daytime, the sun is there, so it's going to be kind of light i hope, but we'll see you know we're always, changing stuff up and, coming up with alternatives and things, like that so, go ahead and add that, and if you hear any noises in the, background um, someone's outside being a character so, just ignore them, okay so i think we got a good, decent amount of that down, and so we're gonna come in with our, darkest of the dark, and the sun is out so it won't be too, much shadow but we're gonna add some, just in these little corners and, crevices here, just a little bit like you know, underneath the trees, in the tent the bottom where you know, there would be normal shadow, i think um i'm not the best at, knowing where the shadows go but i have, some general idea, but it's not like you know the best, so wherever you feel like i mean the sun, is behind all this stuff so, i don't know technically it should be, more shadow i think, but it's fine the way it is, so then i'm gonna come in with my light, and i'm gonna just kind of go over all, of it, and this is i'm using kind of a medium, pressure, and just kind of, bringing out the whole thing, i almost wanted to make this a night, scene and then i seen the sun and i was, like oh it's supposed to be daytime, but then up here at the top, of the hourglass is like the moon so, i don't know maybe we can do some cool, stuff, but we're going to start with this all, right, and i'm going to come back in with the, medium just to kind of blend out this, shadow, that i have so it's not so harsh, just a little bit, just a tad so it doesn't so the lines, can kind of look like they're, going in together and not so, [Music], stiff and look as if i just kind of, slapped it on there okay and then one, more time with the light, just to get any white spaces that i may, have missed, or to make it look like it's more and, that's another reason why i kind of, um prisma colors aren't really my jam, because i have to, i feel like i have to go over some, spaces a lot of times and it doesn't, just, it doesn't give me the look i'm going, for, but we'll see what what we got i'm doing, this for y'all, you guys are my people so okay, here we go we got the the ground, now for the trees, i'm thinking i kind of want to do them, um kind of like a, purple-ish color, um because i want these leaves, to be kind of like a purple, and kind of like a purple green, so i think i'm gonna do these trees, purple, and so we're gonna put away our, um our blue greens we were just using, and i i try to put my stuff away, you know um as, i'm using it because, i'll have pencils all over the place if, i don't so, for the trees i'm thinking i want to, use um, i'm going to grab some, i'm i'm really leaning towards this, dark purple, and mulberry and, probably, okay so we're gonna grab our black gray, our dark purple and our mulberry, we're gonna just go with it um i like to, just, kind of go with the flow when it comes, to coloring, most of the time it's uh, it's on the spot all right so we got our, dark purple, our black grape and our mulberry okay so, let's go ahead and sharpen that, sharpen these i mean, real quick i never have my, my um pencil sharpened for you guys, sorry okay so bring you up a little bit, and we're going to start with our, mulberry and, we're just going to give all of these, trees, a, just a light layer, i hope you guys can see i i think that's, as far as i can zoom in, so we're just giving them a layer and, it's okay if you don't, um you don't have to color the whole, thing in just, you know just go over it a little bit, just to give it some color, so we know where we're going and how, we're going to do this, now i, am thinking, and also um real quick before i go on be, careful because there are mountains here, so be careful not to color those, mountains purple, i mean we don't know if we're doing them, purple or not yet, but okay so, you got your base layer there and, that was with the mulberry so now we're, gonna come in with, our dark purple so let me just um, grab that really quick for you guys and, also, if you haven't um ordered the book yet, and you want to follow along i will put, my, amazon affiliate link down in the, description so you guys can order it, from amazon if you want to use my link, or i've been told that it is also um, available at walmart at some walmart so, if you don't want to use my link, then you can check it out at walmart, hopefully your walmart has it okay so, back to this we're gonna grab our dark, purple, and so i was saying i think since the, sun is behind, i want the the shadows to kind of, go on along the right side of the tree, so i'm going to put some of this dark, purple in on the right side, of each tree, and so we're just going gonna put a, little bit in, make sure your pencils are kind of sharp, unless you're really good at uh, tackling these small details with dull, pencils, i'm not that great at doing it so i have, to make sure my pencil is sharp um, just adding some of that in there and, i'm putting it on the, the right side of the trees because the, sun, and is coming from the back so i figured, it was it's shining, you know that way uh, so it's on the right side of those trees, and then these trees it will be on the, left side, so go ahead and just um, that's just the way i'm doing it you are, free to put your shadows, wherever you like um, you know you can totally ignore the fact, that the sun is back there if, you like, if you think it looks better you know, another way, then go for it you know we, we do what we want in our coloring books, and every bit i mean everybody's picture, is going to come out, beautiful i'm sure i love seeing, everyone's different, takes on the pages although the last, color along no one um, surprisingly showed me what their birds, looked like when they were done so you, know guys, i still would like to see them um my, uh what do you call it my facebook group, is down below, so if you have facebook join the group, make sure that you answer the the group, questions and show me those birds i want, to see them, i haven't seen any ones yet that was, kind of a lengthy color along, so sorry we are going in with um, our black grape now this is the darkest, of the dark so i'm only adding a little, bit, because the sun, to me the sun is shining it's a nice day, so, [Music], just adding some here, and then on the other side we're going, to add it, on the left side of the tree, all right, there we go okay and then we're gonna, come back in with, our mulberry, and we're gonna go over the whole thing, just to blend it in and the one thing, that i do like about prismacolors, is that um the color, the color the range of colors that they, have is amazing, that i do like um, you know they have some beautiful bright, vibrant colors, but i just don't like the way they lay, down that's my issue with them, and a lot of my coloring books i just, don't like the way they feel, and this coloring book is they seem to, be doing all right, but not my jam because i'm used to, you know i'm used to polly's so, it's probably just me that needs to get, some, you know some getting used to so, we'll see we'll see, all right, boom there's our trees, so i don't know if you got if it's, showing um, my light very well but on my end it's, pretty let me see if i can lift you, on my end it's it's a lot vibrant you'll, see it's more vibrant than this it looks, a little dark on camera, but it's actually you know, pretty decent okay so, for the bottom of, the you know the i guess this would be, like the land the brownish part, i'm going to come in i wanted to, be like that rich brown like i want all, the colors in here to just pop, so i'm going to bring in some, burnt ochre some terra cotta and, probably, um, chocolate so let me put my purples away, actually i'm gonna keep these purples, out because, these leaves here will be the same, purple, so i'm gonna actually um put them in my, case and what i do when i'm, using a color and i want to come back to, it i just put them in my case the, opposite direction so i know that i'm, coming back to those colors, okay so let's go and grab the browns, like i said we're doing burnt ochre, terracotta, and chocolate so there's burnt oaker, there's terracotta and let's see if i, can find chocolate, is this chocolate chocolate okay, so let me sharpen these, bring you guys up, okay here we go i'm just starting this, one, and i'm gonna do this color along like i, did the last one so it will be in parts, um so everybody's not you know everybody, has different schedules and things like, that, so i want to do it in parts so we're not, all rushing and it comes out looking, horrible which happens when i rest, so we're going to come in with burnt, ochre first, and you know how to do it light pressure, light pressure light pressure, across the whole thing, and we're also going to do it in these, holes here where the water is coming out, so, be sure to get those spots as well, i'm gonna go ahead and just just just to, throw down some color get the layers, going, and notice i'm not like layering a, hundred times like i do with my polys, either, because with these you don't really have, to so once you get the colors where you, need you can just come back in with, heavier pressure, okay so now we're gonna come in with, terra cotta, and we're gonna treat each part, different so this one is gonna have, some coming out here and i'm gonna, darken it all the way down here because, there's no sun shining there, and then this one is going to have it, here, because it kind of curves out and then, it's also going to have it down here, because, it's behind this piece and this one is, going to be quite different, we're going to put some up here at the, top don't forget this hole the hole, needs to be darker because it's the hole, so, put a little bit more pressure in that, hole there where the water is coming out, and then also here, i feel like the camera angle today is, kind of wonky i don't know, okay so here, and then this one you're gonna have some, here, don't forget the hole where the water is, a little bit darker there, and this one, and i'm just you know i'm just lightly, laying the color down i'm going to color, all of this because the sun is, behind this rock technically so it, shouldn't be too much light right, and so there we go, and i'm still using a pretty light, pressure this brown just comes out, pretty dark um it pops which is what i, want, so don't need heavy pressure for this, at all it might look like it's going, down you know with heavy pressure, but it's not it's still light pressure, and, we're coming in now with chocolate, and this is our darkest of the dark even, though it's not that dark, um just hit the edges with this one, because, i don't want too much shadow i want most, of the that terra cotta to kind of pop, out so this is just to, have in the darkest areas you know how, we do with our darkest of the darks, and we won't have too many darks um like, we did, in the last one because like i said the, last one was pretty, it wasn't super dark but it wasn't, very bright so i wanted to add some, colors, this time that pops for this color alone, just changing up the color so you know, we try to use, all our stuff and all the colors and, things, okay so now i'm gonna come back, in with terra cotta just to bring it out, and then because now we know where the, darkest of the dark is, you can come back with your terra cotta, and make it pop, and just kind of go over it where you, want it, if you don't want it to be like as, bright as my, or as vivid as mine i should say then, you can, skip this part and just come back in, with your burnt ochre if you want that, more of that color to show but i wanted, more of the terra cotta to show, so i'm gonna now come back in with the, burnt ochre and i'm gonna, go over it all, go over the holes too so they can be, dark, and just go over it, light pressure blend it all in, like we always do and boom, now if you want it to be, a little bit darker then just add more, chocolate, if you feel like um you know the darkest, of the dark, isn't standing out a lot to you you can, come back in with chocolate or pick a, darker brown, um you can pick a darker brown or even, go with like a gray, we probably showed you guys you could, take gray and kind of like bring it in, for your shadows, um you can do that if it's not dark, enough, but i'm just going to come back in with, a little chocolate because it, disappeared a little bit and, in the middle of me coming in with that, burnt ochre, and so i'm gonna add a little bit in, these holes too, and so when you add the chocolate back, in, now you can see where your shadows are, because it kind of disappeared on this, so there's that now, we have um the little tint, i was thinking of doing kind of like, um like an, orange but then i didn't want this page, to like fall into like the autumn kind, of, theme so because i know i want the, mountains to be kind of like a pinkish, purple purple and pink kind of like um, ombre, we know it probably won't look ombre but, purple and pink, so i'm not sure about the tent yet so, let's do the mountains, first since we know what colors we going, for, with the mountains so, let's put our browns back now for the, mountains i want a, light pink so let's look for the, lightest pink we have, and i'm thinking either deco peach, because that's pretty light or deco pink, i'm not sure what i think i want to go, with the deco, peach because it's more of a, it's more of the color i'm looking for, so we're going to do that and then we're, also going to do, um, i i really want to lean towards lilac, so deco peach and lilac, we're gonna start with those two so go, ahead and grab that, and i'm gonna grab lilac here, lilac's pretty sharpened already but, this deco peach is not, so, i want the peach at the top, so we're just gonna go we're not going, to layer the whole thing we're just, going to put, the deco peach at the top of the, mountain where you want it, where you want it to stop that's where, you would stop, i'm not going to cover the whole, mountain, so you got deco peach and i'm gonna put, a little bit here, right so i can't zoom in anymore but i, stopped at about right there, so you can see, the peach i stopped right here, and for this one i stopped right here, and this one i only did a little bit, because this is the bottom of the mouth, so we're gonna come in with our lilac, and we're going to do the bottom half, and we're just going to come up and then, once we have the, the desired look we'll come in with, a darker purple to kind of darken up the, bottom, or maybe not we'll see what it looks, like when we're done, because that's how we do things around, here sometimes we add sometimes we don't, so i'm gonna come back with this um deco, peach and i'm gonna, kind of go over where they meet in the, middle, and i'm gonna have a medium hand with, this one because i kind of want them to, blend together, and just kind of mix them together so, they can have, you know that blend, and so i think i want the the pink, ish to be a little bit darker, so i'm gonna add some blush pink, if i can find it let's see pink rose, my prismacolors they're in order-ish but, um, sometimes i can't find what i'm looking, for, so blush pink where would that be it, um, nope that's chestnut hang on i'm looking, guys i'm looking, i see hot pink are we missing some, colors, can't oh i see it's back here with the, uh, skin tones all right i had some kind of, theory going on, okay so gonna add some, blush pink and i'm gonna add it, right in here and i actually think i, want this whole mountain to be blush, pink, except for at the very top, so this is what i mean when i say we, kind of just test things out because, sometimes the color looks good on our on, our swatch book and then when we, actually put it down it doesn't look the, way we want it to, so test it out, all right i'm gonna come back in with, this lilac and i'm gonna, go with a medium hand since i know where, i want it, now we got some ombre-ish looking, mountains, and then add at that um deco peach at, the top, just to blend it in with the blush pink, and there we go so we got like you know, the little ombre, looks nice looks nice it actually, probably looks a lot better, um once you're doing it you'll see, for some reason it does not look the, same, maybe if i do the light like this okay, you can kind of see it a little bit now, it's much brighter than when i have the, light just kind of back here, but it's back there so that it's not, shining in my face, okay so, um we just have the tint, in the sun obviously the sun is going to, be a nice bright yellow, um i don't know if, i'm thinking like i want it to be kind, of a, i'm thinking lemon yellow, um not sure but i do know that i think i, do want this tint to be kind of, orange but i don't think i want it to be, like a bright orange, so i, am going to go ahead and go with uh, [Music], we're going to start with goldenrod, hmm yep we're gonna go golden rod, and mineral orange, and i know those are probably colors you, guys don't normally see mixed together, but we're gonna do it anyway, so let me grab my gold rod, and if i can find mineral orange, here we go, and it's also cool because with, prismacolor sometimes you don't need a, three color blend, and you could just roll with two and, that would be enough but we're gonna see, if i wanted um yeah any darker than that, so we're gonna come in with our golden, rod and we're just going to, put a light layer, here we go, right layer right so the orange actually, looks nice sorry i keep hitting the, camera, okay now remember the sun is kind of, behind, this here but there's that, i guess that's supposed to be where the, darkness area is, so we're just going to go with that, because, sometimes that's just what you want to, do, so we're going to have the dark coming, down coming, up i mean and then for this one it looks, like it's coming across the top some, kind of weird way, and kind of like back here a little bit, all right and so then i'm actually, thinking i want to add, something a little bit lighter than that, golden rod so, um we're going to go with some yellow, ochre actually because, i kind of like the little highlight that, it left there and i kind of don't want, it to, disappear too much and if i put too much, of that golden rod it's just going to, turn, you know completely orange so we want to, have some depth here so we're going to, add a little bit of this, yellow ochre, that way the yellow ochre can be our new, highlight, so we're going to go over the whole, thing, and then we can bring back in our golden, rod, and that's going to kind of darken it, back up a little bit, right and then the mineral orange is now, our darkest of the dark so we can, actually go in, with a medium hand on this part here and, here, and then for this part just go you know, kind of medium don't, don't push too hard because we don't, want it too orange, if that makes any sense, right and then we can go back over with, our, yellow ochre over the whole thing just, to tone it down, okay now for this, nice um sun here which is the last part, we need to do, for today and, i want it to be at first i was thinking, neon and then i was like no that's not, really going to go, so we're going to do a, canary yellow and that's what color our, sun is going to be, so grab your canary yellow and, just fill in the sun we're not going to, add any depth to it or anything like, that because at the end um, for the last video and i know i haven't, done the background video for the eagle, yet, but for the last video of this one once, it's all colored in, i'll go and add like um like if i want, to add some, glitter gel pen or watercolor and make, the sun sparkle or, you know things like that we'll do it at, the end because, i don't want to do it now because i want, to like keep to the prismacolor pencils, because not everybody has watercolor and, things like that so that'll just be a, video on its own when we add the extras, if we want, um so that's it for our little island, here and i'm gonna try to, i'm gonna zoom out and bring you guys, bring it up hopefully you guys can see, it, so that's what we got going on here, so to give you an idea um, hopefully next time the the lighting, will be better but, since the trees are purple these leaves, were going to go with like a purple, um the you know the branches will, probably be, these colors that we used for this and, there's some birds in here so maybe, we'll do the, you know we'll try to keep to the same, color palette, i'm not sure what color the water should, be just yet, so if you guys have any ideas, that you want the water to be or the, flowers, um let me know uh we're doing this, together so you know, i'm not the only one coloring here you, guys are also part of it so if you have, ideas, drop them down in the comments let me, know um, also if you are new to my channel, thank you for stopping by i, am going to try to take time at the end, of my videos to thank my new subscribers, my new watchers even if you aren't, subscribed yet and you just you know, watch my video and you like my video, um i want to take time to thank you guys, because, the more you like my videos and the more, you know, you subscribe hit like and all that good, stuff the more, my video will be out there and the more, people will see it, and it might be someone out there who's, looking for like new color alongs or, new videos or new new ways to color, things like that and they might not see, my video, if you guys don't like subscribe things, like that it might not come across to, them, so liking and subscribing helps kind of, you know get my videos to pop up on, people's recommended channels and things, like that, so i do want to thank you because you, are helping, me and you're also helping other, colorist as well, so with that being said, um this is the end of part one and i, will see you guys, for part two which will will probably, hit up these leaves, or we can finish up here and work our, way down, um we'll see so i'll see you guys in the, next video, and again thank you for watching see you, next time
Reddit Images 13
Just finished another page of the coloring book. Page 6… I believe 0
page coloring for ch 171. 1
Konomi coloring by @Shazayumart (chapter 93 cover page) 2
![[No Spoilers] Digitally colored the cover page (not the actual cover of the book itself) of the Life Is Strange coloring book](https://i.redd.it/cdncsa6chuu91.jpg)
[No Spoilers] Digitally colored the cover page (not the actual cover of the book itself) of the Life Is Strange coloring book 3
![[Other] who is this villain on my son’s coloring page? It’s driving me nuts!](https://i.redd.it/ihia4i1szvi91.jpg)
[Other] who is this villain on my son’s coloring page? It’s driving me nuts! 4
When preserved in rubbing alcohol, a black widow spider’s red hourglass marking turns a metallic golden color 5

First page of the coloring book done! Any thoughts? 6
Randomly coloring one page of my coloring book 7
{Artwork} Finally finished working on the coloring of this mask-less Spider-Gwen. It's about 98% pencils, with 2% of it in gel pen. It's a page from Marvel's WOMEN OF POWER coloring book, w/original art by Emanuela Lupacchino from Spider-Gwen Vol 2 #6 (Cover B Variant). 8
My coloring of the cover page for Ch. 159 9

This took SO many hours and it isn't even technically the first page... Maybe I should have picked something easier for my first time trying adult coloring, but I've always been ambitious. 10
Colored a page in my Horror Coloring Book (with colored pencils)! Available on Amazon + 5 Free Downloadable Coloring Pages 💀 See links in comments, thank you! 11
I colored an Empires-themed page from the latest Hermits and Friends Coloring Book 12
coloring page! 13
HEAT 2 - coloring page 14

I TRIED to colour this Melanie Martinez coloring book page.I'll do more of these. 15
,


Comments
Post a Comment