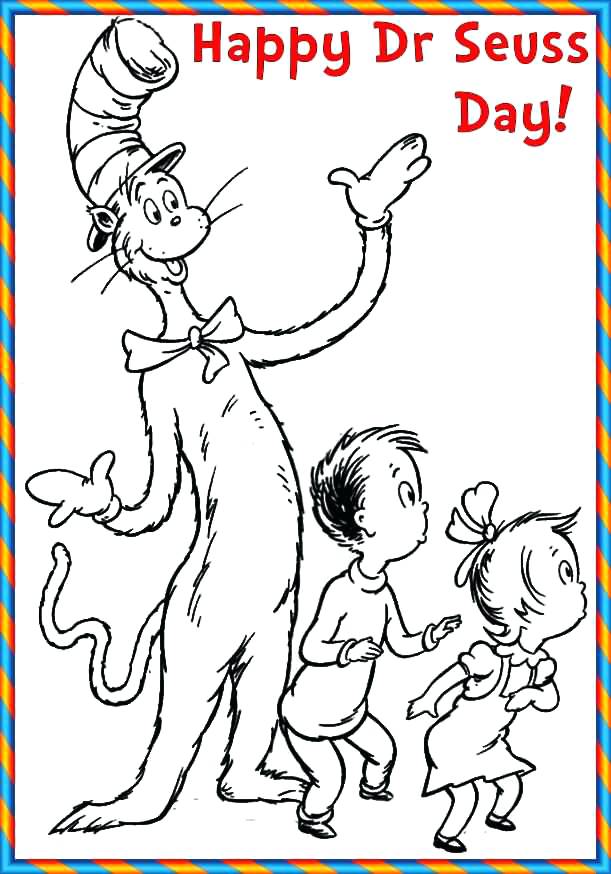
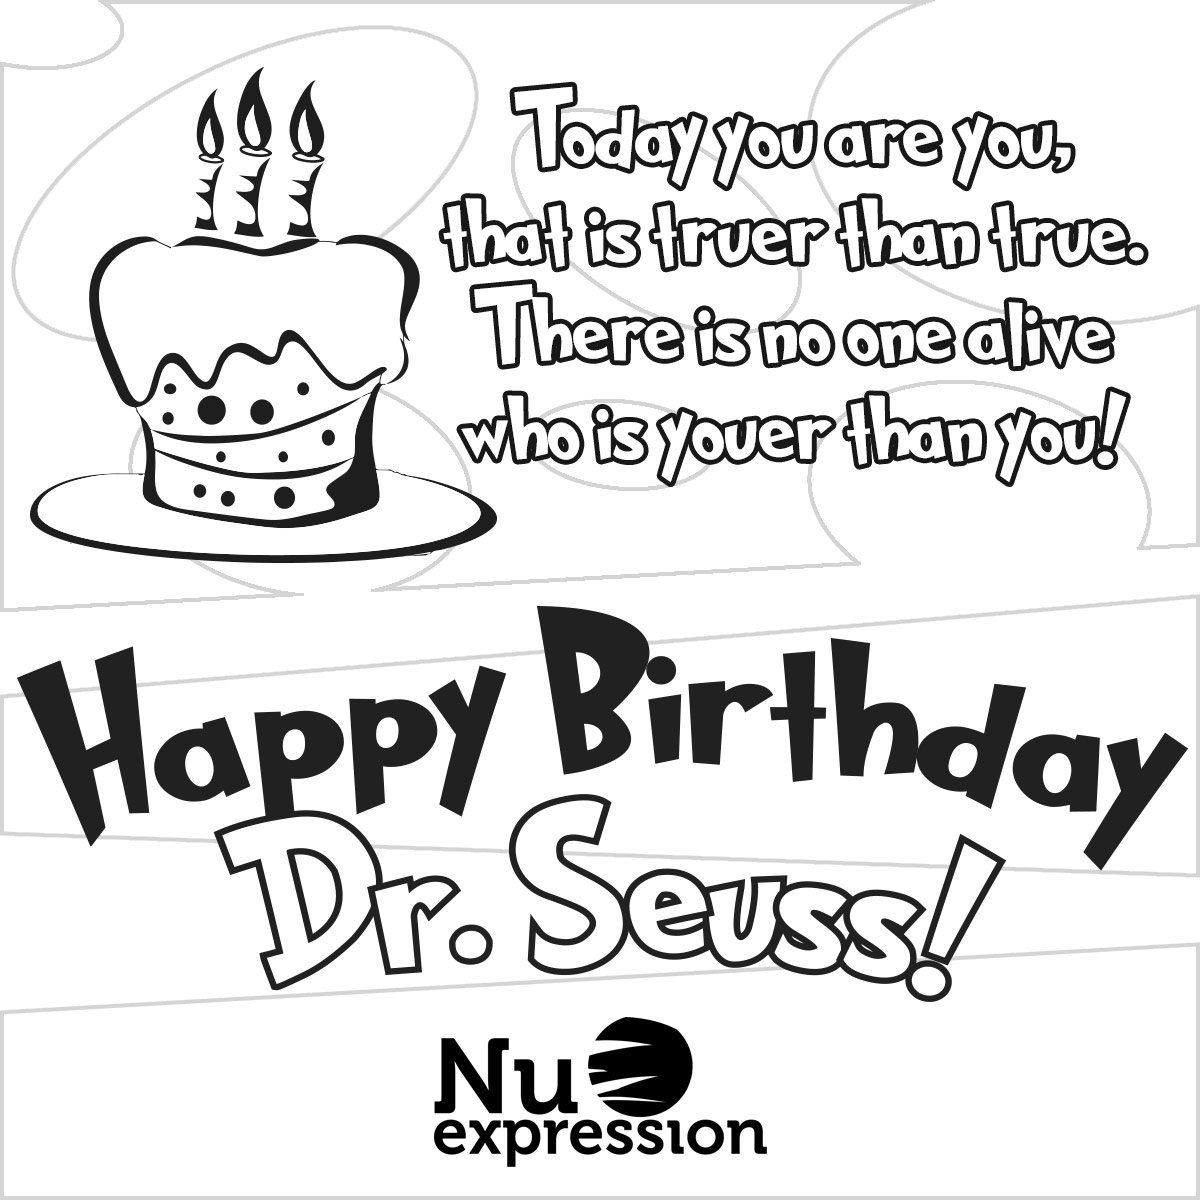
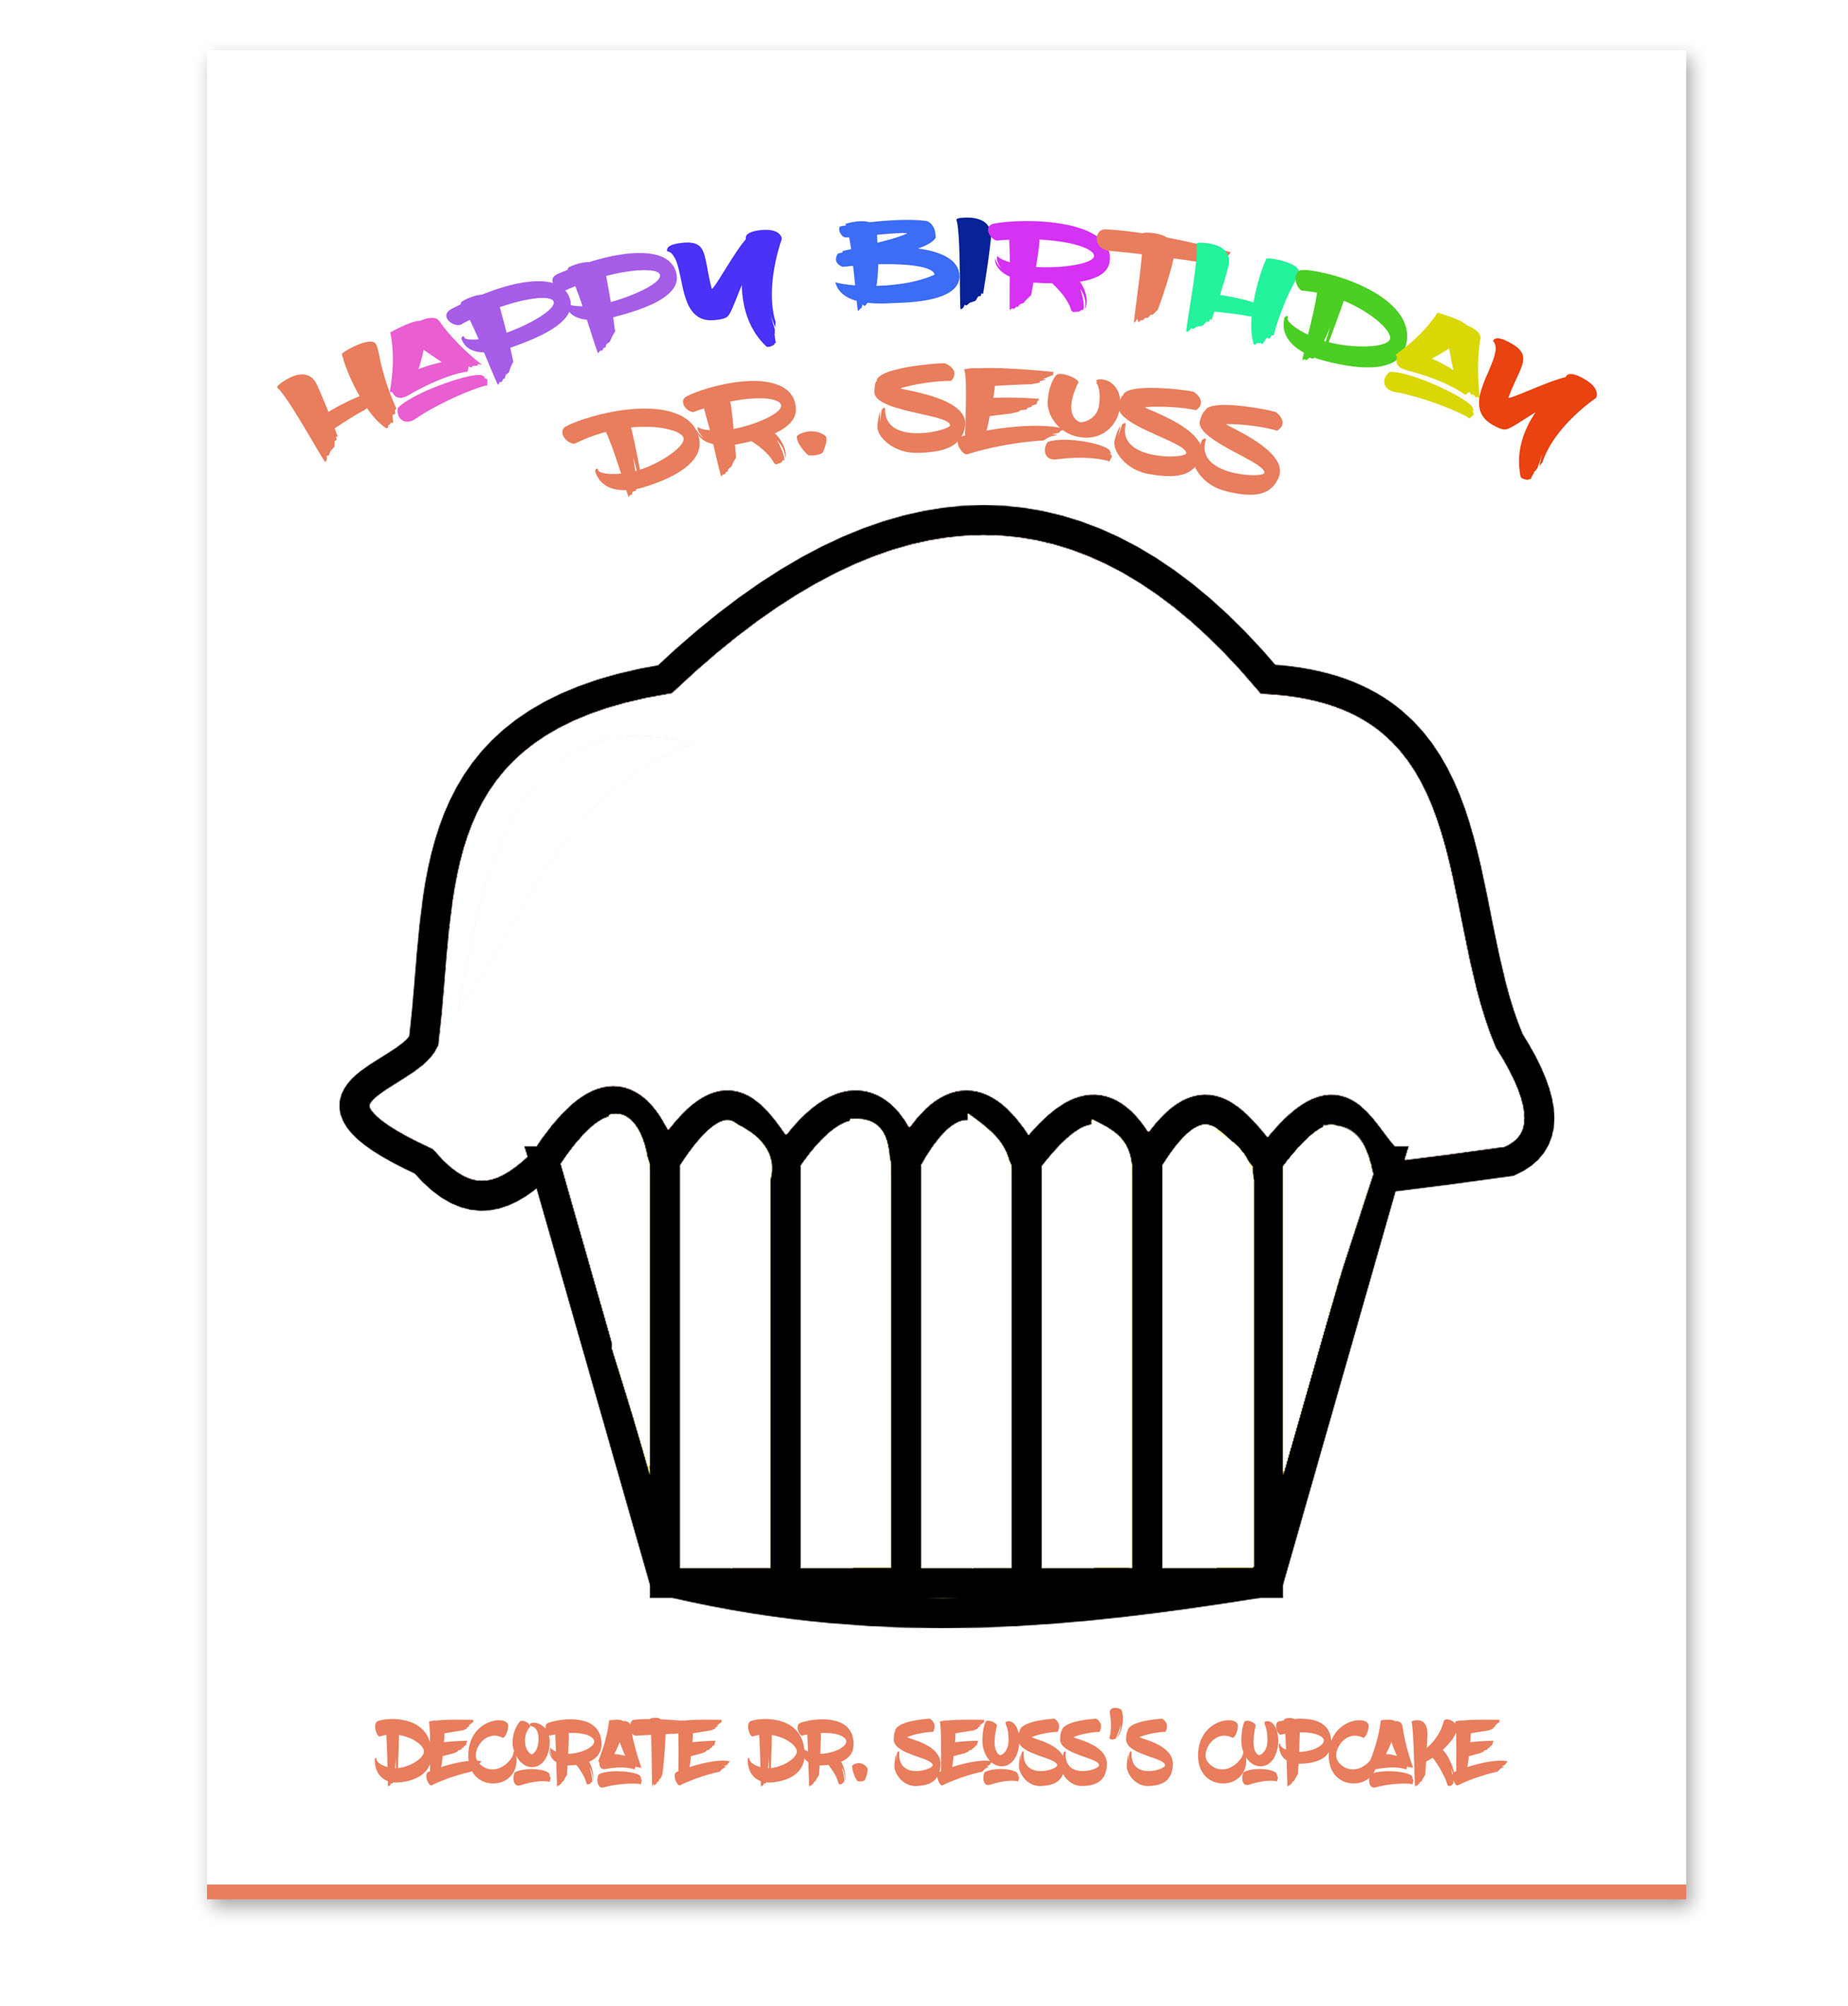
65 happy birthday dr seuss coloring page
happy birthday dr seuss coloring page

happy birthday dr seuss coloring pages printable - Enjoy Coloring | Dr seuss coloring pages 0
Download and print free Happy Birthday Dr Seuss Printable coloring pages. Dr. Seuss coloring pages are a fun way for kids of all … 1
Download and print free Happy Birthday Dr Seuss Free to Print coloring pages. Dr. Seuss coloring pages are a fun way for kids of all … 2

March 2nd is Dr. Seuss's birthday and the start of Read Across America week! This is a huge printable set of 30 pages for your students. You get 15 birthday inspired coloring pages, 5 free drawing sheets with prompts, 5 different Seuss themed mazes and 5 different discover the book activities. What a fun Dr Seuss … 3
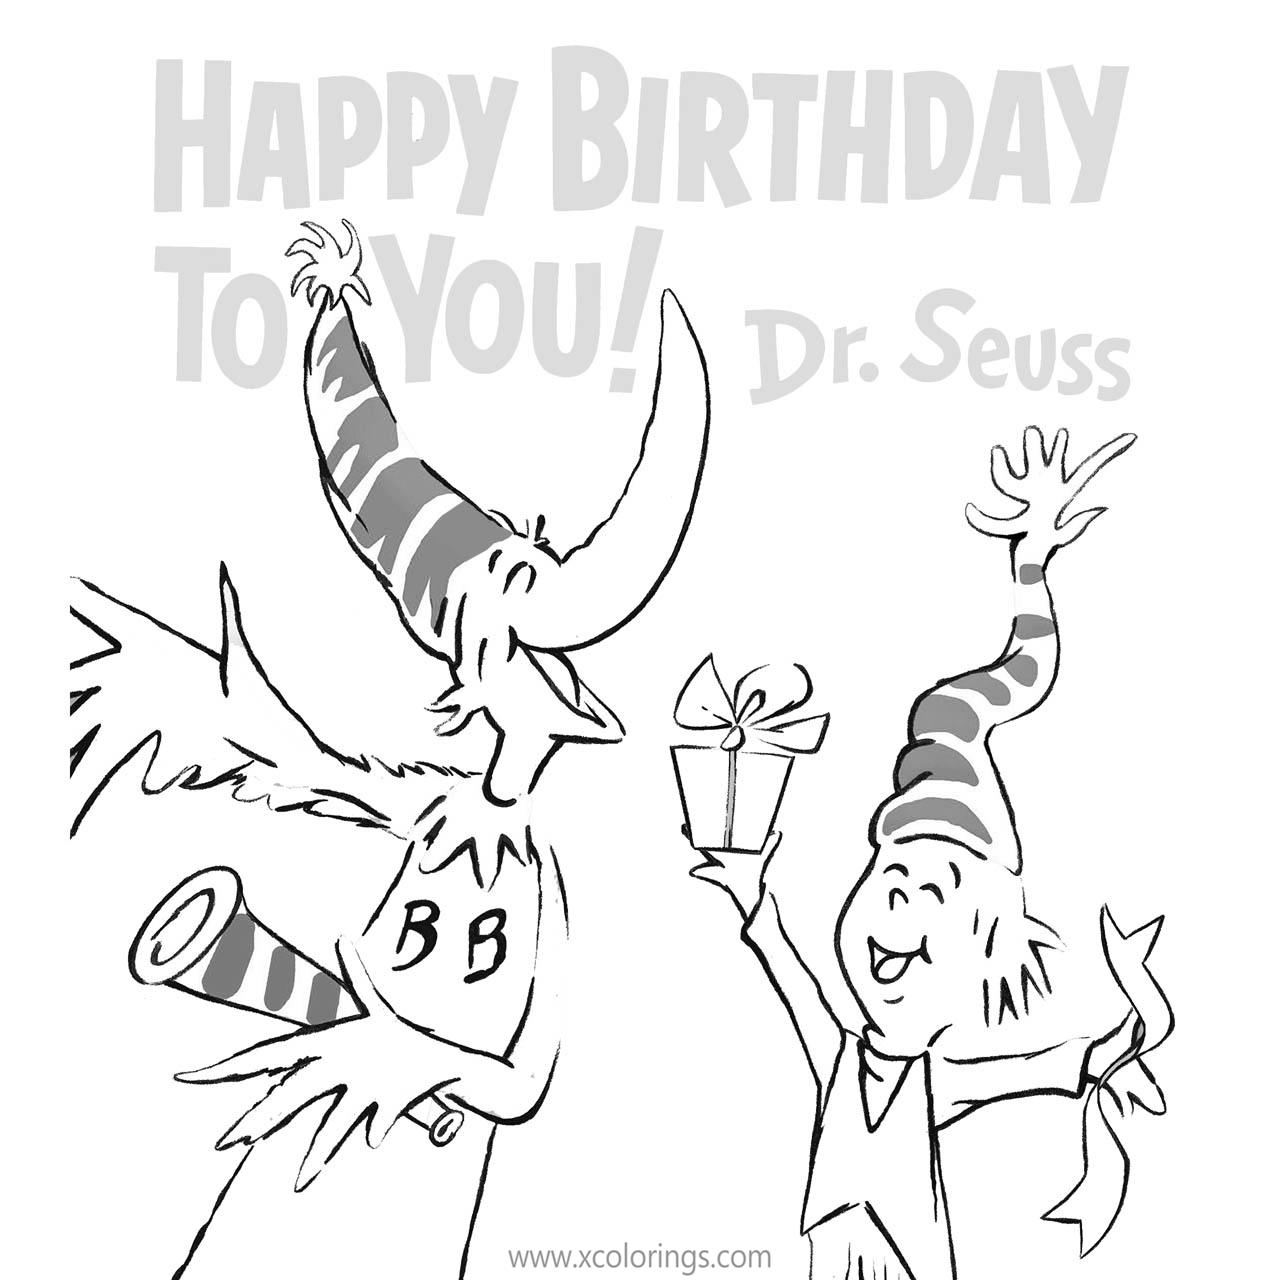
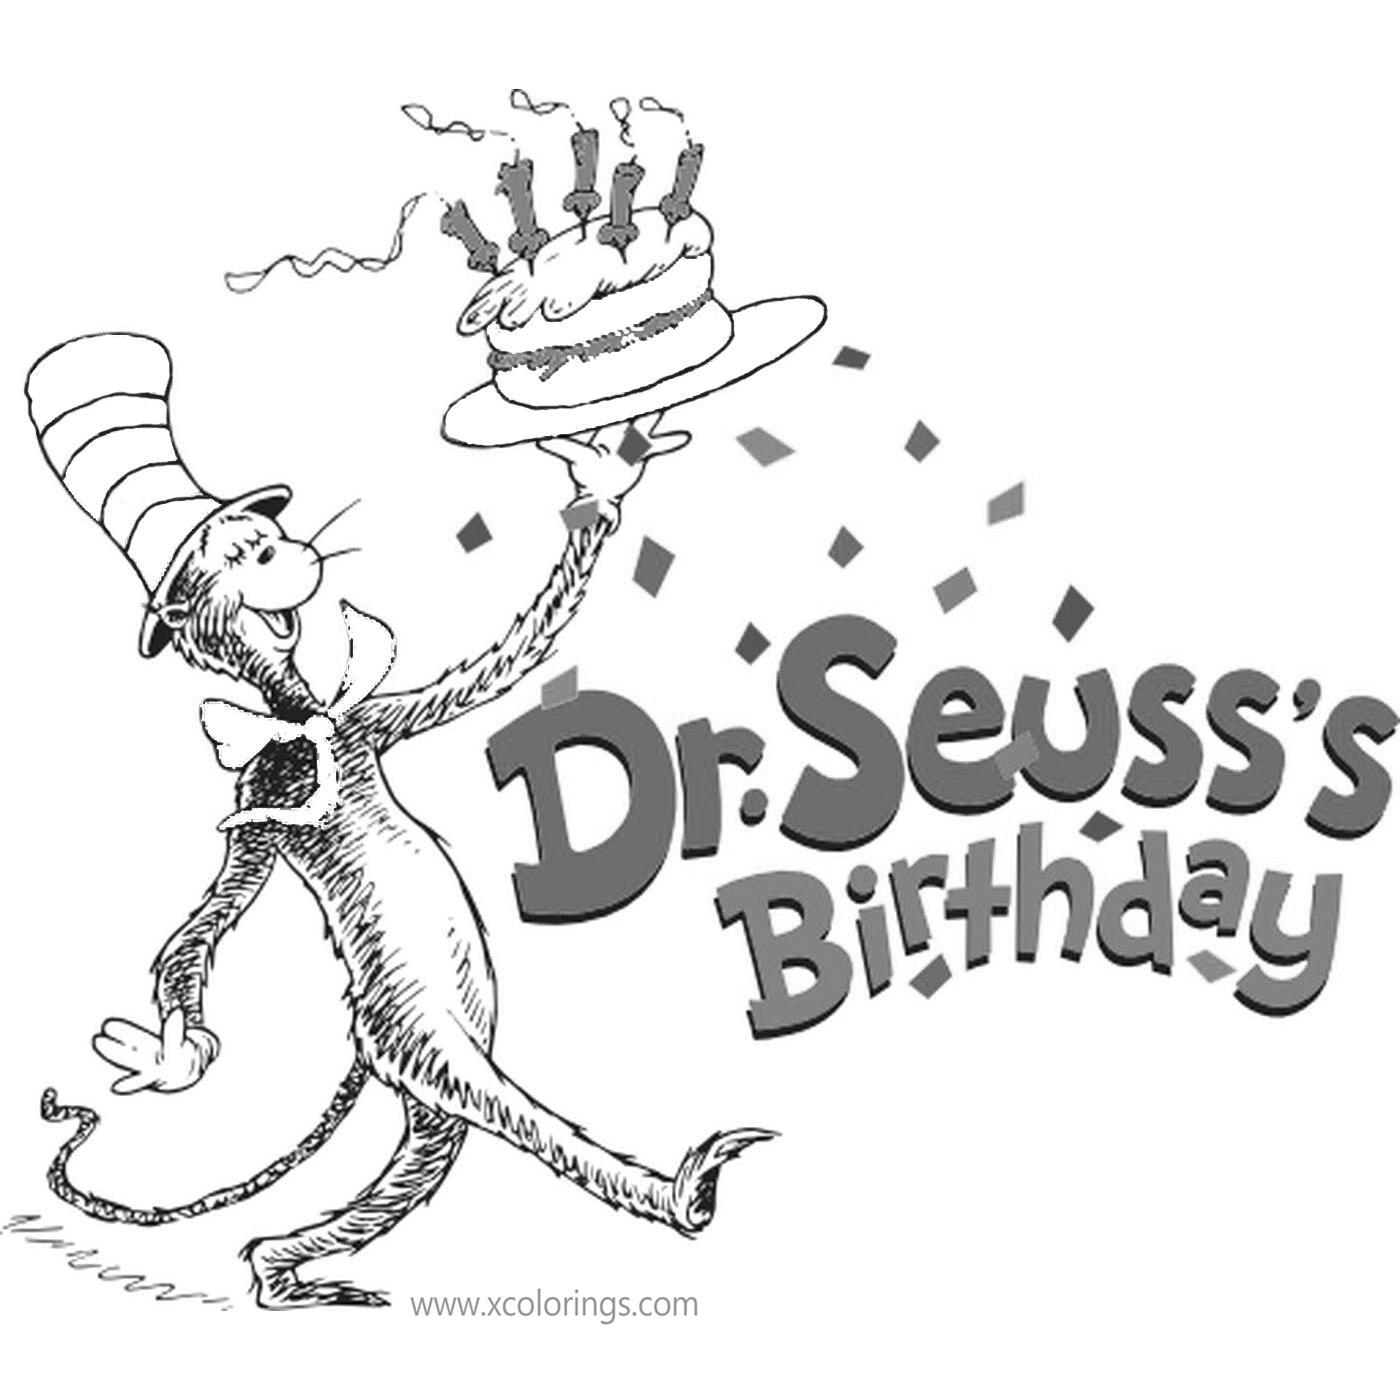
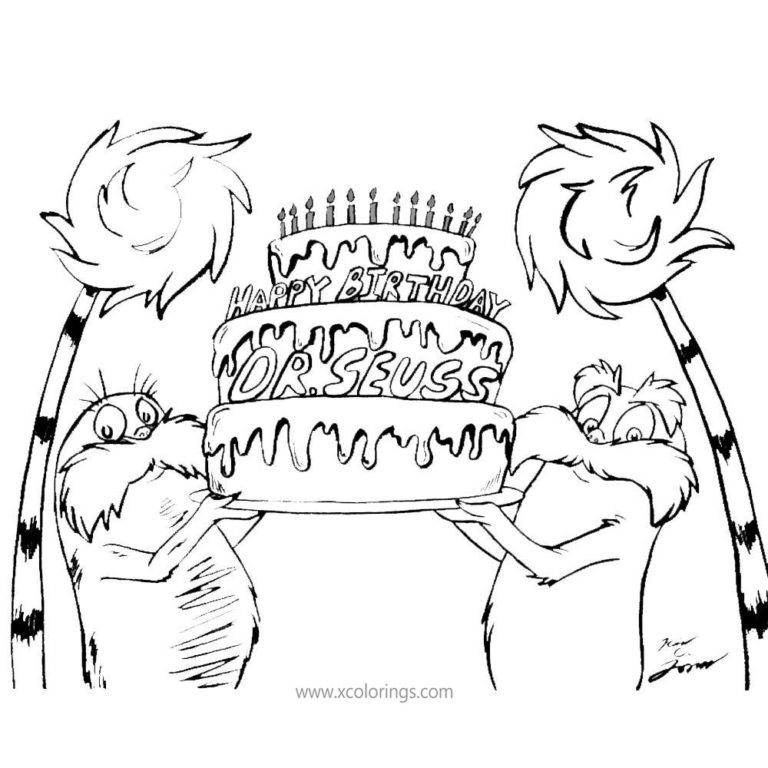
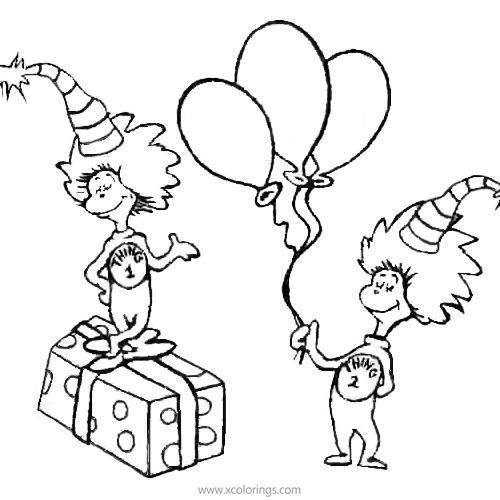
Happy Birthday Dr Seuss Coloring Pages Thing One and Thing Two - XColorings.com 4
Happy Birthday Dr Seuss Coloring Pages Thing One and Thing Two - XColorings.com 5

Happy Birthday Coloring Pages | Free download on ClipArtMag 6

Happy Birthday, Dr Seuss Coloring Page - Twisty Noodle 7
Dr Seuss Birthday Coloring Pages at GetColorings.com | Free printable colorings pages to print 8
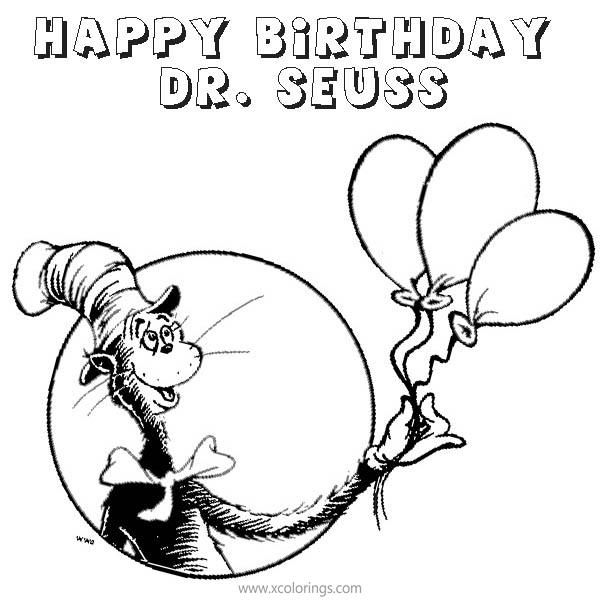
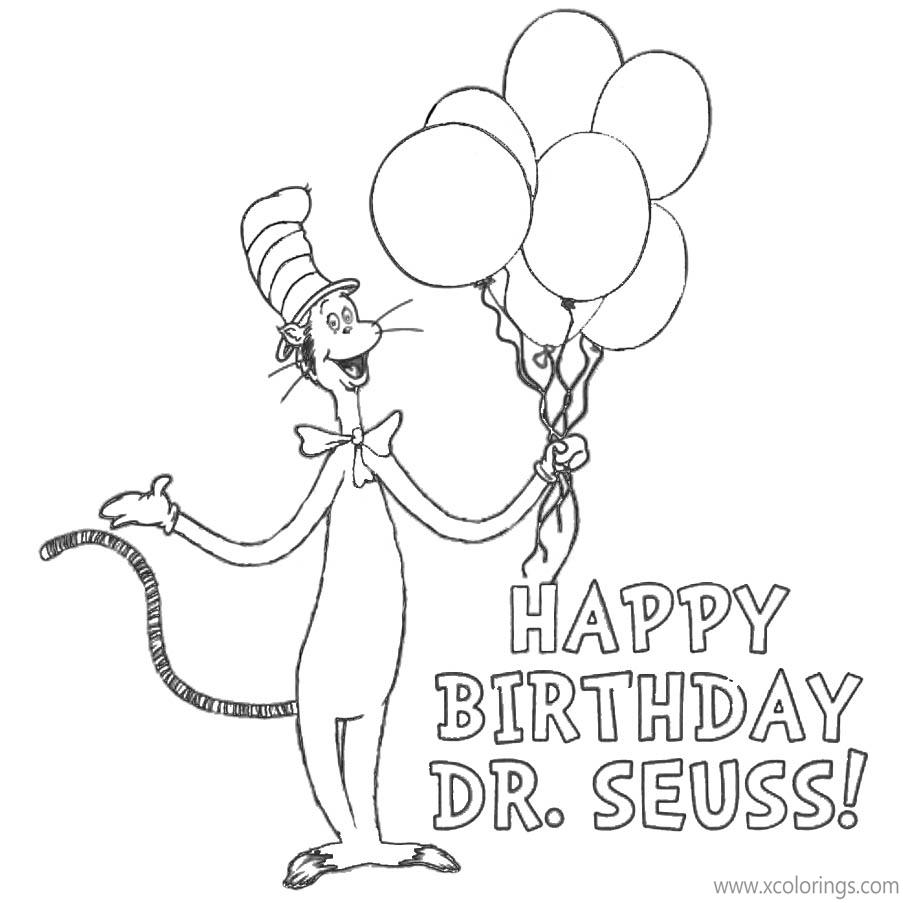
Happy Birthday Dr Seuss Coloring Pages Cat In The Hat and Balloons - Free Printable Coloring Pages 9
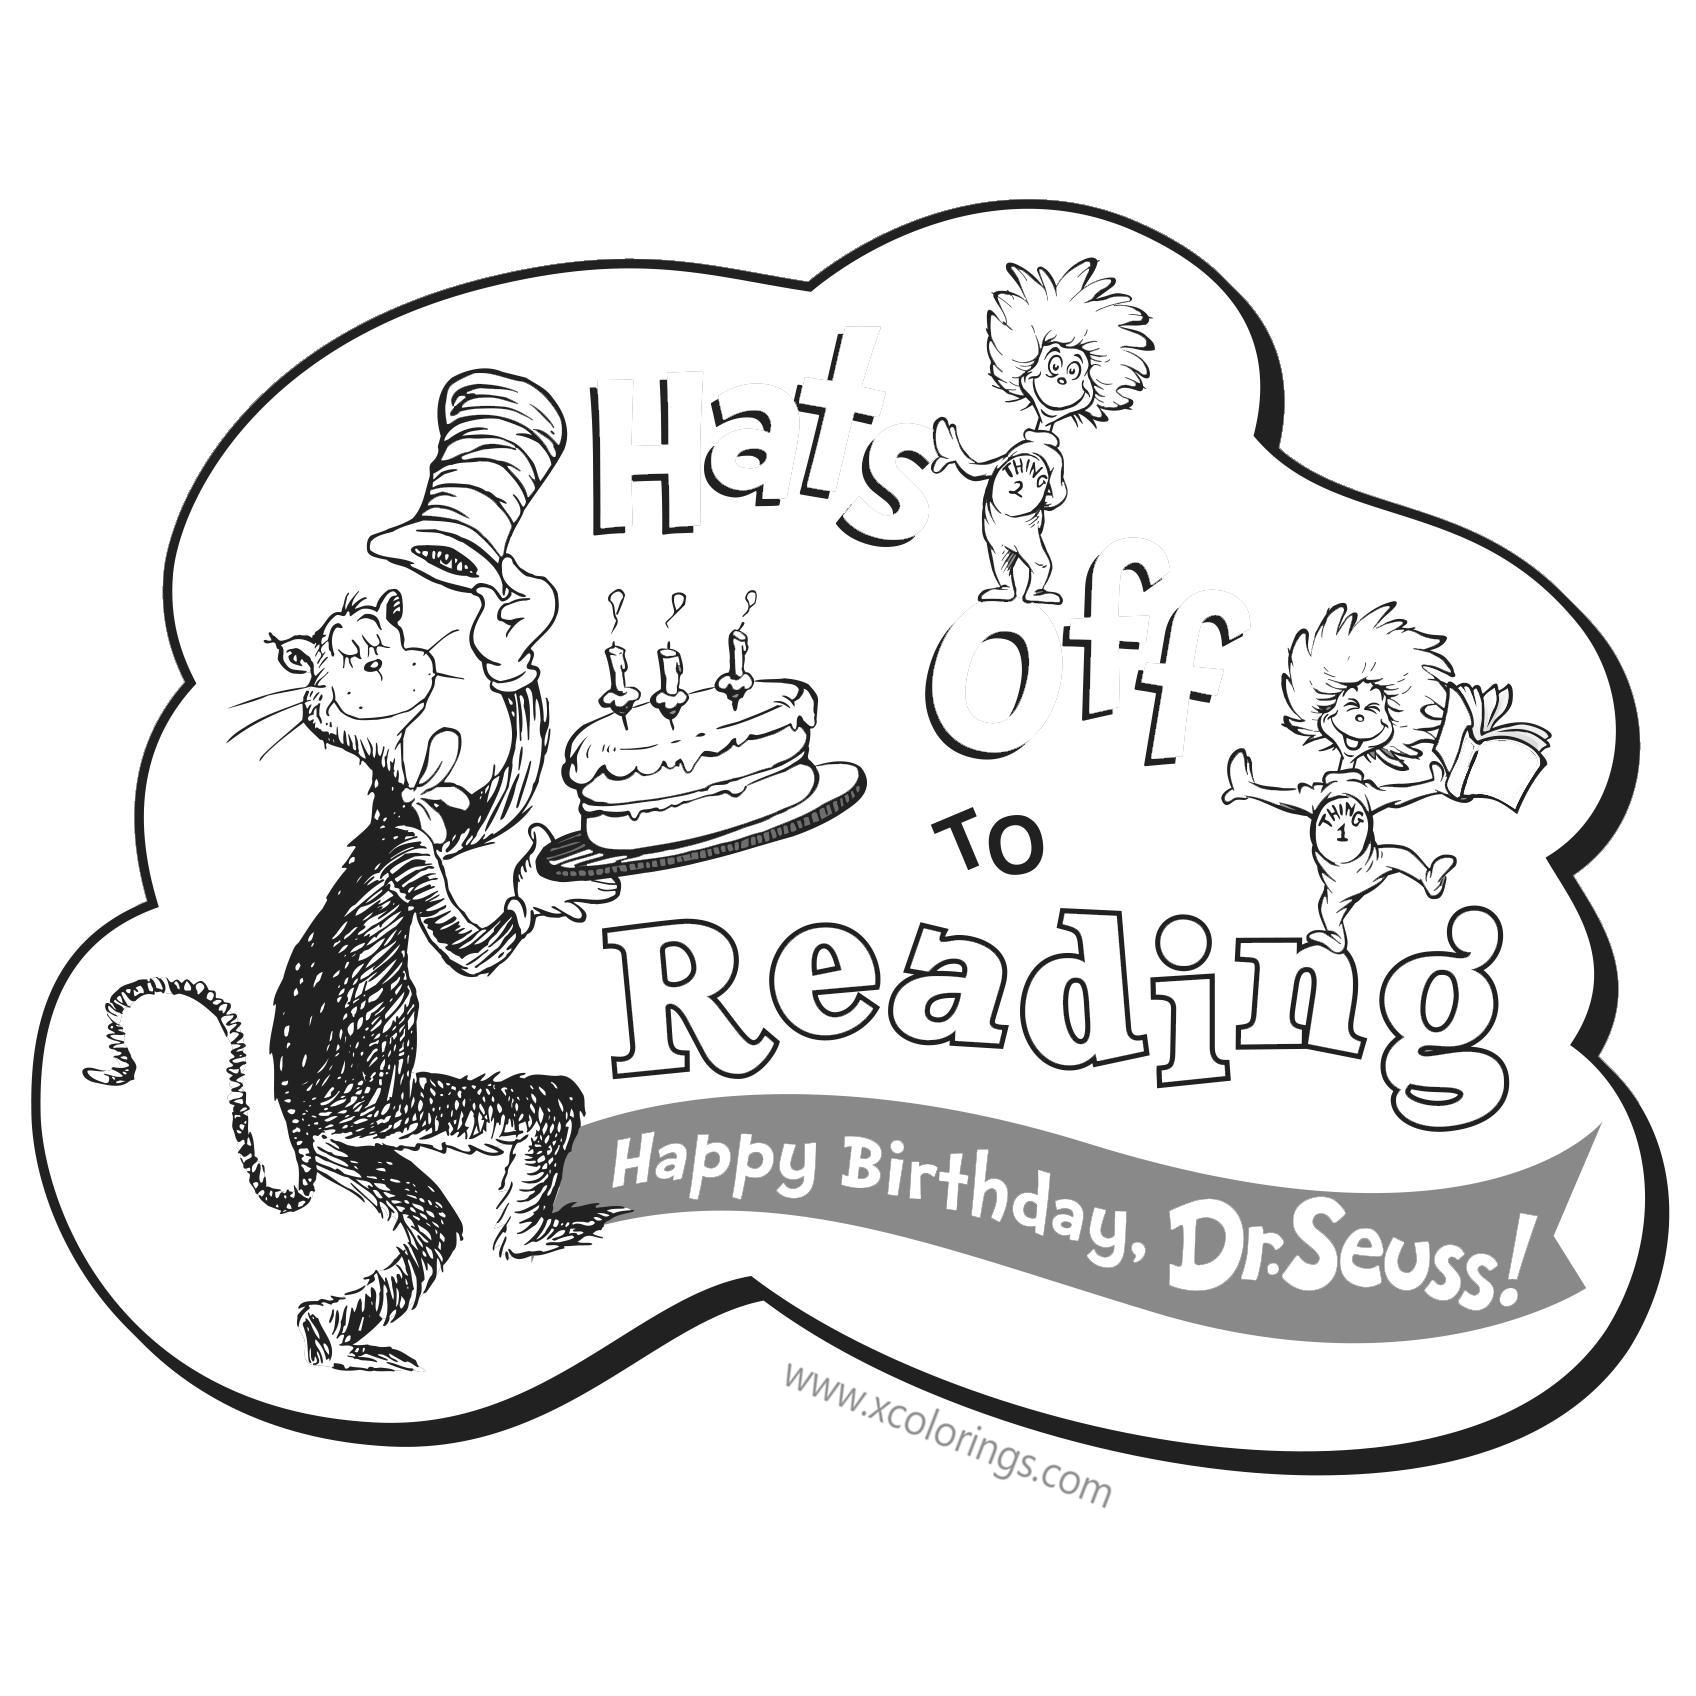
Happy Birthday Dr Seuss Coloring Pages Thing One and Thing Two - XColorings.com 10
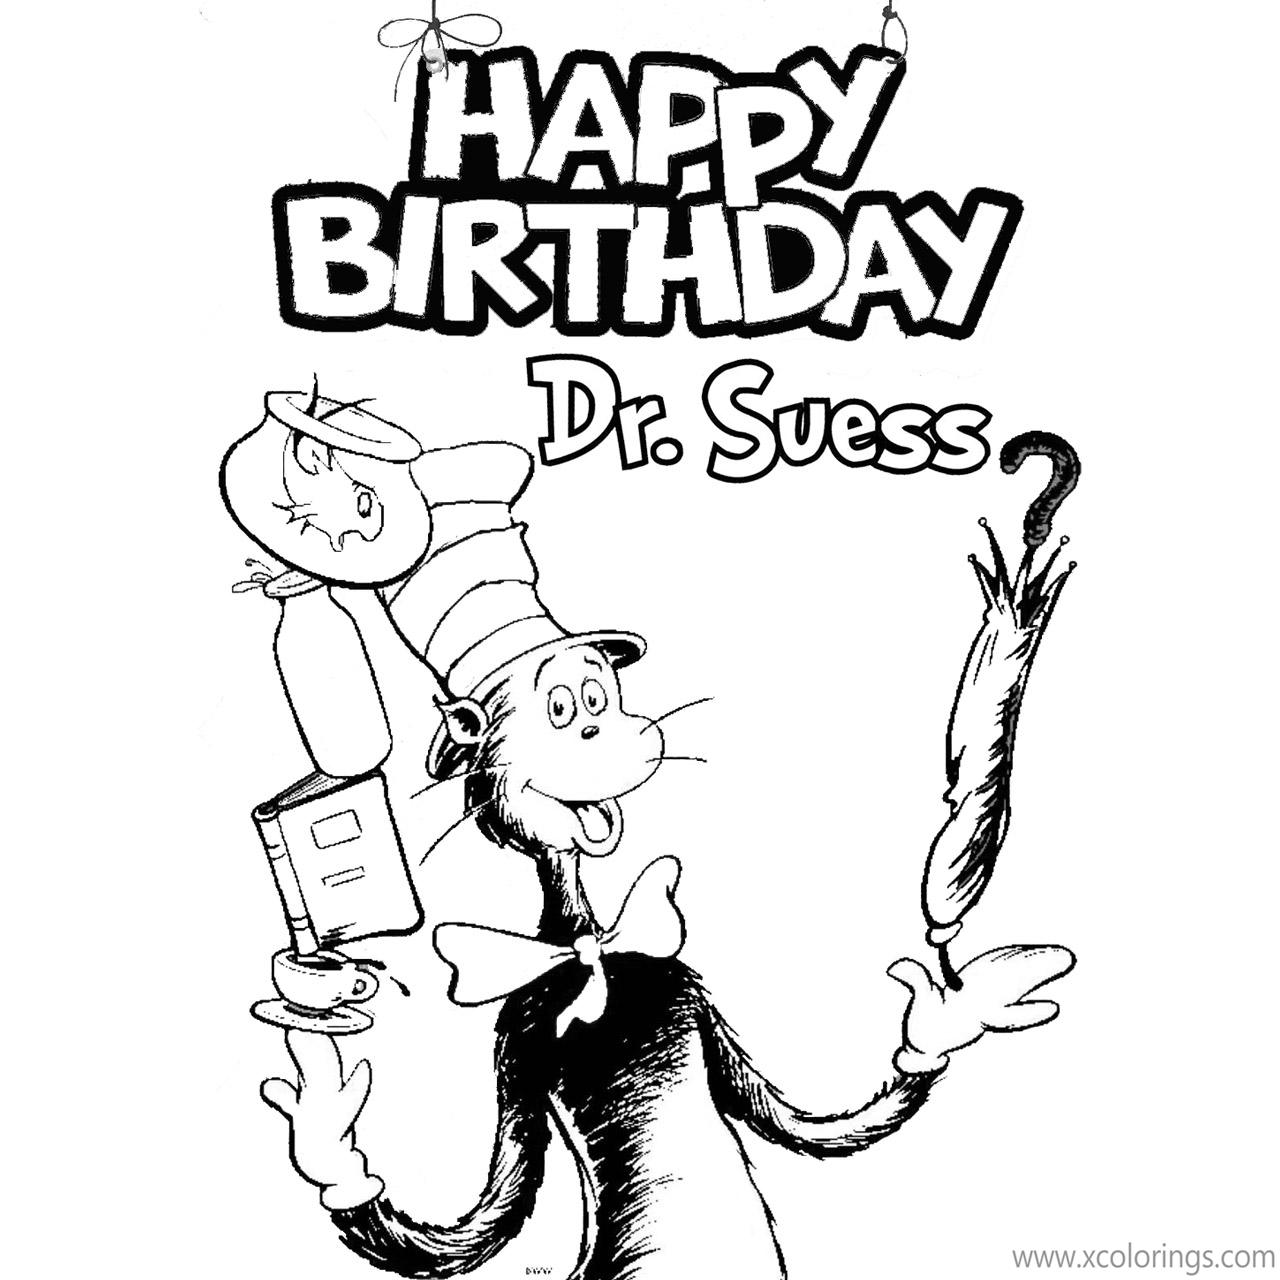
Dr Seuss Birthday Coloring Pages at GetDrawings | Free download 11
Happy Birthday To You Dr Seuss Coloring Pages - Free Printable Coloring Pages 12
Happy Birthday Dr Seuss Coloring Pages at GetColorings.com | Free printable colorings pages to 13
Industrial Revolution Coloring Pages at GetDrawings | Free download 14
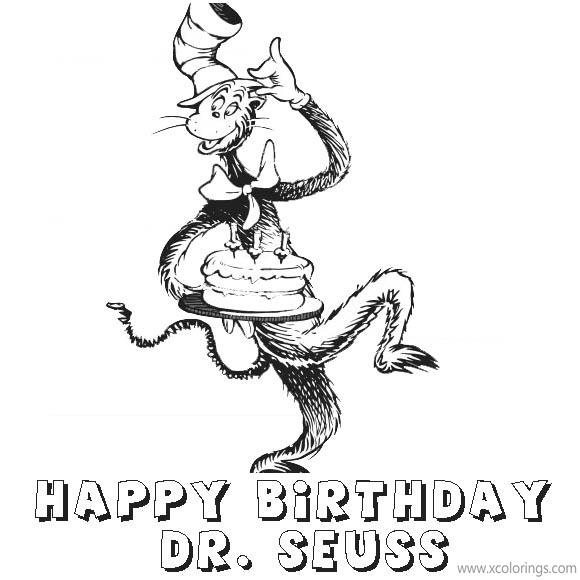
Happy Birthday to Dr Seuss Coloring Pages - XColorings.com 15

Pin by Bella Estagui on Screenshots | Dr seuss activities, Dr seuss coloring pages, Dr seuss crafts 16
Happy Birthday to Dr Seuss Coloring Pages - XColorings.com 17

Happy Birthday Dr Seuss Coloring Pages at GetColorings.com | Free printable colorings pages to 18
Happy Birthday to Dr Seuss Coloring Pages - XColorings.com 19
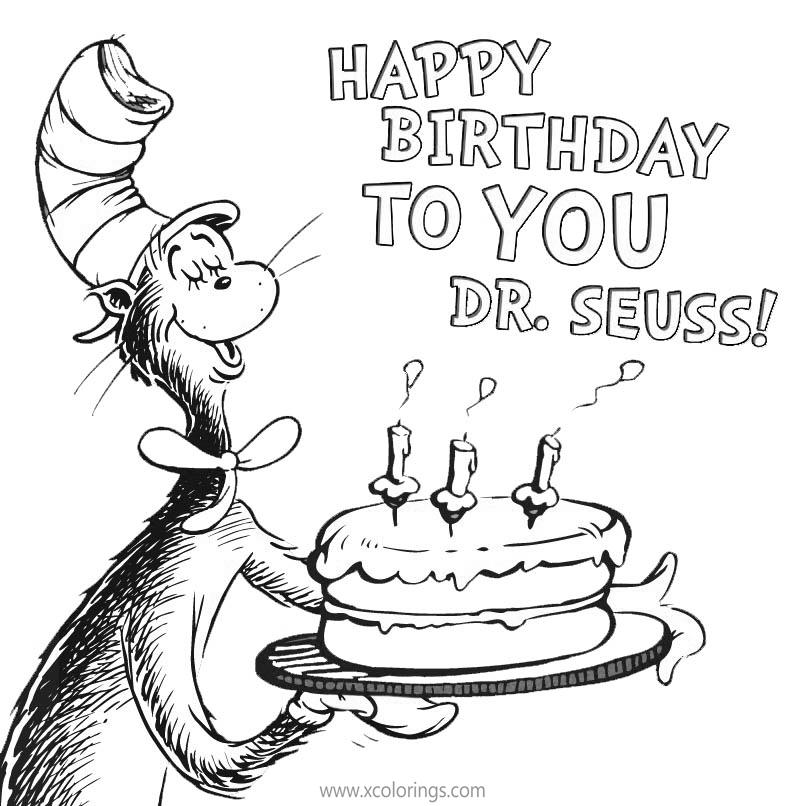
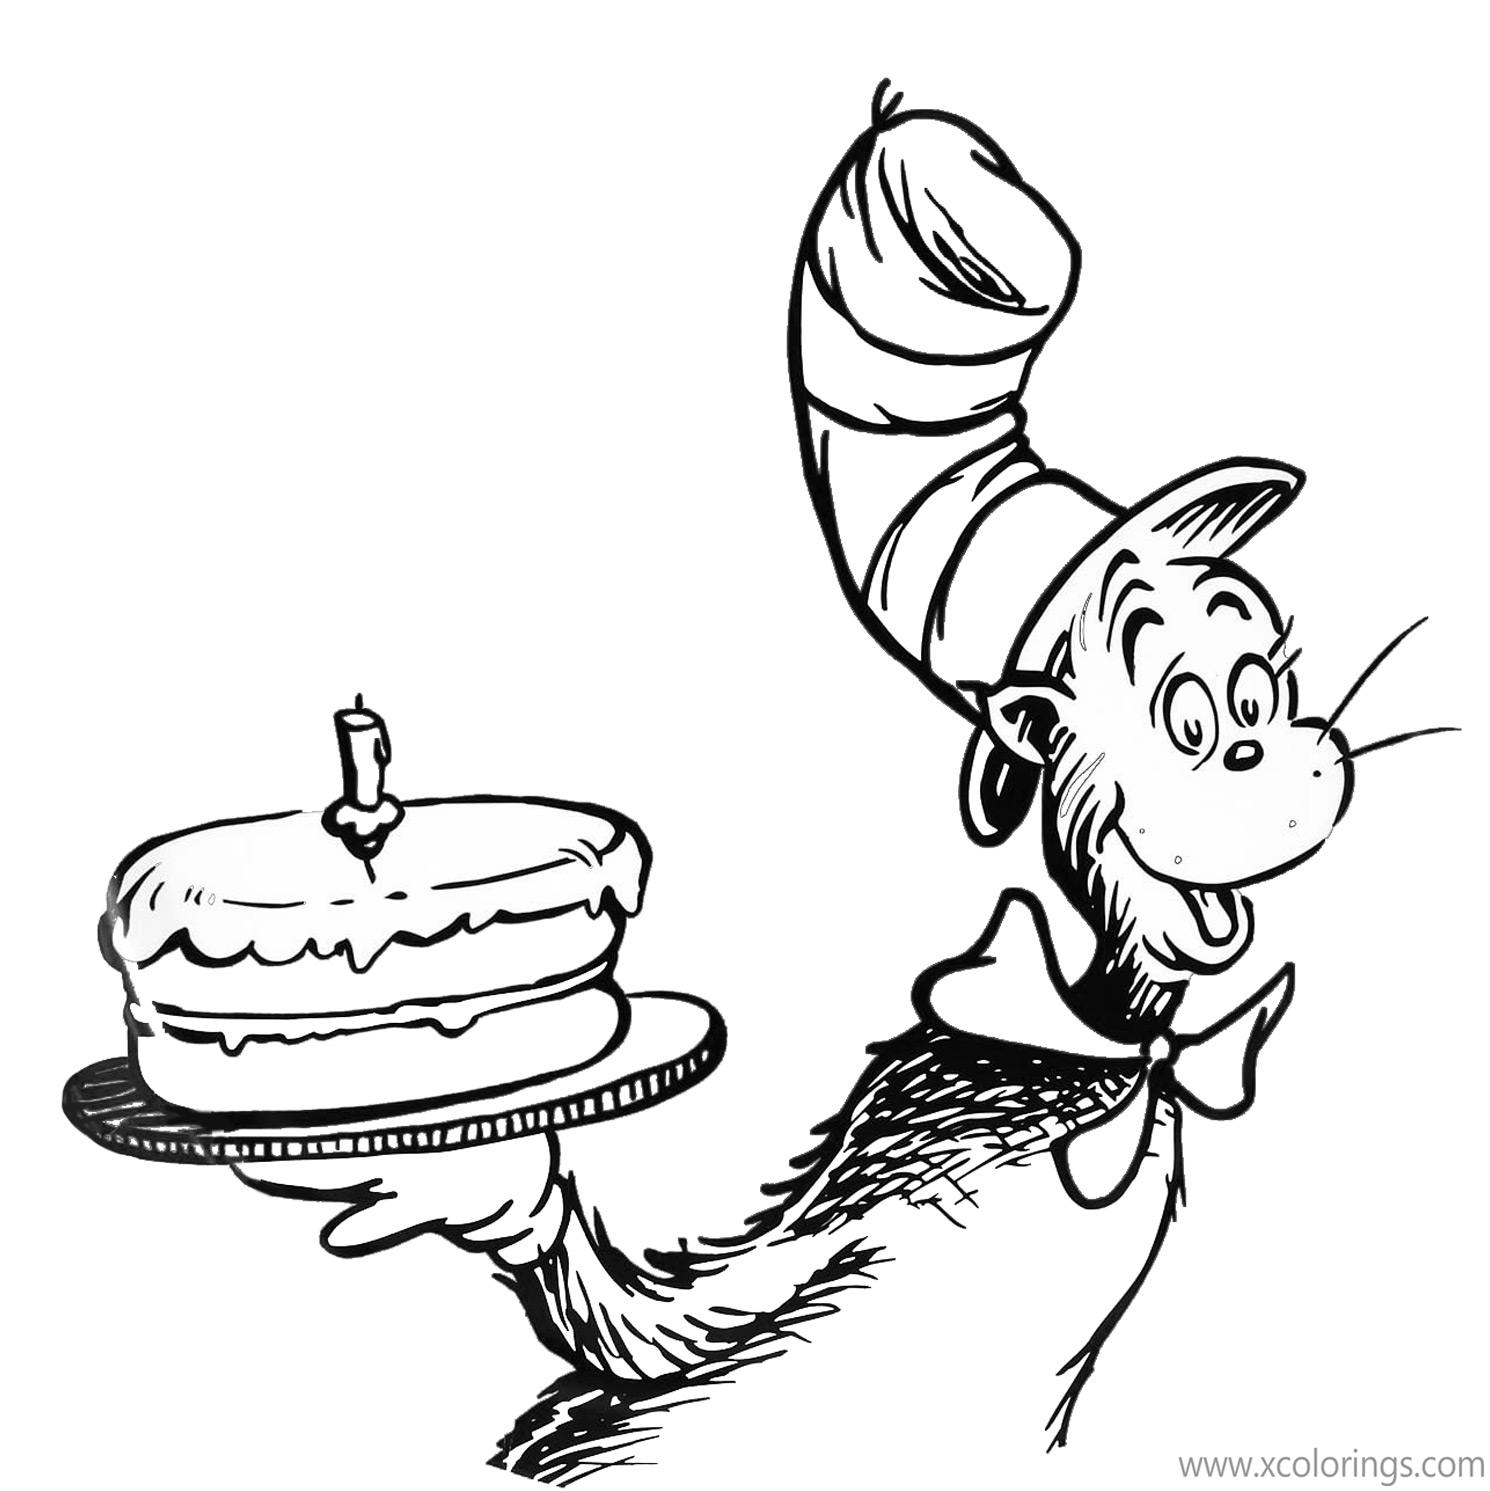
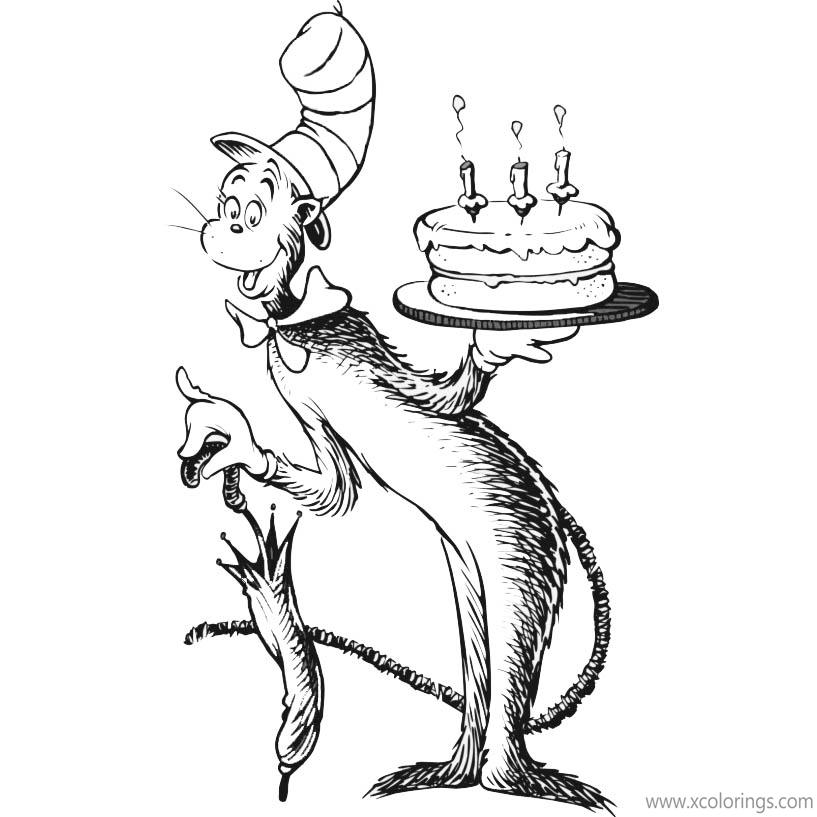
Happy Birthday Dr Seuss Coloring Pages Cat In The Hat Brings the Cake - Free Printable Coloring 20
Read Across America + Happy Birthday Dr. Seuss!! - Stage Presents 21
Happy Birthday Dr Seuss Coloring Pages at GetColorings.com | Free printable colorings pages to 22
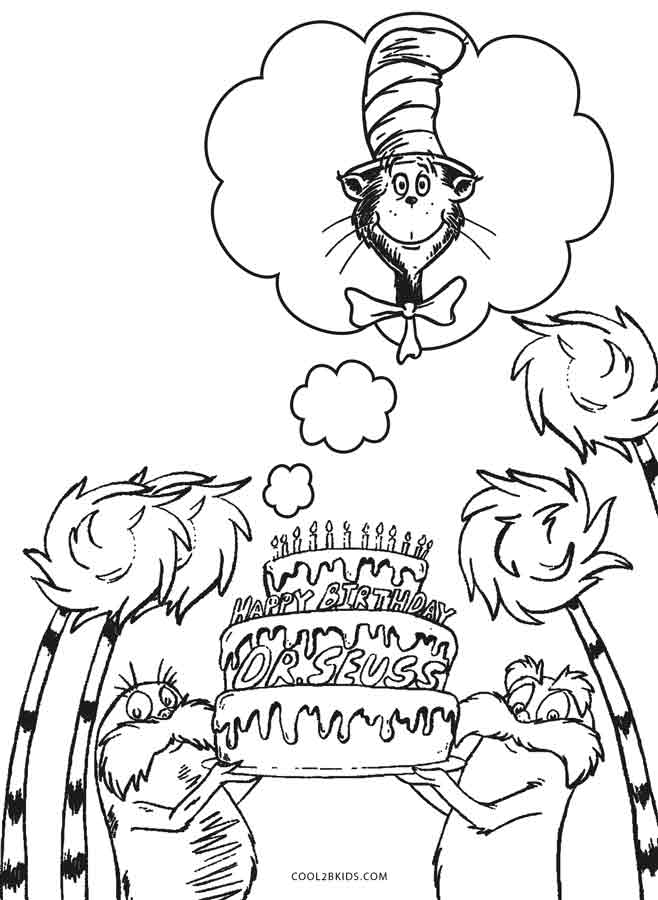
Happy Birthday Dr Seuss Coloring Pages from Cat in the Hat - Free Printable Coloring Pages 23
Free Printable Dr Seuss Coloring Pages For Kids | Cool2bKids 24

Happy Birthday Dr Seuss Coloring Pages Thing One and Thing Two - XColorings.com 25
Happy Birthday to Dr Seuss Coloring Pages - XColorings.com 26
Happy Birthday Dr Seuss Coloring Pages Thing One and Thing Two - XColorings.com 27
Dr Seuss Quotes Coloring Pages. QuotesGram 28

35+ Ideas birthday art preschool dr. seuss #birthday | Dr seuss activities, Dr seuss coloring 29
Happy Birthday Dr. Seuss Pages Coloring Pages 30

Happy Dr Seuss Day Coloring Pages Free | Dr seuss coloring pages, Dr seuss coloring sheet, Dr 31
Happy Birthday Dr Seuss Coloring Pages Green Eggs and Ham - XColorings.com 32

happy birthday dr seuss coloring pages printable - Enjoy Coloring | Dr seuss coloring pages, Dr 33
Read Across America + Happy Birthday Dr. Seuss!! - Stage Presents 34
[Music], hello everybody today we're going to be, making a really cool art project based, on, dr seuss's book the lorax if you, remember from the book the lorax is an, adorable little creature, he runs around this magical wacky forest, and he is there to protect the trees the, trees who cannot speak for themselves so, he speaks for them, to make sure they're not hurt or chopped, down now in, the book the lorax the trees are really, wobbly and crazy and they have beautiful, crazy color so we're gonna, do that with our project today so what, you'll be needing is two pieces of, paper a blue and a green you're also, gonna need scissors and a glue stick, you're going to need some oil pastels, which are very similar to crayons but, they're a little bit thicker, and then lastly you're going to need, some, different colored paint and a fork so, let's, get started step one we are going to, take, our blue piece of paper this is going to, be our background, and we're going to first of course write, our name on it you always write your, name, on your artwork before you begin so that, if, it gets lost or misplaced we know who's, it is, as you can see i flipped it over and put, it on the back, now i'm going to take this green piece, of paper and i'm going to be cutting out, a wavy, shape from it notice that my paper is, vertical that means straight up and down, and my second sheet is also vertical, straight up and down, what i'm going to do is take my scissors, and i'm going to just start cutting, a wavy wobbly shape it could be wavy, going straight across, or it could be wavy and goes up a little, bit on the side it doesn't really matter, if you want to draw your line out first, you totally can, i'm just gonna go for it and draw, and cut a wee wee, shape just like that if you like i said, want to take your pencil and, draw the shape that you think you might, want to do first like this, and then cut out along the line of, course you can do that, too once you have your shape cut out, we're going to glue it in place so i'm, going to take my glue stick, and i'm going to flip over my paper and, put, glue all over it i'm going to, concentrate on the edges, the edges is where the glue is most, important, it is of course important to put some on, the inside but the edges, is the most important so i'm going to, outline the edges with my glue stick, once i have gotten my glue on i'm going, to take, my green piece and i'm going to line it, up with the bottom, of the paper so this is the bottom of my, green paper i want to line up with the, bottom of my blue paper, do my best to get to the very bottom and, really, line it up if i'm a little bit off it is, okay, just do your best to make sure it's on, the bottom of your page, and i'm going to take both hands and rub, and press, to make sure that it is smooth and even, now this is my ground and this is my sky, and from the ground are where all of my, wacky little trees are going to be, before i draw my trees though we're, going to take a black oil pastel so find, a black one out of your, pile of oil pastels and we're going to, outline, what i'm going to do is go right here on, the edge of my, hills that i've created i'm going to, draw a nice black, line so i can see a big difference, between the sky, and the ground dr seuss's illustrations, all have really nice, dark outlines to them so i'm going to do, that with mine, as well i am even going to add a few, extra lines here so every time there's a, dip so every time the wave goes down, i'm going to draw a line coming out of, it like that, and i'm going to do the same maybe on, this side going this way, just to make it look like i have a hill, some hills, so i'm just drawing some lines you can, have them go off the page if you want, or stop in the middle of the page just a, couple lines to make it look like there, are some hills happening, all right let's get our trees in here so, first of course we need some tree trunks, and the tree trunks are going to be, wavy and fun and wacky just like dr, seuss's so i'm going to take my first my, black oil pastel, if you're nervous about just doing it in, black oil pastel you can of course do, this in pencil, first and then trace it with your royal, pastel, that is totaline but if you are a brave, soldier and you want to just, jump in and do it with the oil pastel, that is absolutely fine as well, so i'm going to be a brave person and, i'm going to take my oil pastel, i'm going to start near the top of my, hill here, i'm going to draw a line going up, and then it's a little bit of a curvy, line not for perfectly straight line and, that is totally fine mistakes are fine, wavy wobbly lines are fine because that, is what dr seuss did now i'm going to, draw a, second line next to it to make it look, like a skinny tree trunk, we don't want it too fat i'm not going, to draw it way out here we want these to, be skinny, trees but i also don't want to be so, close so teeny tiny that we can't see, anything so i'm going to try to go about, the width of my pencil so looking at how, wide my pencil is, i'm going to say okay that's how wide i, want to go, and i'm going to draw my next line, next to it just like that so that's, going to be one tree i'm going to draw, a stump at the end i'm not going to, worry about the top, and then i'm going to draw some stripes, in it they can be straight across, they can be at an angle whatever you, want, all right so i have a nice weird it, looks almost like a ladder doesn't it, going up to the sky but i have a nice, fun, funky tree trunk i'm going to do a few, more you can do however many you want, you can do 1 2 3, 20 whatever you want but every time i'm, going to draw one on one side, one on the other i'm having this one, curve a little bit, draw a line at the bottom to connect it, and then draw some stripes with my black, oil pastel and maybe some of them are, going to be small, this one way in the back hill i'm going, to make this one a little shorter, because it's going to be a smaller tree, trees that are close up, should be big so they look close to us, trees that are far, in the background should be smaller so, that they look like they're farther away, okay i have four trees i made some are, shorter, some stop shorter some stop way near the, top, some are really short and small and some, are really tall and big, i'm trying to show some distance have, some things look like they're close some, things look like they're far away, now these tree trunks um have lots of, lines on them but we want to fill those, in with some glare so now we're going to, take, any color oil pastels that you wish and, you're going to be filling in, these spaces using your oil pastel, to color in some of the spaces so i, colored in, some yellow and some purple, maybe i'll do blue with this one, and see i'm coloring in every other one, because i'm trying to create a, pattern and then maybe the other, part is going to be orange press, hard with your oil pastel so they really, show up nicely, and continue until all your tree trunks, are colored in, all my tree trunks are colored in you'll, also notice that i, went through it and erased as best i, could with my eraser, just any little black smudges that were, showing in the sky, area and now i'm ready for my very final, step which is the most fun step is, adding these, puffy crazy tree tops to our dr, seuss lorax tree forest so i'm going to, get some cups of paint i have here, the three primary colors the three, colors that are, the only colors that truly exist, and from these three colors we get every, other color from the rainbow so we have, a blue, uh we have a yellow of sort of a magenta, this, is from the red family um so if you add, a little white to red you're going to, get this nice, pink color or sort of magenta color and, i'm going to need my, fork so here is what we're going to do, choose a color that you want for each, little tree top and we're going to use, our fork to spread it out to make them, look a little bit fluffy, i think i'm going to start with pink, this sort of magenta and i'm going to, put it right on top of this tree, so i'm going to take a little blob of it, on my fork see i'm scooping it out, in a blob and i'm putting it right here, on top, of where the tree is and that's all i, need i don't need any more, and i'm going to take my fork and i'm, going to scrape, and scratch to spread out, the paint i'm not going back in to get, more paint, right now i'm just going to use my fork, to spread this out, so i create some cool wild, textures and i'm letting them really, spread, out i'm spreading out whatever i, could fit on my fork and fit onto the, paper and if you can see some of these, lines that are still there that is, awesome that is exactly what, you want and you want to leave it like, that because that's going to make this, tree, really look fuzzy and wild once you're, done with one color, you're going to get your paper towel in, your or tissue and you're going to wipe, off your fork, and you're going to select a different, color for your next, one so maybe this one i want to have be, yellow let me take a little blob just, put it right here, maybe wipe off a little extra if i feel, like i have too much and i'm gonna do, the same, thing again spread it out, with my fork now if it connects to one i, already did, that's totally fine i'm gonna let it, overlap a little bit, so i have my yellow on here and i'm, spreading it out, and it's okay that if it overlaps the, other one a little bit, no big deal i'm just gonna let it go on, top of it, and i'm just gonna go until it gets nice, and bushy looking, and has a lot of texture, that looks awesome i'm ready for my next, one so i'm gonna take my same, tissue or paper towel wipe off my fork, and i'm going to choose my next color, [Music], all right so let's say i want to, make this one a little bit special and, different so maybe instead of just blue, i want to add a second color to it, so i'm going to take my paper towel or, tissue wipe off my fork, dip it into another color i think i'm, going to put pink, on top and i'm going to just a small bit, and i'm going to do this again with my, fork, and now i have kind of like a second, layer on it, and what's also cool is that the colors, start mixing a little bit, and what you'll find at least in this, example is that blue, and this purpley pink color makes a, really nice, purple shade to my tree top, and it adds a little extra flare so, continue this until you've finished, all of your tree tops, however many you've chosen to have, and there we have it our awesome lorax, inspired, tree forest and you're all set and, finished, one last fun thing you could do if you, wanted is find a printout, from a computer of a little lorax, creature color, it in and cut it out and then stick him, somewhere in your forest, deciding where you think he would look, best adding a little glue to, that and then sticking him, in the perfect spot for your pitcher, hope you guys had fun making dr seuss, inspired lorax tree for us, and i can't wait to see yours
Reddit Images 15

Happy Birthday Dr Seuss coloring page Free printable 0

Dr seuss coloring page 1

Funko Dr. Seuss Happy Birthday to You! Game 2
Funko Dr. Seuss Happy Birthday to You! Game 3

Dr seuss coloring pages one fish two fish 4

Top dr seuss coloring pages 5

Dr Seuss coloring pages Green Eggs and Ham 6

Dr. seuss coloring pages oh the places you'll go 7

Free dr seuss coloring pages 8

Dr seuss coloring pages for girls 9

Dr seuss coloring pages for kids 10

Dr seuss coloring pages for adults 11

Dr seuss coloring pages 12
Funko Dr. Seuss Happy Birthday to You! Game 13

Happy Birthday Dr. Seuss! You were ahead of your time.. 14
Made this when I was coloring in a coloring page from Valentines Day, thought I'd share, Happy Birthday 3rd Life 15

Answers in Genesis (Ken Ham) A is for Adam coloring book. There is an updated art version as well, which I will try to post tomorrow. Ham really thinks he is the Creationist version of Dr. Seuss... 🥴 16

Happy Birthday Dr. Seuss! 17

The first 29 pages of Fox in Socks by Dr. Seuss as a side-by-side Shavian transcript. 18

Little 'Ol me participating in the Dr.Seuss event today. I had a lot of fun reading to the kids and coloring activity pages with them. 19

Happy Birthday Dr. Seuss! 20

Happy birthday Dr Seuss, maybe we'll sell more than a handful of your books this year. 21
,


Comments
Post a Comment