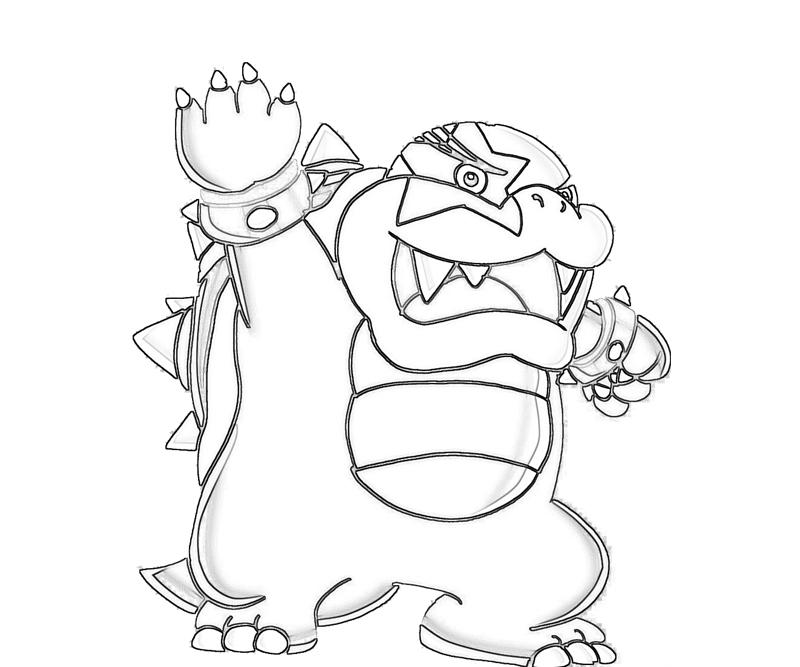
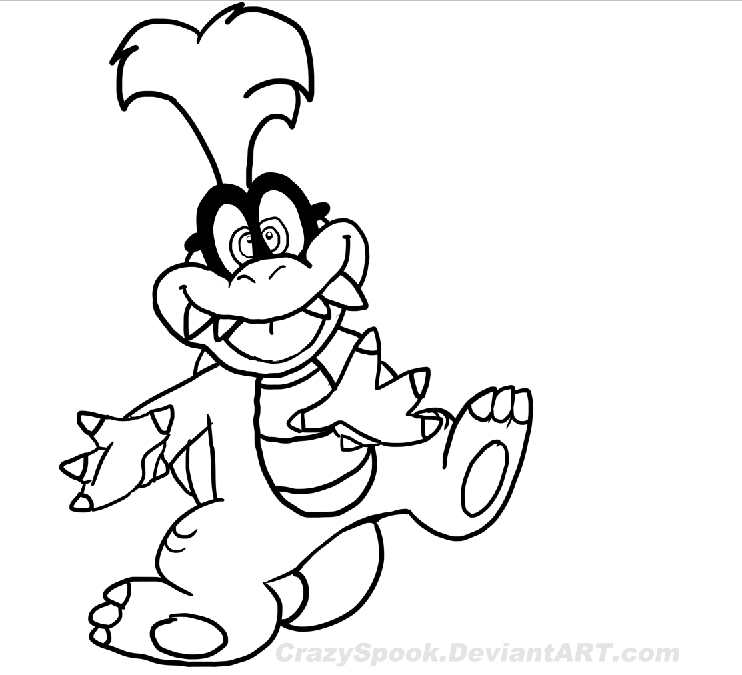
67 lemmy koopa coloring page
lemmy koopa coloring page

Print Coloring Page Download PDF Tags: Lemmy Koopa , Super Mario , Super Mario Bros. , mario , nintendo , video games , mario , franchise More Super Mario Coloring Pages 0

The Koopalings!! These stickers are printed on durable, high opacity adhesive vinyl which makes them perfect for regular use, as well as for covering other stickers or paint. The high-quality vinyl ensures there are no bubbles when applying the stickers, and the stickers … 1
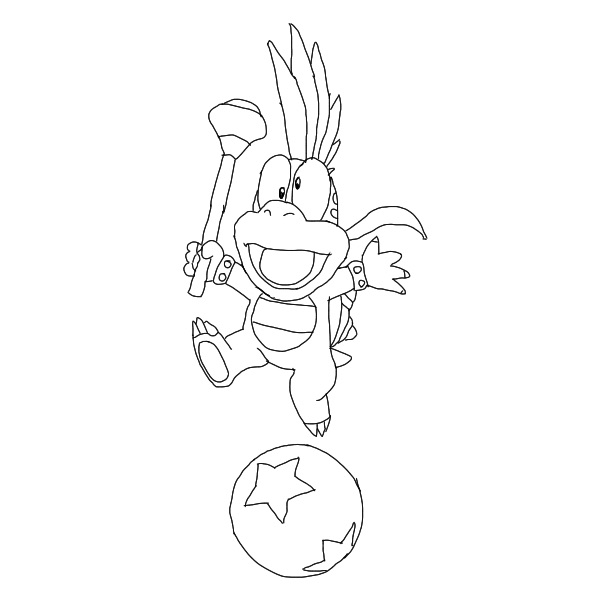
Download or print this amazing coloring page: Lemmy Koopa Coloring Page for Kids - Free Super Mario Printable Coloring Pages Online for Kids - ColoringPages101.com | Coloring Pages … 2
Apr 7, 2021 - Free printable Lemmy Koopa coloring page for kids to download, Super Mario coloring pages. Apr 7, 2021 - Free printable Lemmy Koopa coloring page for kids to download, Super Mario coloring pages. Pinterest… 3
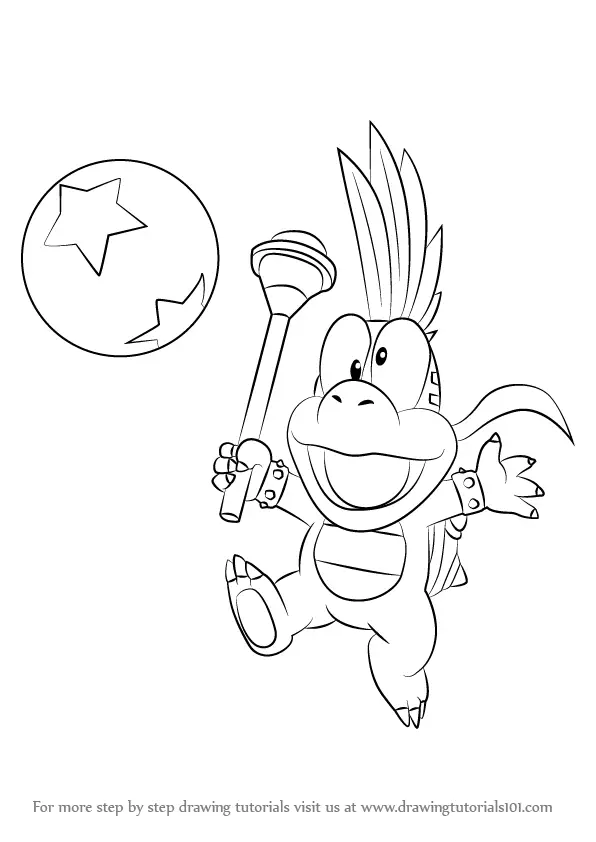
Learn How to Draw Lemmy Koopa from Koopalings (Koopalings) Step by Step : Drawing Tutorials 4

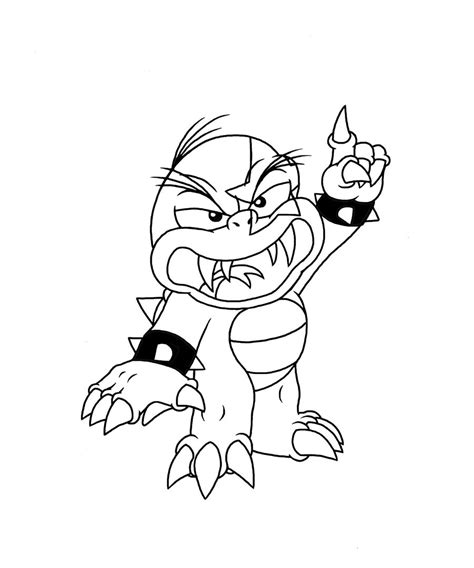
Lemmy Koopaling - Free Colouring Pages 5

Lemmy - Free Colouring Pages 6
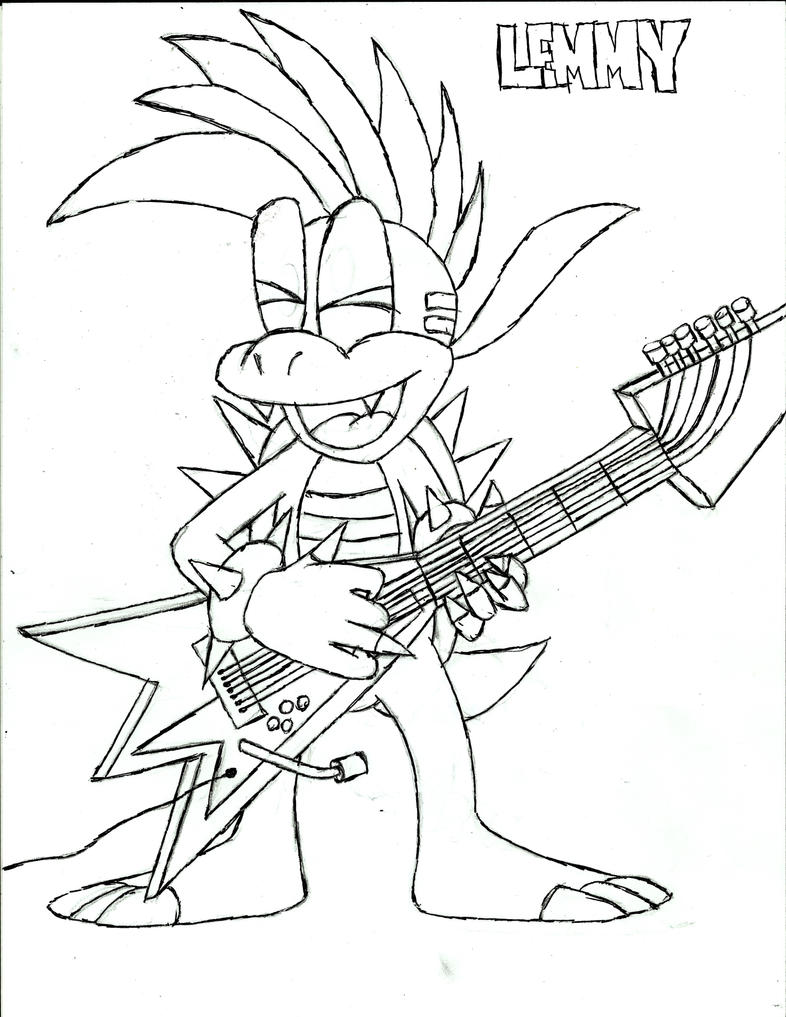
Lemmy Koopa by PhantomMasterRamos89 on DeviantArt 7
Lemmy Koopa Coloriage - Coloring Home 8
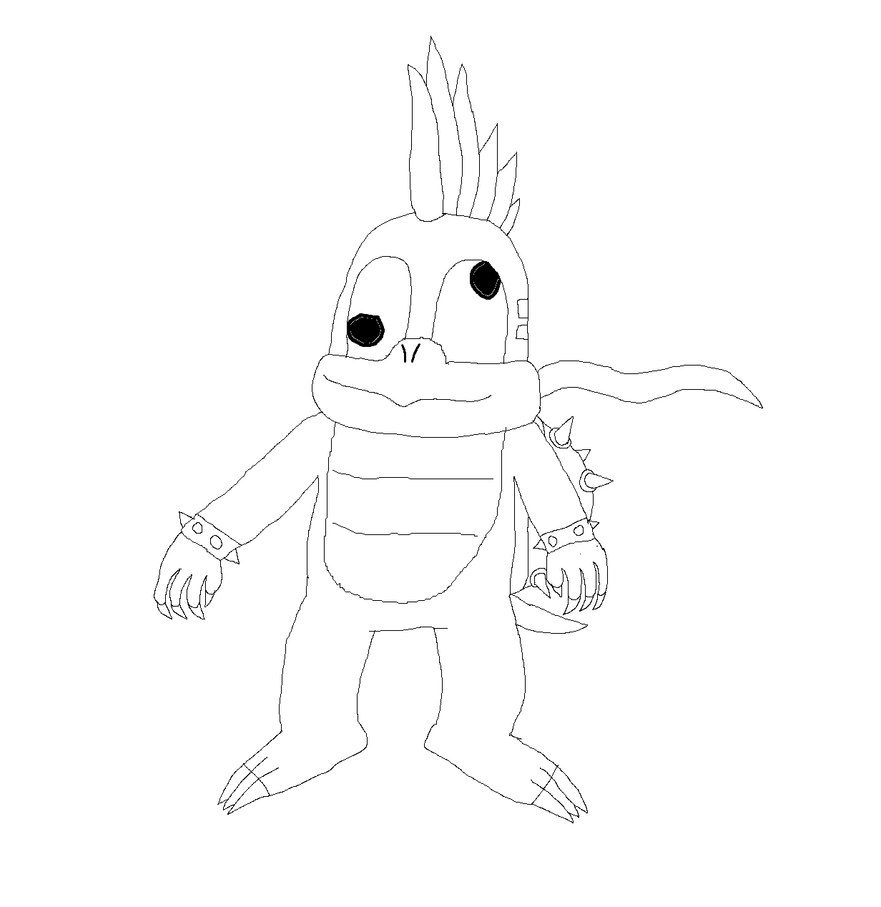
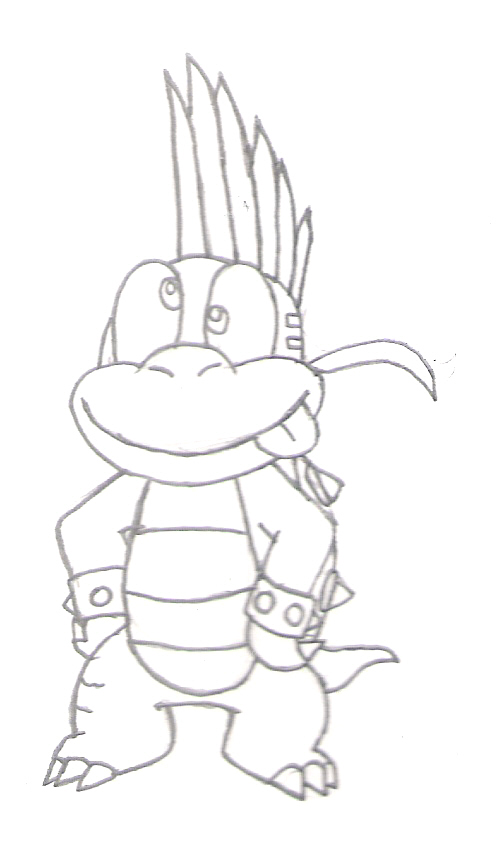
Lemmy Koopa lineart by dbott2000 on DeviantArt 9
Lemmy Koopa - Free Colouring Pages - Coloring Home 10
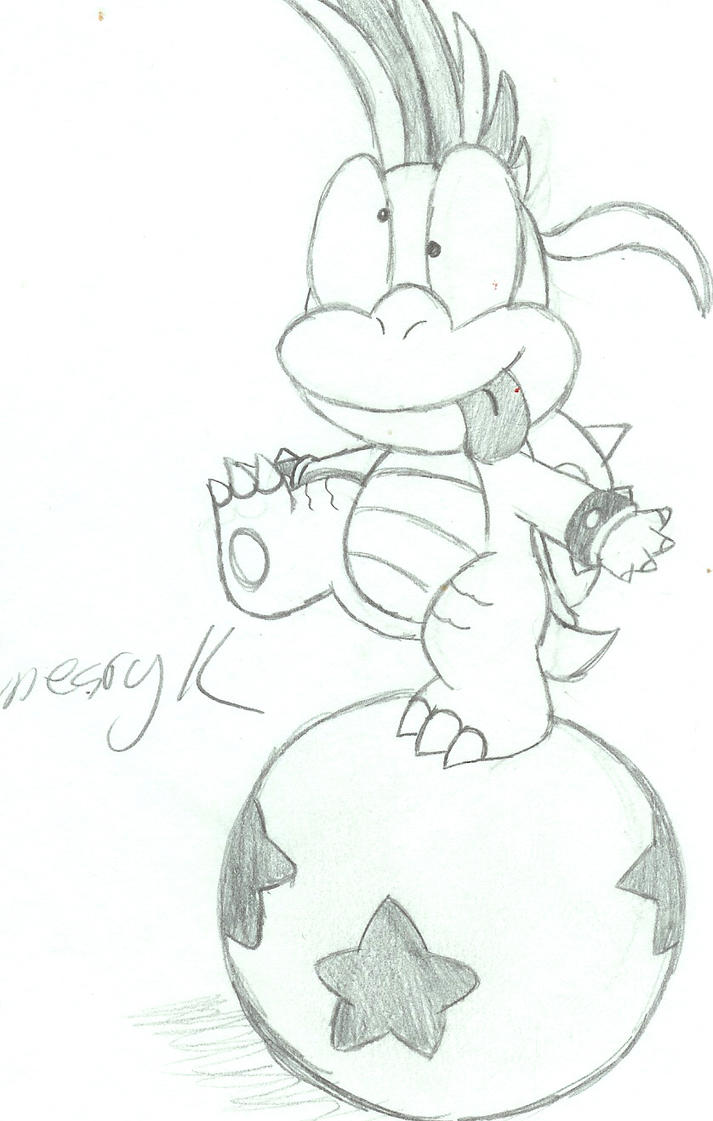
Lemmy koopa by BunearyK on DeviantArt 11
Lemmy Koopaling - Free Colouring Pages 12
Lemmy Koopa Coloriage - Coloring Home 13

Gallery:Lemmy Koopa - Super Mario Wiki, the Mario encyclopedia 14

Lemmy Koopa Coloring Pages Coloring Pages 15

Step by Step How to Draw Lemmy Koopa from Koopalings : DrawingTutorials101.com 16
Lemmy Koopa - Free Colouring Pages 17

Goomba Coloring Page at GetColorings.com | Free printable colorings pages to print and color 18

Lemmy Koopa Coloring Pages Coloring Pages 19

20 Lemmy Koopa Coloring Pages - Free Printable Coloring Pages 20

Lemmy Koopa - Free Colouring Pages 21
Koopalings Coloring Pages at GetColorings.com | Free printable colorings pages to print and color 22

Koopalings Coloring Pages Coloring Pages 23
Lemmy Koopaling - Free Colouring Pages 24

Lemmy Koopa Coloring Pages Coloring Pages 25

Learn How to Draw Morton Koopa Jr. from Koopalings (Koopalings) Step by Step : Drawing Tutorials 26

Say Hi back to Larry Koopa by Lionofdemise on DeviantArt 27
King Koopa Coloring Pages at GetColorings.com | Free printable colorings pages to print and color 28
Koopalings Coloring Pages at GetDrawings | Free download 29

Lemmy - Free Colouring Pages 30
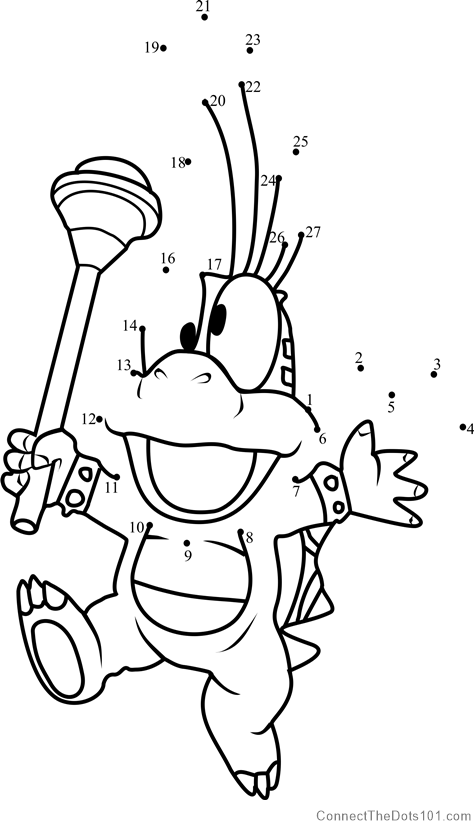
Lemmy Koopa from Super Mario dot to dot printable worksheet - Connect The Dots 31

Lemmy Mario Coloring Pages : Lemmy Koopa Free Colouring Pages Coloring Home : For boys and girls 32
Lemmy Koopa Coloriage - Coloring Home 33

63 Lemmy Koopa ideas | lemmy, super mario, mario bros 34
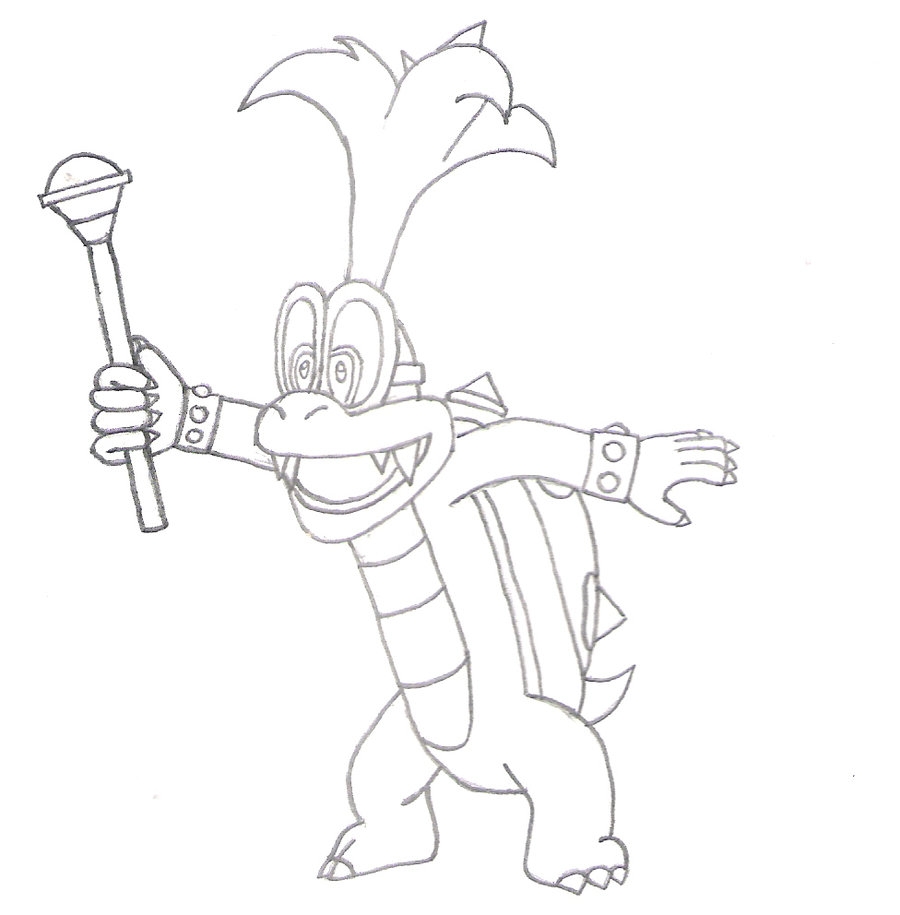
hey everyone and welcome to the club, today I'll be showing you how to draw, Lemmy from Super Mario, [Music], let's get started in the center of our, page with the top edge of the snout so, it's basic curve starting from the left, side I'm going to go up in the middle, and then back down on the right side, now we're going to step in and draw on, the nostrils starting on the left I'm, going to draw a simple curve coming down, and in move over to the right and draw, another curve in the opposite direction, now from the center we're going to step, down in the middle start with a point we, draw the top edge of the mouth so in the, center we're going to start by going up, and out towards the left, and then we'll curl it up on the end go, back to the center go up and out towards, the right, and then back up to the corner of the, mouth, now let's draw the lower part of the, mouth starting from the left side, curve down in the middle, and back up on the right we're going to, add the tongue starting from the left, side again I'm going to curve down in, the middle, [Music], and then back up, [Music], let's draw on the sides of the cheek, coming down towards the chin so from the, left side of the snout I'm going to, curve out around the corner of the mouth, I'm going to pull this in towards the, center just underneath the mouth just go, back to the right side and do the same, thing going around the corner of the, mouth, and we're just going to pull that in, towards the bottom of the chin, now we draw two large ovals in behind, the snout leaving a gap in the center on, the left side I'm going to curve up it's, like drawing a large oval, curve around and then back in behind the, cheek go over towards the right and, curve in the opposite direction going, around to the top, pulling that in, [Music], now on the inside of the eyes we're, going to draw on the pupils so we're, going to step up on the left side start, with an oval, and then on the right we're going to, step down and draw that same size oval, on the top of each oval we're going to, draw a circle a little highlight, and then we'll fill the bottom area of, the pupil in Black, [Music], in between the eyes at the top we're, going to draw the top of the head, starting from the left we're going to, curve up, back down now let's draw on the sides of, the head on the side of the left eye I'm, going to curve out and then pull that, down towards the cheek, and we'll do the same thing on the right, side, let's add a couple spots on the left, it's a little half circle on the side of, the head, we'll do one down here as well right in, the corner, now we're going to move over to the, right and draw another half circle, now let's go to the top and draw on the, hair spikes we're going to start with, the center one first so from the inside, of the right eye I'm going to go up and, curve over towards the right, I'm going to taper this down so going, wider as you come in and down and pull, that down towards the top of the head, I'm just going to layer a few more in, behind starting at the top, curve up and over, now we're going to go around going out, pull that down towards the top of the, eye down here and do another one, [Music], now we're gonna go a little bit shorter, up, around, behind me I'm going to add one smaller, one at the end here, short angled line going up, curve this in behind the side of the, head, [Music], now that we've drawn the head let's work, our way down the body and start with, that belly patch first so small little, oval tucked in underneath the chin, starting on the left we're gonna go, around, towards the bottom, pull that back up underneath the head, let's add two stripes starting from the, left I'm going to curve down in the, middle, and over towards the right step it down, and draw that same curve, let's add in the size of the body so, stepping down from the chin on the left, side I'm going to curve around, and then just pull that in go to the, right and do the same thing, I'm going to leave a gap along the, bottom for the legs now we're going to, complete that Circle going down the, middle and then back up, let's draw on the left leg so from that, point I'm going to step up to create an, overlap, curve around I'm just going to pull this, up around the knee now I'm leaving a gap, I'm just going to continue a straight, line underneath the body let's add in, the foot so about halfway down this line, curve around down towards the bottom of, the foot now I'm going to curl up the, first toe going up, step down, come down and up the second toe, step down again we'll draw the third toe, and pull this up underneath the knee, now that that appointed claw to the end, of each toe starting from the left it's, like drawing a v, on each toe, now over on the right I'm gonna have the, leg kicked up so you see the bottom of, the foot so we're going to step up on, the side of the body, and curve out and then down now I'm, going to overlap the foot stepping down, over that line I'm going to round out, the toe pulling it down, I'm gonna go up curl around the second, toe and down now the third toe we're, gonna go all the way down towards the, heel, and then we'll just pull that back up, let's add a small oval to the bottom, heel of the foot, [Music], now from the edge of the foot I'm going, to step down to create an overlap we're, going to curve in towards the bottom of, the belly, now at the end of each toe we're going, to add a claw so it's an upside down V, log the tip of each toe, [Music], now let's move back up and draw on the, arms you're going to have the arms, spread out we start on the side of the, cheek here we're going to draw the top, of the arm curving down and then up, towards the wrist let's add in a thumb, crew up, and just pull that back in let's draw in, the Palm this little curve, and draw a little curve coming out now, we stack three fingers sticking out, towards the left so on the inside of the, thumb I'm gonna go out round out the, finger and then pull that in do that, again and draw that just two more times, and once more we're gonna go around now, right here we're going to pull this in, towards the wrist, and then from here we're going to curve, down in behind the body, let's add a claw to the tips of each, finger so it's an upside down V, sideways V on the tip of each finger, now from the top of the wrist to the, bottom I'm going to draw a curve going, out and then down I'm going to step in, draw that same curve for the edge of the, bracelet we're gonna add two circles on, the inside, on the top, the bottom we're going to show the size, of the spike so we can draw an upside, down at the top, and then a v along the bottom, now on the right side you'll be holding, a one so starting on the side of the, cheek we start with the upper part of, the arm curving out and up, let's draw on the thumb we're going to, curl this around going up, down towards the tip of the thumb now, we're going to pull this up, stack three fingers curled up in behind, the thumb starting up here we're going, to draw a half oval going out and back, in, on the bottom of this finger we're gonna, go out again, come down and I'm going to tuck this in, underneath the thumb, we'll do one more, let's add a small claw to the tip of, this thumb so an upside down V, [Music], and we draw that wand in an angle behind, the fingers let's start the bottom the, bottom of this finger and draw two, straight angle lines coming down, cap it off with a curve now these two, lines are going to go in behind the, finger and continue up towards the top, now let's cap off the top with a curve, going opposite direction going up and, then back down on the top corners we're, going to angle out, [Music], now let's cap these two parts off with, another curve, I want to split this area in half so, starting on the left we're going to, curve across and then back down, [Music], now let's finish off the top of the one, from this point on the left I'm going to, come down and circle around that corner, go around the top, and then back around the corner on the, right and on each side I'll draw a short, line going up in an angle, and connect these two points with a, curve just on that same curve going, across, and at the top we draw the Dome, it's like a half circle, [Music], now let's move back down and finish off, the arm start from the top of the wrist, I'm going to curve down and then in, behind the handle of the wand, I'm going to step back curve the bottom, of the arm and come down and then in, behind the body let's add in the, bracelet starting from the top, just follow that same curve of the wrist, now we're going to add two circles one, at the top, one at the bottom then again we're gonna, add those two spikes one at the top, and one along the bottom, now on the side of the head we're gonna, add one strand of hair starting from the, side of the cheek go out and up and, we'll go around the hand and then back, down I'm going to taper this so it gets, a little bit thicker as you come in now, we're going to thin this out in behind, the cheek, in behind the body we're going to add, the edge of the shell so underneath the, arm we're going to curve around just on, the same curve of the body, between the arm and the legs we're gonna, add one Spike on the left side come down, an angle, and then pull that back in add the tip, of the tail so right where the shell, meets the leg, come down and out, and pull that back in behind the leg and, that's pretty much it there we have it, there's Lenny from Super Mario I hope, you enjoyed today's lesson make sure you, subscribe and send me your requests in, the comments below thanks for watching, and we'll see you again soon, [Music]
Reddit Images 20

Lemmy Koopa & Golden Chain Chomp pin 0

Lemmy Koopa and Golden Chain Chomp pin 1

Lemmy Koopa & Golden Chain Chomp pin 2

Lemmy koopa 3

Strange old homeless man protecting Ainsworth Ave trees (paging u/Lemmy_Koopa) 4
Lemmy Koopa 5

Just realised that Lemmy Koopa has pan coloured hair! I now know why Lemmy always was my favorite Koopaling 6

lemmy koopa in de dust from cs 1.6 7

Here’s Lemmy Koopa building Me. blizzard 8

I made Lemmy Koopa! 9

First fnf Lemmy koopa menu bg concept 10

Update on Lemmy Koopa 4” Ball design 4/22/21. 11
Happy Lemmy Koopa Day!! This one drawn in my style with a cute flair to it. 12
Just finished another page of the coloring book. Page 6… I believe 13

Lemmy Koopa Security Breach 14

I made a level about working with Lemmy Koopa and his bouncy balls to reach some treasure. 15
page coloring for ch 171. 16

First one of seven as requested: Larry Koopa! Lemmy is up next! 17

More Toywiz listings - No picture still, but this time for the complete next 4 wave (includes Lemmy Koopa and Black Yoshi) 18
Konomi coloring by @Shazayumart (chapter 93 cover page) 19
,


Comments
Post a Comment