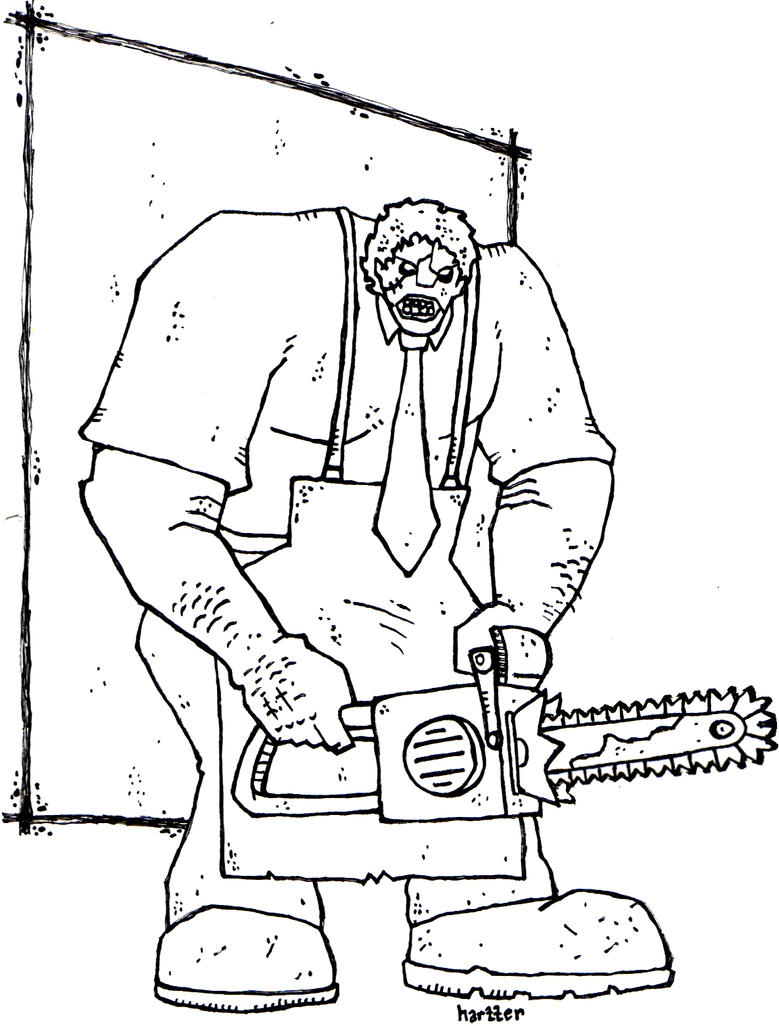
90 leatherface coloring page
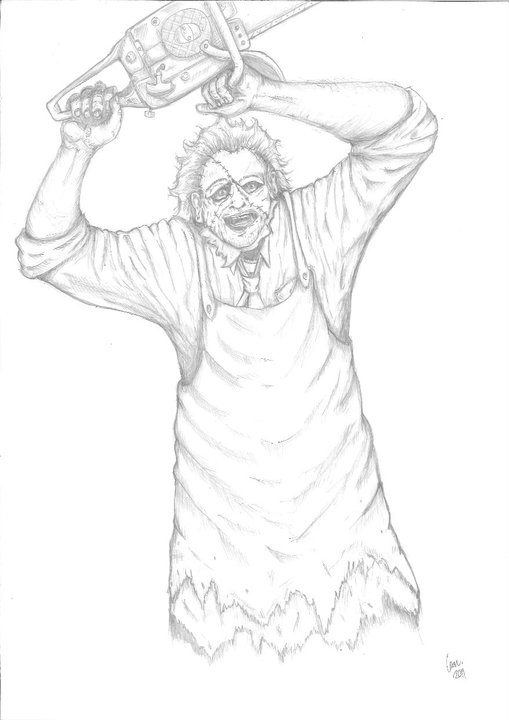
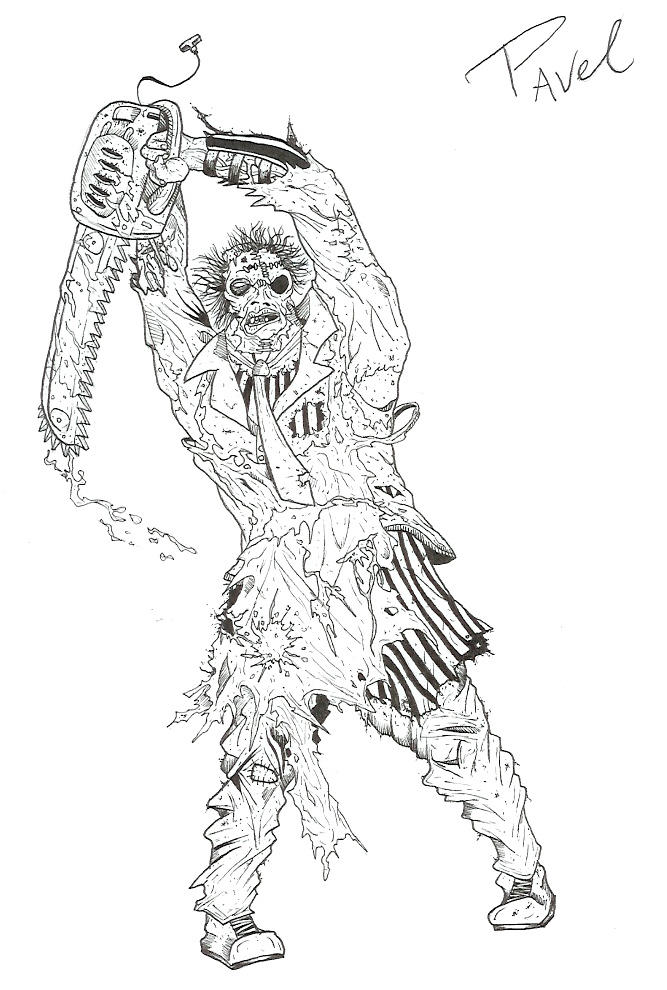
leatherface coloring page

Click the Leatherface coloring pages to view printable version or color it online (compatible with iPad and Android tablets). 0

Jan 11, 2016 - This Pin was discovered by Chantelle Holloway. Discover (and save!) your own Pins on Pinterest 1

03-oct-2016 - Ирина Шиманская descrubrió este Pin. Descubre (y guarda) tus propios Pines en Pinterest. 2

Mar 25, 2016 · Mar 25, 2016 - leatherface coloring pages - Google Search. Goofy, the adorable character from the Walt Disney productions, is a favorite amongst children … 3

Leatherface Pages Coloring Pages 4

LeatherFace by c-crain on DeviantArt 5

Leatherface Coloring Pages Coloring Pages 6
Leatherface Pages Coloring Pages 7

Leatherface Pages Coloring Pages 8

Leatherface Coloring Pages 9
Leatherface Pages Coloring Pages 10
Leatherface Coloring Pages Coloring Pages 11
Leatherface Coloring Pages Coloring Pages 12
Leatherface Coloring Pages Coloring Pages 13
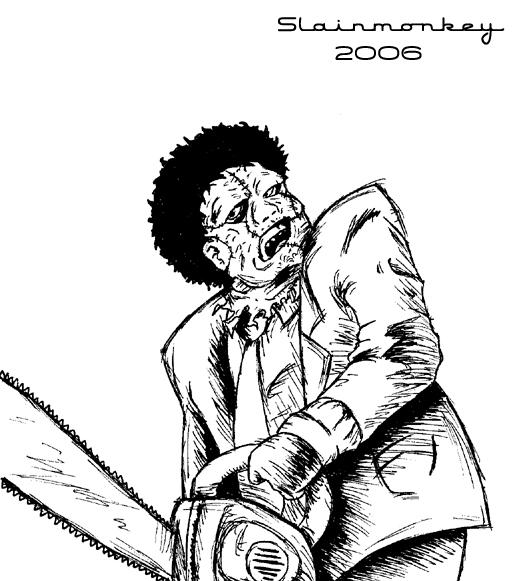
Leatherface lineart by Slainmonkey on DeviantArt 14

Leatherface Coloring Pages 15

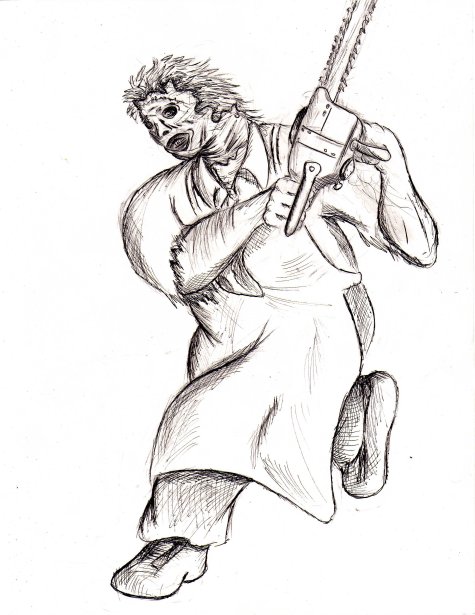
Quick Draw: Leatherface (1974) | Horror Amino 16

Leatherface from Texas Chainsaw Massacre 17
Leatherface Pages Coloring Pages 18

Leather Face Line Art by B-BOOGY on DeviantArt 19

Leatherface by Samuel-Hain on DeviantArt | Horror movie art, Horror art, Classic horror movies 20

Leather Face by NerveOne on DeviantArt 21

Leatherface Coloring Pages 22

Leatherface Pages Coloring Pages 23

Leatherface's Toolshed by BryanBaugh | Horror art, Art, Leatherface 24

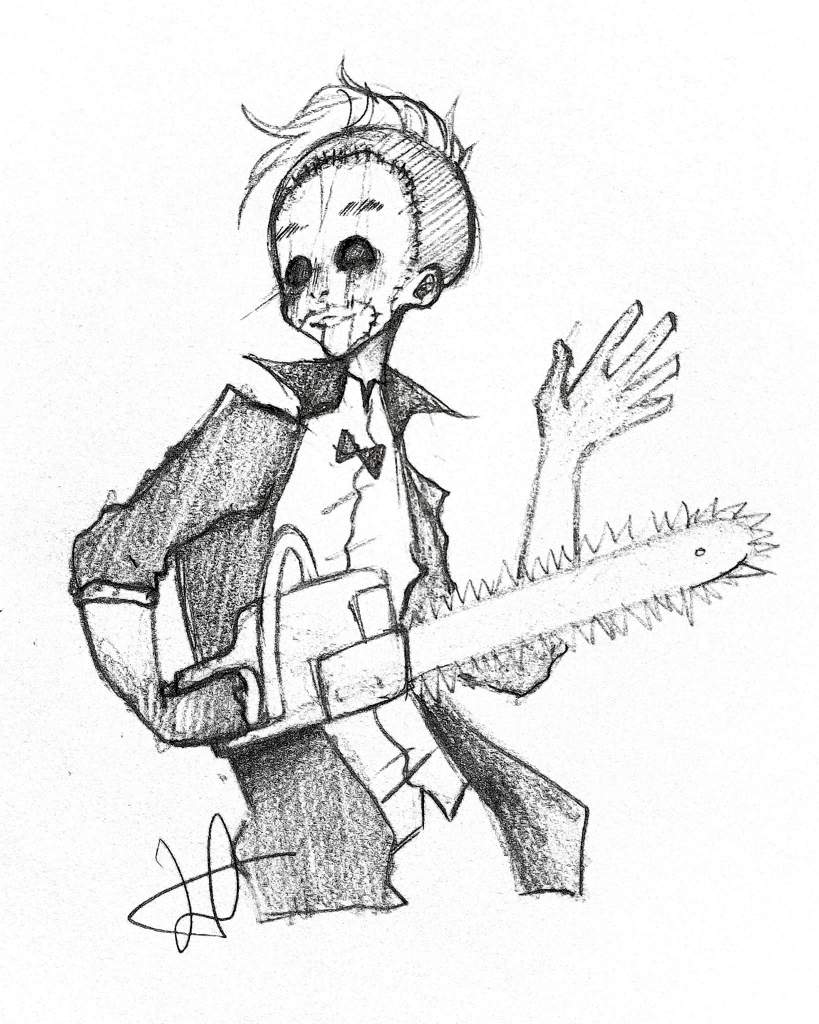
Image result for leatherface coloring pages | Coloring pages, Male sketch, Art sketches 25

Leatherface in BandW by BryanBaugh on DeviantArt 26
Leatherface Pages Coloring Pages 27

Pin on Holiday idea 28

Pin by Brian papalia on Horror | Horror movie icons, Horror icons, Leatherface 29

How To Draw Leatherface by Dawn | dragoart.com 30

Freddy Krueger Desenho Para Colorir-freddy krueger desenho para colorir ~ Imagens para colorir 31
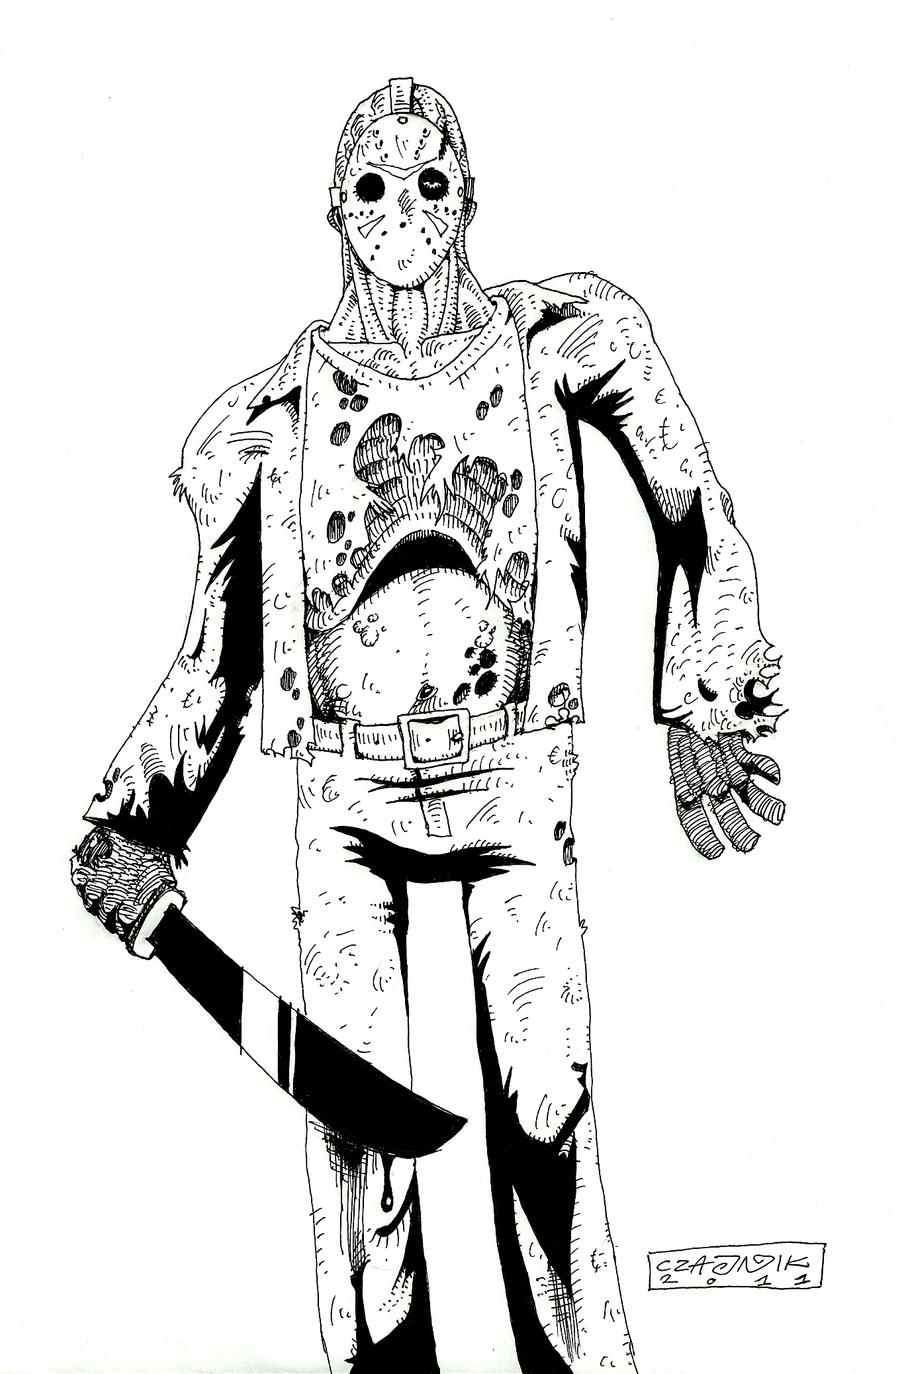
32 Friday The 13th Jason Coloring Pages - Free Printable Coloring Pages 32

How To Draw Leatherface Easy by Dawn | dragoart.com 33
Leatherface Pages Coloring Pages 34
[Music], what is going on draw it to crew welcome, to drive - my name is Randy and this is, another episode of how to draw here in, this channel I help you develop your, artistic skills by showing you how to, draw your favorite characters from TV, movies video games comics or books so if, this is your first time here and you, want to see more videos like this one be, sure to hit that subscribe button and, make sure you click that notification, bell icon so that you guys are notified, anytime I upload a brand new tutorial, video are you ready to draw here are the, tools that you'll need you'll need a, pencil and eraser any type of white, paper and black ink pens for inking, afterwards we all draw at different, speeds so as you're watching this, tutorial remember that you can pause, this video at any time so that you can, catch up on your drawings and if you, find that this video is still going way, too fast remember that you can always, hit that speed button at the bottom, right of this video to slow it down also, keep in mind one more thing results will, vary so if your drawings look a little, different than mine that is completely, completely acceptable as well so having, said all of that let's get right to the, tutorial all right you guys, so to start our leather-faced tutorial, what we're going to do is have our paper, in portrait mode we're gonna have him, kind of up to mid thigh I guess you, can't really tell because he will be, covered with his um his butcher apron so, let's get started I'm going to first, begin by drawing a circle up at the top, right around here on the draw circle, about this big and we're going to expand, that that is going to be his face, obviously we're gonna have his face, before you know before we do this I'm, going to draw a slightly slanted line, you guys can see that it's sort of off, slightly slanted line like this and then, I'm going to draw the jaw chin and the, jaw on this side now the thing with this, tutorial what I'm going to try to do is, try to create not like lines that are, not smooth like this and I consider this, like pretty smooth and it looks really, nice but what we want to do with leather, faces we want to create the effect, of like really gritty and grim so we're, gonna try to add some like lots of extra, little details too to him to make him, look extra extra creepy okay, so anyway let's bring the neck going, down the neck kind of goes down this way, so you got the head this way but the, neck is kind of straight up and down a, little bit more now we're gonna draw I'm, going to draw the shoulders pretty broad, like that so I'm gonna draw them like, this they're almost at a 45 degree angle, right here pretty close to his neck, that's going to be his shirt-collar, thing okay from there I'm gonna draw two, lines coming out like this and I'm gonna, what I'm gonna have a way of this shirt, where the the hole for the neck like the, collar for the neck is almost too big, for his broad neck so it's gonna be like, this like a v-shape over here and a, v-shape over here, so that's access his collars and then, two lines going in this way and then, line going across this is gonna be for, his necktie so that's what that looks, like keep that for now let's continue, I'm going to find where the shoulders, are gonna go and this leather face we're, not gonna make a muscular we're gonna, get to make him rather like rather big, he's a rather big character right so, let's uh draw two lines going down now, we're not going to make it narrower as, he go down, I guess you go into the waist what you, want to do is you want to keep going, straight down and he's we're actually, going to make a square right here so his, body's gonna be very squarish like that, okay and then the rest is just going to, be you know in fact so that's what that, looks like, right there and I'm going to end I'm, gonna end it right around here there's, no need to go any lower than that okay, so let's get let's do the arms shoulder, shoulder his arms are gonna be by his, side and he's gonna have like these big, beefy harness like he's been working, hard labor all his life so that's what, we're going to do he's not I mean he's, not like a really huge guy well actually, he is I take that back he's a pretty, huge guy just not super muscular but at, the same time he's not skinny so he's, just a big big guy okay, so we've got the arms here I'm gonna, bring the forearm kind of going down and, then cut it off right around here okay, same thing over here actually you can, want this arm to go out like this, okay, and he's sort of slightly lifting the, arm a little bit before the hands let's, just make this flat and then we'll make, this flat ok so here's like a square, another I guess you could call it a, square more like a trapezoid or one of, these four sided shapes that look like, that, shorter over here longer on this side, and then over here we have the thumb, coming out so this goes out to and then, down like that okay so that's gonna be, the basis for our hand the other hand on, this side now this one's gonna be a, narrower square looks like that thumb, comes out this way and then this way, fingers go down kind of curved and then, just enjoy this for now so it kind of, looks like a glove but we'll add the, details a little bit later on as we add, the details into the body and let's draw, the apron the apron is gonna start over, here and over here and the apron goes, from here down to you right around this, side so make it go down first and then, change the angles so that there's a bit, of a point right here okay that apron, goes to his back okay right here is the, other side of that apron and then it, goes across over here the tie goes tucks, into the apron like this and it's not, straight make sure that the tie is kind, of you know it looks like Jason's been, chasing after peoples of his ties kind, of out of place now this goes like this, and then this goes on this side we're, gonna give we're gonna draw where the, chest is gonna go because that doesn't, really mean anything because we won't, really see much of the chest but we will, see we will see a little bit of like a, bigger belly like this, okay and then part of that belly is, gonna be that belly's gonna be what he, call it highlighted by V like the little, string around the apron and the apron, string kind of goes loops behind and it, comes forward and then a little knot, here just like that okay all righty, no it's we're cutting that and remember, I don't want any smooth lines we're, gonna try to make these lines kind of, wobbly wobbly and unsettling okay right, here there's a up here now there's like, a little buckle right there and then a, little loose part of the apron kind of, comes down kind of just part of this, little thing that goes behind like that, you guys hear any vibrating that's my, phone, there you go, so that's good now let's work on his, shirt I'm sure you know what let's work, on his face let's do that let's just get, into the face right now now this is, going to be his of course Leatherface, isn't called Leatherface because he, wears the skin of like the people that, he's killed he wears it over himself so, so the way that we're going to do this, is we're going to make it so that the, face isn't it doesn't fit his um it, doesn't fit his physique okay so what, we're going to do is that to figure out, where the eye lines are going to go now, these are gonna be for his main eye for, his main eyes his ears are here and, that's his head right so the eyes would, normally be over here and over here and, that would be properly proportioned but, what we're going to do is we're gonna, make his eyes a little bit more narrow, and we're gonna make them round and when, I draw the circles they're going to be, not fully circles and I'm gonna color, the inside or shade in the inside I mean, okay so these circles I'm not gonna make, them nice circles they're awkward shaped, like this okay it's gonna be some, stitching at the top for some like you, make it look like there's eyebrows okay, and then here's where the nose would be, now imagine the nose would kind of be, off it looks weird so what we're going, to do is we're going to make it, off-center start there here's here the, sides, and then we're gonna make it go up I, like the nose was just like there's a, nose behind that nose okay make it go, this way and then now let's draw some, bags under the eyes and then from here, and I draw a line going from the eye, kind of down to the mouth another man is, going to be like he's got a little, something that props the mouth open so, the mouth is gonna be like this for the, face then it's going to be he looks like, he's smiling but it actually isn't, smiling it's actually just how the what, do you call it the the face is the fake, face the mask that he's got and I'm just, going to have just wrinkles around that, and wrinkles around here, the type of wrinkles that you wouldn't, have if this was a real face and then, let's draw the mouth I'm beneath that so, the mouth is gonna be I'm gonna draw the, bottom as straight and then the top is, gonna go up and then down like this and, make sure that it's off center as well, so the mouth inside this masks mouth is, not at the center it's off to the right, okay, so I shaved the bottom shade half of it, and then I'm gonna create the teeth make, those teeth a little crooked and dirty, if you can here's the here's the, wrinkles for the mouth there you go, that's already starting to look pretty, creepy doesn't it okay from here and in, the draw wrinkle going out and then, right kind of right here imagine that, it's the skin is kind of ripping so, here's a little rip and then some exes, like he's stitching it back together and, speaking of no it's draw the lines, around the face and as you do that don't, make it symmetrical make it make it make, those Lyons wavy make them look off and, not the same on both sides so right here, I started here I curved I went down like, this and over here it's a lot more, straight than it over here and I went, above so I create this fold right here, on the chin and then I create another, fold under the chin so imagine that the, skin is kind of folding onto itself and, you keep doing that until it looks like, this so you got a whole bunch of these, lines underneath there like that, okay now the ears are not really years, they're cutouts of ears so don't give, them the same shape as regular ears and, don't make them the same shape as each, other so this one time I made a little, bit bigger than this and they don't look, like ears they look like skin they're, just the skin it's gonna draw the top, part and that's it okay right here I'm, going to draw I'm gonna erase that part, and I'm going to draw just this line, that looks like that okay and this is, going to be stitching like the end of us, like he's got skin and I'm just dragged, these lines that go across that long, line so that is essentially like the, line that connects the skin like he, stitched the skin on top of I like it, next to another skin to combine them, okay and here's the other skin that he's, got stitched alongside okay the more, wrinkles you have the creepier it will, start to look okay, there you go now the hair but here is, well it's essentially just messy hair so, any hair that you did like make it as, messy as you can so I'm gonna make mine, look like this and I'll probably do the, like the this kind of thing when I start, inking it but make it make that hair, like he hasn't bathed he hasn't he, hasn't showered after killing people so, it's just messy, and all over the place and don't forget, to put some hair going over like over, this forehead line as well, there you go, so I'm just creating these more of these, little lines I'll probably add more with, the thinnest pen that I have there you, go so that is a leather face you guys, now let's draw the body we're gonna make, the body is weird and off as the face so, no straight lines here you guys, everything's disheveled everything is, messy and not symmetrical, I made those collars a little bit bigger, I have more wrinkles to the tie and more, wrinkles to the collars - there you go, though so there's there's that want to, erase the arms and what I'm going to do, is I'm going to give him a shirt a nice, dress shirt that has been stained and it, looks like he slept on it and it doesn't, fit him very well either, okay so so if it doesn't fit him very, well make sure that D like the the seam, on the shirt make it lower than normal, so it'd be right here and then the scene, would go up like that and then you do, the same thing on this side actually, make this just make it go up like this I, just exact it there you go, now let's do the collar we're gonna have, the we're gonna have his sleeves rolled, up but when they rolled up they're not, properly rolled up so they're messy, rolled up so I'm gonna start right here, that's where it's gonna go around the, arm okay two lines like this diagonal, like that and then like this and then, just draw wrinkles wrinkled wrinkled, wrinkled lots of wrinkles over here kind, of just randomly zigzagged and then now, we're going to create the sleeve which, is loose and not it doesn't show his, musculature or anything so when you draw, it make sure that make sure it's, wrinkled first of all and make sure it, doesn't show that he's got any muscle or, anything underneath I'm gonna create, some wrinkles as I go our pit especially, down in fact, okay there you go Rickles going up and, along this side and wrinkles going this, way as well I put a loop on those, wrinkles there you go right into the, apron so the apron you don't see the, side of the apron, if you do it right to you oops if you do, it right you won't see the side of the, apron the side is going to be covered by, the Carm okay on this side now first as, we go across let's draw the little, butcher apron pocket thing over here, we'll add some details to that a little, bit later on right here we're gonna make, this we kind of see his belly so you see, a little bit of wrinkle going this way, and then this way okay so the the way to, do it so make it look like the apron is, kind of fitting around his belly is we, make these stretch marks like the apron, is getting stretched like that okay as, you go on the sides they're zigzags, right here and then they just go up, there you go, so that's what that looks like and then, down here at the bottom don't make it a, nice smooth line you want to you want to, make these kind of parts of ICH the, apron is kind of it's just not even I, don't even know what I'm trying to say, here but it just doesn't look put, together so it looks like that so, imagine a shirt if you tuck it in and, then and then you move around so much, that it starts to loosen that's what, that looks like you see a little bit of, the string still and then here's the, here's the drawstring or whatever string, that is okay now let's go on this side, you want the arm the shirt right here, two lines here and here and diagonal, like this and then same thing here so, it's kind of layered it looks layered, okay now here, that's your wrinkles and then just up, like that, wrinkles here I'm gonna make some, zigzags there you go so that's what that, looks like right there now let's work on, in the bottom half including the hands, and with the hands let's zoom in, let's do each one of them so this hand, right here here's the arm little wrist, bone coming out over here, little bit of that a little bit of our, hair like that make it sporadic like, don't make it even or anything all right, now he's got big hands, well not big hands but they're just a, little bit bigger so add some size to, that right here I'm going to divide it, into two this part I mean so that's, divided into here's one part and then, here's the other part that by doing that, you divide the two fingers or the four, fingers okay now divided there's two, more fingers right there and then here's, two fingers here so what you want to do, is you want to you want to create these, knuckles now they look like that okay, and over here I draw it like this and, then a little bit of knuckle right there, just by drawing these lines right here, now you should be left with this line, right here and what you want to do is, you want to extend those fingers down to, that line like that one two three and, then this one you barely see it forward, and then lastly with just this finger, draw another line going down or another, like the this part of the finger right, here and that's that should do it okay, this goes out let's start that thumb, there you go, we'll add some more detail to it a, little bit later but right now let's um, go to the other side and let's work on, this hand we'll do the same thing with, the forearm excuse me okay there you go, here is like me cutting this thing in, half again but of course it's not, exactly half you see these two these two, a lot more than the other two so this, half should be bigger than this okay and, then I divide this into this half and, then you know how fingers are divided, into this segment the segment and this, segment three segments so what I want to, do is you want to divide it into one two, lines and then you see then now that, divides each finger into different, segments make this a little bit longer, than the pointer finger right then the, index middle finger is supposed to be, longer anyway okay here you don't see, much of it here you barely see the pinky, okay I made that a little too long I'm, just gonna make it like this okay and, then the I draw the hands going out this, way and then over here just clean that, up and there you go I made him have huge, hands that's okay that's okay, make those must those knuckles more, prominent okay individual hairs coming, out, now easiest parked we're just going to, have some lines from from the bottom of, the belly coming down like this just as, some wrinkles of varying lengths okay, and then of course also wrinkles going, this way this way, and going up as well and that's it cut, it off right there and we're done sort, of done let's so go in and add a little, bit more detail here's zooming out this, is what Leatherface it should be looking, like pretty gruesome grisly let's add, some plaid so I'm just going to add some, plaid pattern to his shirt but just dry, these lines and when I draw these lines, you want to make sure that you follow, the the wrinkles you added right each, wrinkle you add adds a crease and, doesn't make that line straight okay so, I'm just going to draw these stripes, going down this might make your drawing, a little bit messy you guys but the more, complicated it looks messy here it looks, I don't know the more grisly the more, menacing he looks right okay over here, same thing that's going this way, and then you keep going until all of the, shirt is covered essentially so there's, that and if you really want to you can, draw lines going across you don't have, to because I mean in parts in some, movies I think he's wearing plaid other, parts of the movies he's not he's just, wearing I'm what he called he's just, wearing a nice dress shirt a striped, dress shirt so here you go here's me the, lines that I'm drawing across are, thicker by the way there you go and, again the same thing if you come across, a wrinkle that you've drawn you want to, make sure that you're the pattern on the, shirt moves along with that there you go, now not quite done let's add some blood, spatters and stuff like that on the face, and well everything else so blood, spatter just gonna create these circles, and kind of just stains around the face, like that and I'm doing it very lightly, you guys I also looks like skin is, rotting if you do that by the way okay, and then yeah let's add some blood, spatter on the shirt as well kind of, random so this is where I can't really, tell you how to do it or where to put it, it's up to you where you want but blood, spatter right here maybe you know some, some blood spatter kind of splashes out, like that this is where you guys get to, be creative with your inking, okay especially on the shirt don't, forget the shirt as well and this I, don't have to do it in pencil I could, easily do it with inks you guys so, that's probably what I'm going to do had, as much stains blood stains as you can, however the pencils if you guys want one, more thing actually I'm going to double, up on the apron just to show the seams, of the apron here anko, once you have that you guys oh yeah, don't forget the hands as well, make sure there's blood on his hands and, maybe scratch marks from holding the, machete and hacking people to death make, sure he's got his hands all covered up, over here maybe some more blood all, right there you go, there you go so you just keep adding as, much detail as you want you guys wear as, little detail as you want and once you, have that you've got yourself a serial, killer named leather face I hope you, guys enjoyed this Halloween tutorial and, don't forget I got tons more Halloween, tutorials coming up and I've already, done some more some Halloween tutorials, so make sure you guys get all of that as, well so I hope you guys enjoyed this, tutorial and I'll see you in the next, one and that is all the time that we, have for this tutorial video thank you, for watching all the way to the very end, if you are proud of your drawings I, would love to see them so there's three, different ways that you can send your, drawings my way, number one you can post it in the, Google+ community for me to see and for, everybody else in the community to see, you can also post it on instagram and, tag me or you can email it to me at draw, two at gmail.com I look forward to, seeing all of your artwork now if you, are curious about the equipment that I, use to make my videos or to do my, tutorials I have a kit.com link down in, the description below make sure to check, it out and find out what I use to run, this youtube channel now what you see, right here is me inking this artwork if, you want to see a longer version of this, inking process make sure to head on over, to patreon comm slash draw two to become, one of my patrons this is one of the, perks that you get and if you guys do, want to support this channel even more, yeah make sure to head on over to, patreon comm there's different rewards, that you will receive if you do decide, to support me through patreon if you're, curious about other ways to support this, channel and to keep it sustainable, I have merchandise that you can purchase, such as t-shirts mugs and mouse pads and, you can also buy some of my art prints, in my art store my online art store at, draw two dot Storenvy com be sure to, check out my art store often because I, regularly post brand new stuff that is, available for you guys to purchase if, you guys did enjoy this tutorial it, would help me a great deal if you guys, liked this video commented below or, shared this with your friends in your, social media and speaking of social, media don't forget you guys can find me, on Facebook Instagram Google+ and on my, website and draw to calm where you can, download a whole bunch, of coloring pages from the tutorials, that are found in this channel finally, before I go I want to say thank you to, these lovely people who have decided to, become my patrons and yes thank you so, much to all of you and thank you for, watching and as always stay tuned for, more so you can learn to draw - I'll see, you guys in my next video, [Music]
Reddit Images 39
Just finished another page of the coloring book. Page 6… I believe 0
page coloring for ch 171. 1
Konomi coloring by @Shazayumart (chapter 93 cover page) 2
![[No Spoilers] Digitally colored the cover page (not the actual cover of the book itself) of the Life Is Strange coloring book](https://i.redd.it/cdncsa6chuu91.jpg)
[No Spoilers] Digitally colored the cover page (not the actual cover of the book itself) of the Life Is Strange coloring book 3
![[Other] who is this villain on my son’s coloring page? It’s driving me nuts!](https://i.redd.it/ihia4i1szvi91.jpg)
[Other] who is this villain on my son’s coloring page? It’s driving me nuts! 4
Randomly coloring one page of my coloring book 5

First page of the coloring book done! Any thoughts? 6
{Artwork} Finally finished working on the coloring of this mask-less Spider-Gwen. It's about 98% pencils, with 2% of it in gel pen. It's a page from Marvel's WOMEN OF POWER coloring book, w/original art by Emanuela Lupacchino from Spider-Gwen Vol 2 #6 (Cover B Variant). 7
My coloring of the cover page for Ch. 159 8

This took SO many hours and it isn't even technically the first page... Maybe I should have picked something easier for my first time trying adult coloring, but I've always been ambitious. 9
Colored a page in my Horror Coloring Book (with colored pencils)! Available on Amazon + 5 Free Downloadable Coloring Pages 💀 See links in comments, thank you! 10
I colored an Empires-themed page from the latest Hermits and Friends Coloring Book 11
coloring page! 12
HEAT 2 - coloring page 13

I TRIED to colour this Melanie Martinez coloring book page.I'll do more of these. 14
Cool Platinum Age gem - The Story Of Just Kids (McLoughlin Bros. 1932). This is a 20 page mixture of text and prose illustrated in 3 colors. Just Kids was a kid humor strip that ran from 1923 to 1950. It was popular enough to inspire a comic book, a coloring book and a fistful of Big Little Books. 15
,


Comments
Post a Comment