21 king ghidorah coloring page
king ghidorah coloring page
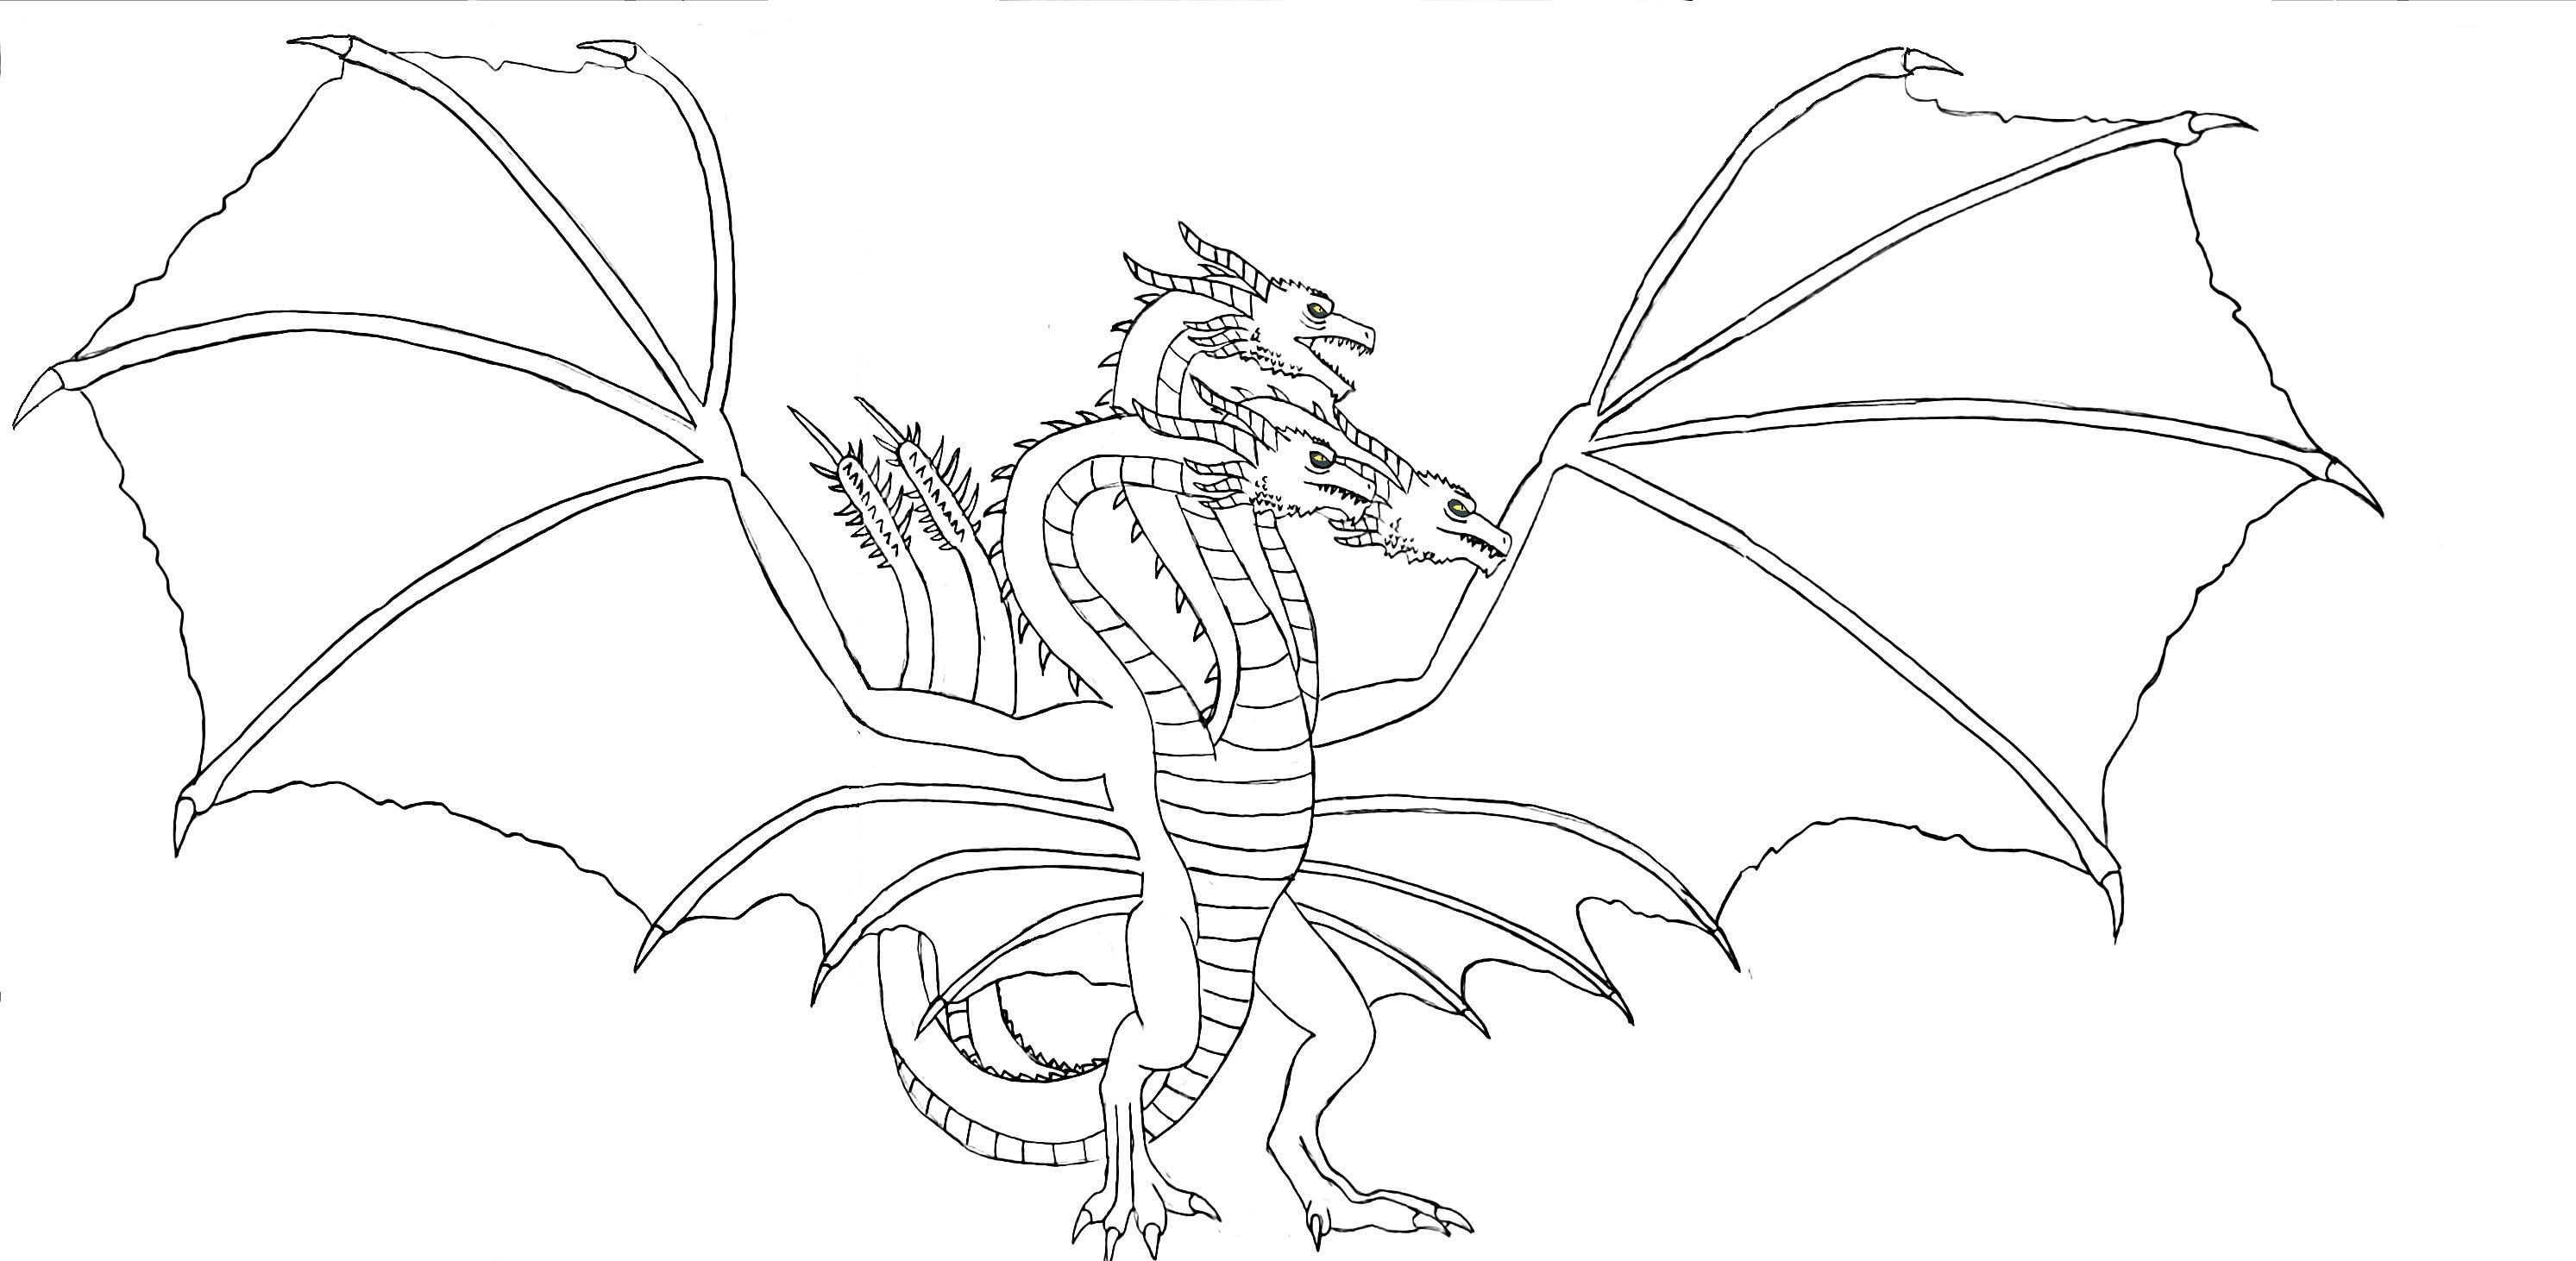
King Ghidorah Coloring Pages - Coloring Home King Ghidorah Coloring Pages Download and print these King Ghidorah coloring pages for free. King Ghidorah coloring pages … 0

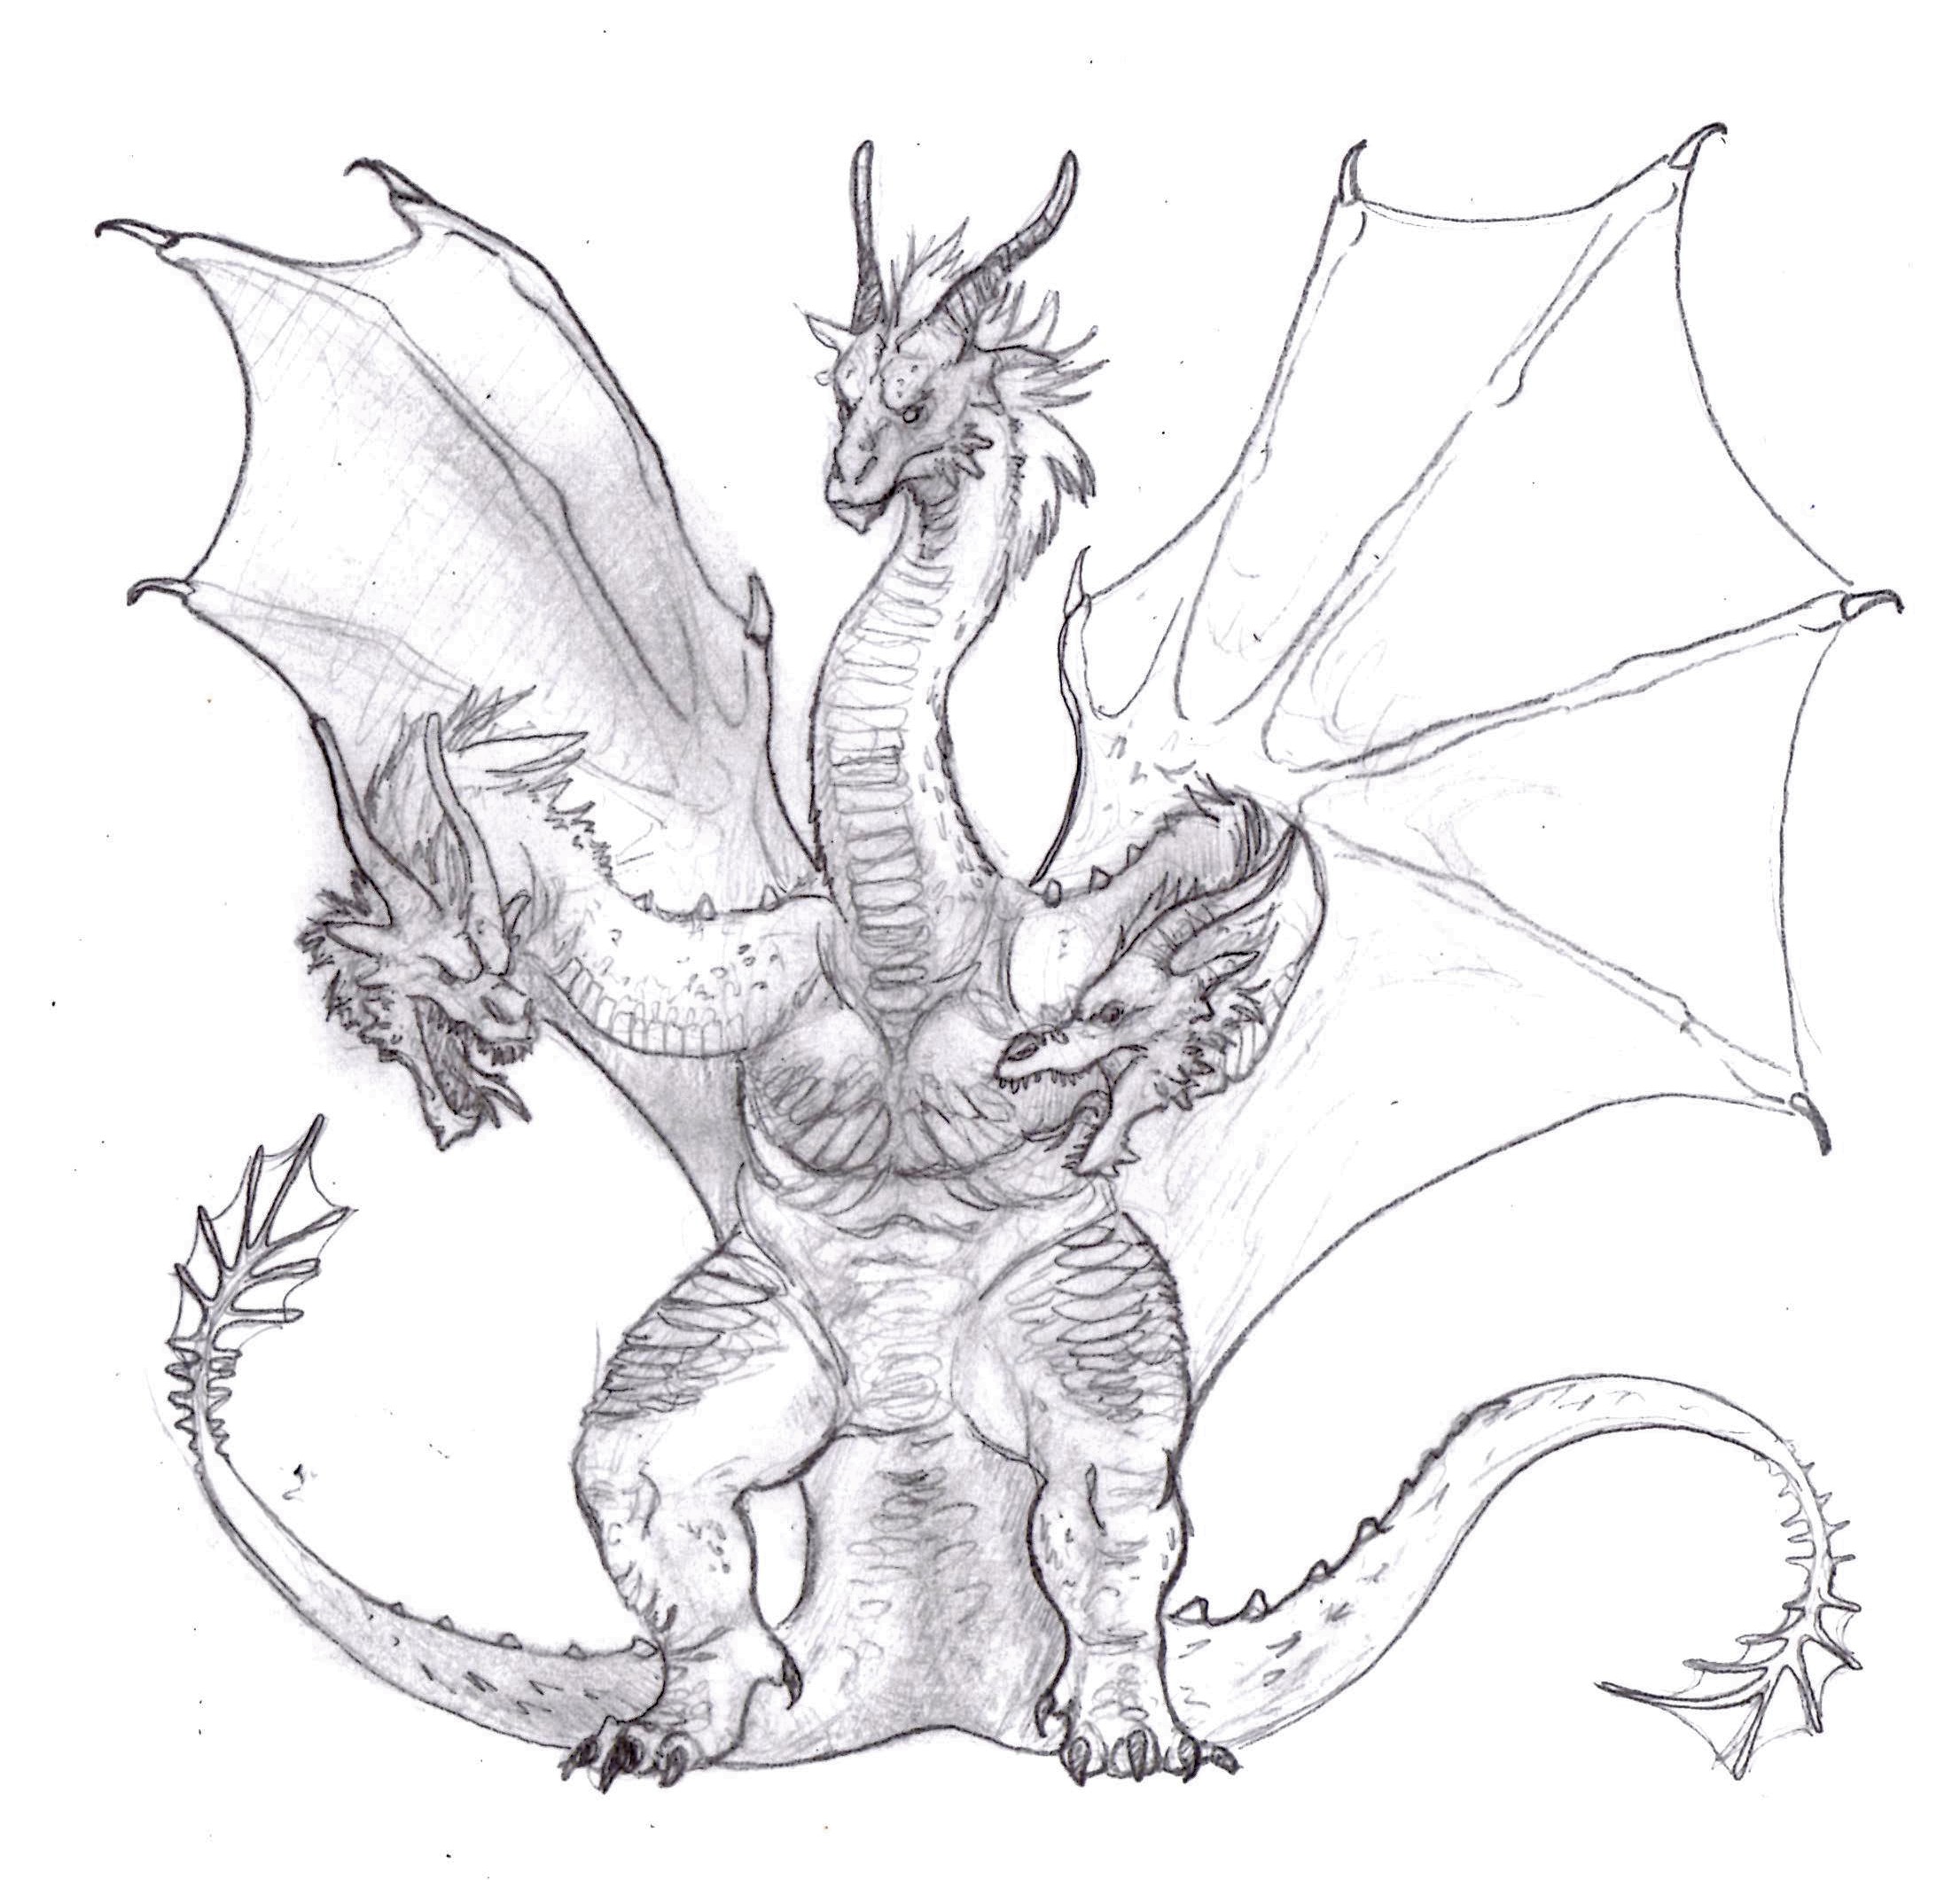
Download, color, and print these King Ghidorah coloring pages for free. King Ghidorah coloring pages will help your child focus on details, … 1

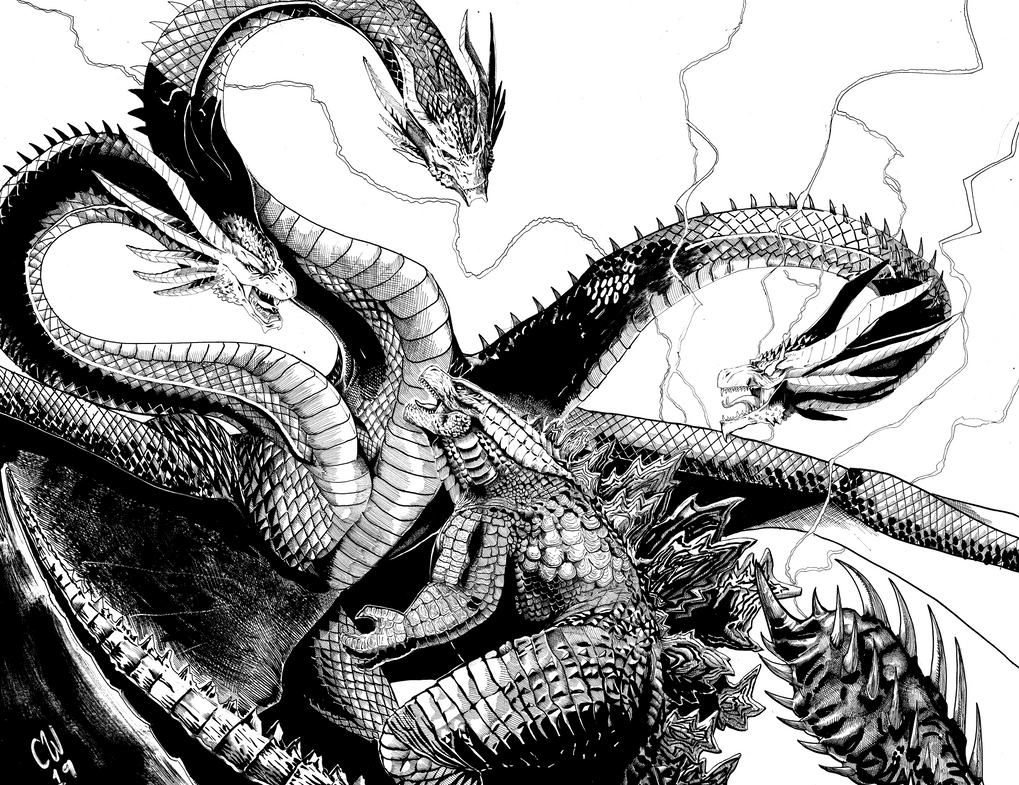
Ghidorah 2019 by WretchedSpawn2012 on DeviantArt in 2021 | Godzilla, Kong godzilla, Kaiju monsters 2
King Ghidorah Drawing at GetDrawings | Free download 3

King Ghidorah attacks by AlmightyRayzilla on DeviantArt | Movies by genre, Manga coloring book 4

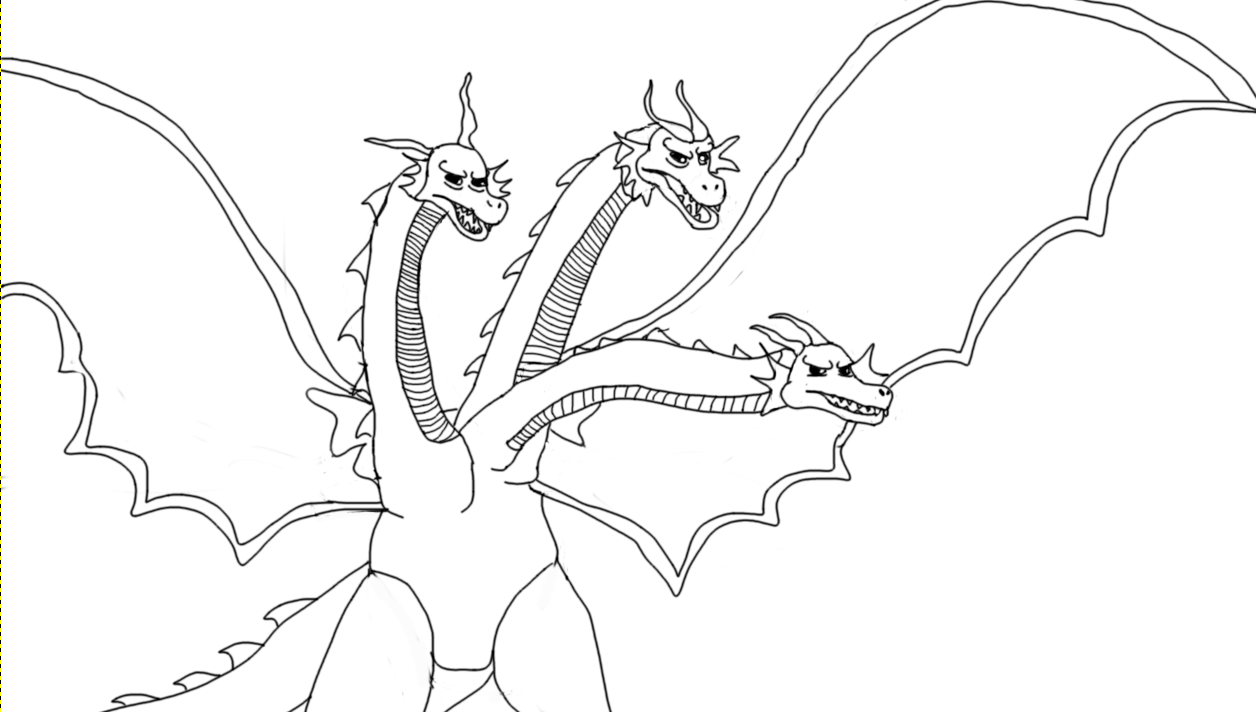
How to Draw KING GHIDORAH (Godzilla: King of the Monsters) Drawing Tutorial | Draw it, Too! 5
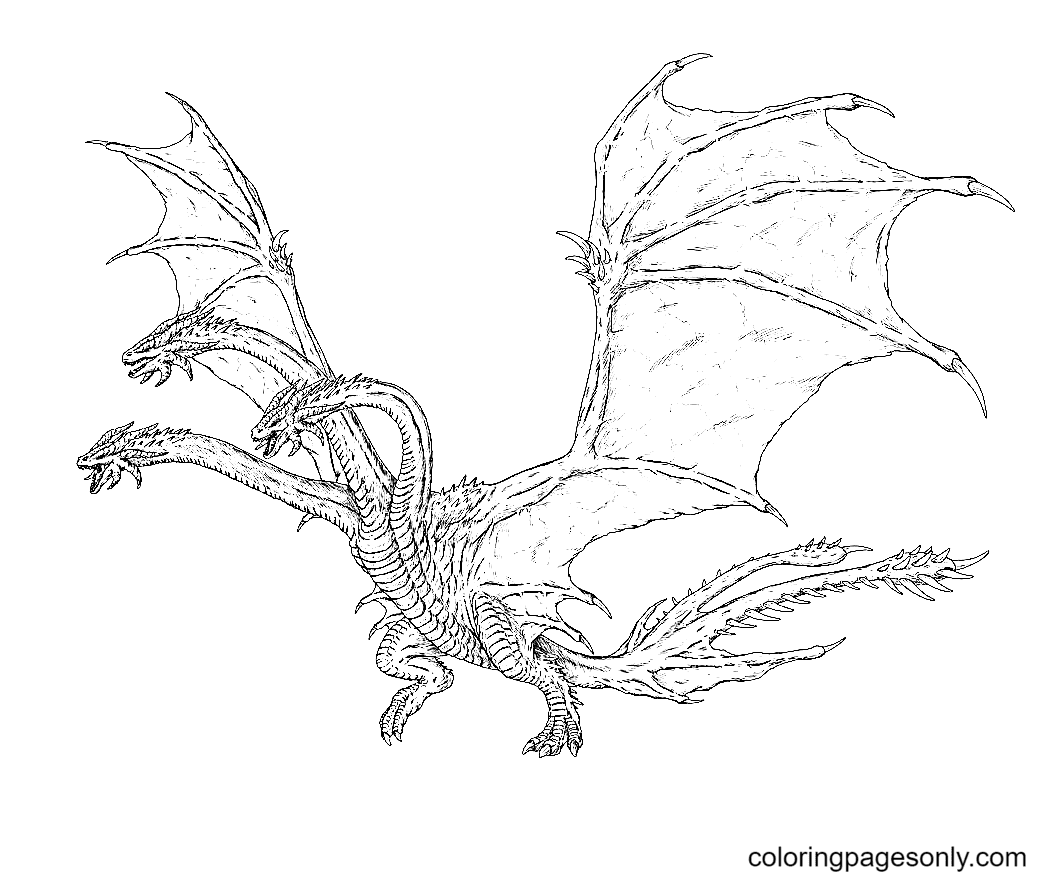
Download and print free Ghidorah coloring pages. King Ghidorah coloring pages are a fun way for kids of all ages, adults to develop … 6
King Ghidorah Coloring Pages - Coloring Home 7

Pin on Mosaic ideas 8
King Ghidorah Coloring Pages - Coloring Pages For Kids And Adults 9
King Ghidorah Coloring Page - Free Printable Coloring Pages for Kids 10
King Ghidorah Coloring Page - Free Printable Coloring Pages for Kids 11
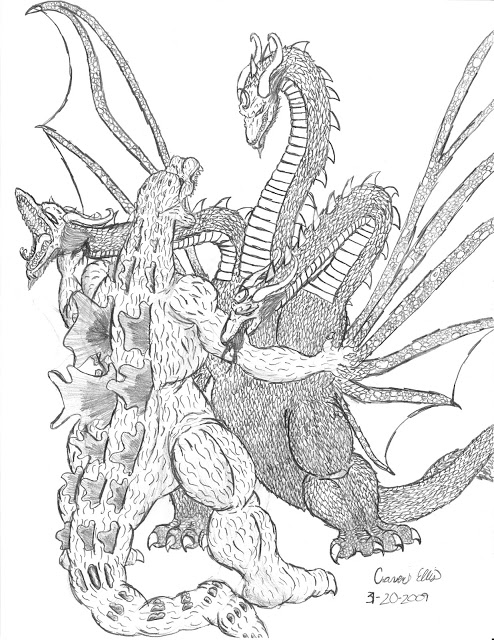
King Ghidorah By Scatha-the-Worm - Coloring Home 12
BloodDragon3000 | DeviantArt 13
King Ghidorah Coloring Pages - Coloring Home 14
King Ghidorah Coloring Pages - Coloring Home 15

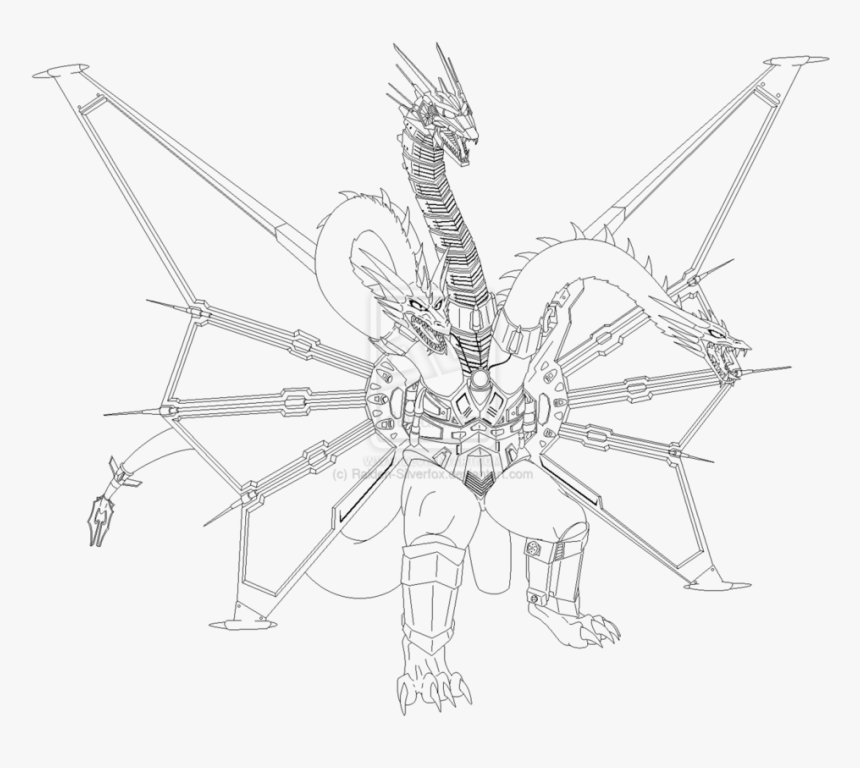
KAISER GHIDORAH LINE ART by neurowing on DeviantArt 16

King Ghidorah Coloring Pages Coloring Pages 17
King Ghidorah Coloring Pages To Print Coloring Pages 18

King Ghidorah 2019 by WretchedSpawn2012 on @DeviantArt | King ghidorah 2019, Godzilla wallpaper 19

King Adora Coloring Page - King Ghidorah Coloring Pages Sketch Coloring Page Monster Coloring 20
King Ghidorah Coloring Pages - Coloring Home 21
King Adora Coloring Page - How To Draw King Ghidorah Step By Step Drawing Guide By Dawn Dragoart Com 22
King Ghidorah Coloring Pages Coloring Pages 23
King Ghidorah Coloring Pages Coloring Pages 24

King Ghidorah Coloring Pages | Fantasy Coloring Page | Pinterest 25
King Ghidorah Coloring Pages 2019 - Coloring Pages Ideas 26
King Adora Godzilla Coloring Page / Kaijuly 27

King of the Monsters: Godzilla vs Ghidorah by A3DNazRigar | Godzilla vs king ghidorah, Godzilla 28
Godzilla Vs King Ghidorah! by ChristianWillett on DeviantArt 29
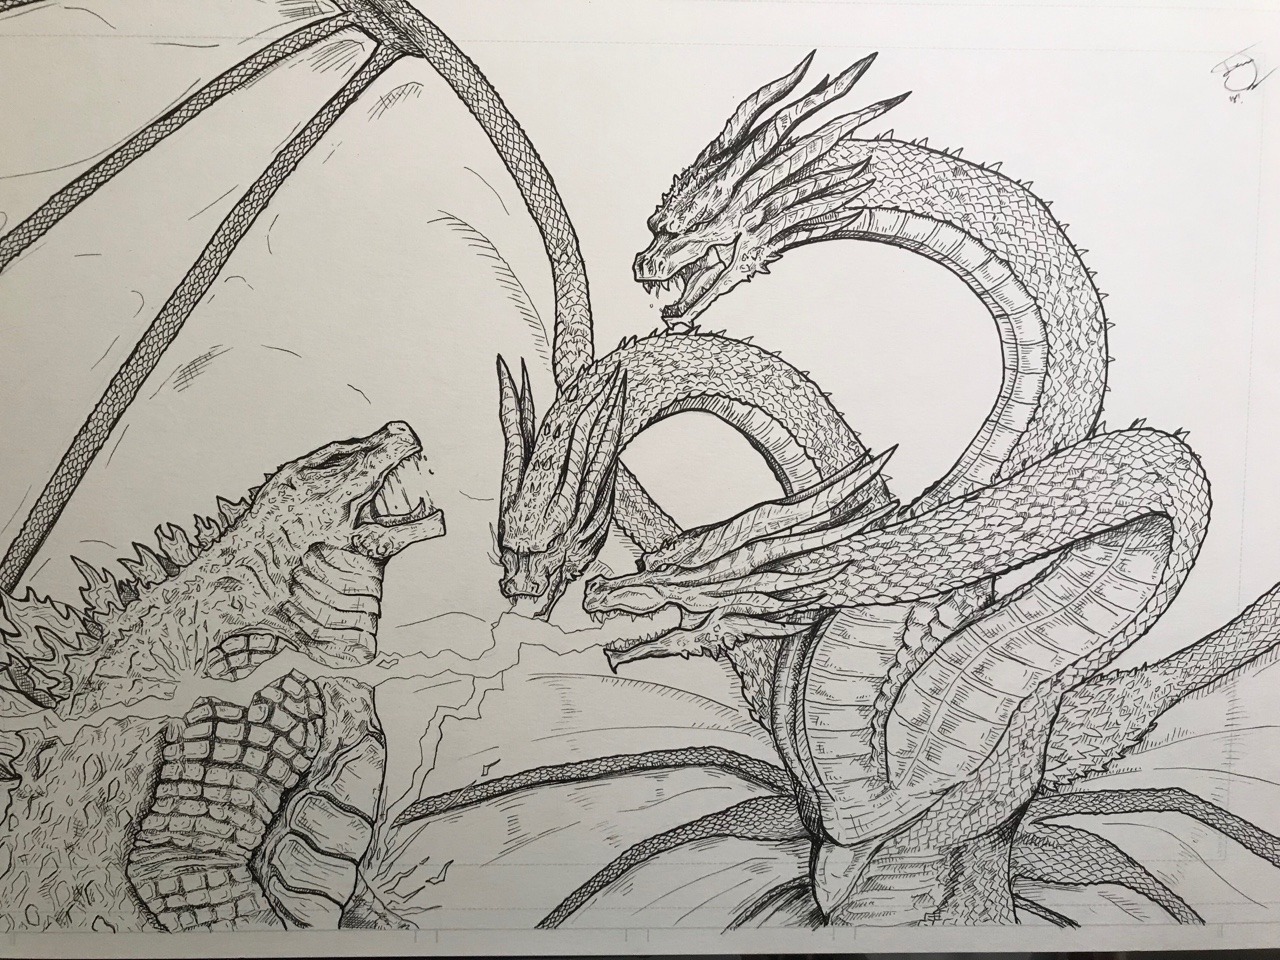
Tanner Wright — Godzilla vs King Ghidorah linework complete! Color... 30
King Adora From Godzilla Coloring Pages - King Ghidorah Coloring Pages Coloring Pages 31
King Adora Coloring Page / Marshall Lee SOOO CUTE | Things I Like | Pinterest : Printable 32
Godzilla Vs. King Ghidorah Coloring Pages Coloring Pages 33
16 King Ghidorah Coloring Pages - Free Printable Coloring Pages 34
[Music], hey everyone how's it going, well it's time for another how to draw, and color video and i'm getting a lot of, requests to do this titan so i'm going, to be showing you guys how to draw and, color kangidora now this is going to be, a big drawing and we're going to try to, fit it all onto one piece of paper, now with this drawing it's going to have, a lot of detail in it it's going to be a, little bit longer video so make sure you, guys get to follow along so you can see, all the steps and if you guys have other, requests definitely let me know and i'd, be happy to show you how to draw and, color them but thanks for watching and i, hope you guys enjoy, now to start off with our drawing color, kingidora we're going to begin with the, face and we're going to try to fit, everything onto this paper, now i'm actually going to be doing a lot, of zooming in and out and i'm actually, going to be using an extra fine point, sharpie for this one just because, there's a lot of details to really fit, on here and i want to make sure you guys, can see everything, so i'm going to start kind of towards, the not quite the middle but up just a, little bit with the head, now let's start here with the first head, so let's begin by drawing a little line, that's just going to come down, and then we're going to bring it back, like this, then we're going to make lines going to, come down and up for the eye, they'll make a couple little lines, underneath it, then over here let's draw a little line, that's going to curve out and then up, now starting here we're going to make a, little line's going to come out, and we're going to bring this line in a, little bit for the nose, we'll draw a line that's going to curve, up and down out here with a little line, above it for the other part of the nose, next we're going to draw a line that's, going to come down and then over, and then we're going to make little, lines just going to curve back like this, for the mouth, next we're going to make a line that's, just going to come down and it's going, to go over, the little curve line here, then we're going to draw a line that's, going to come up, we'll draw a little line that's going to, come down and another one that's going, to come down and that's going to come, back for the tongue, then we're going to add a lot of sharp, teeth on here so we're going to put, these on both sides and then we're going, to add a lot of sharp teeth on the top, as well, i usually should always draw the teeth, first by accidentally do the tongue, first but that's fine, next we're going to draw a little line, that's going to curve around here for, the lip, and a line that's going to come down and, then we're just going to bring it up for, the jaw, now we're going to add the little, points and spikes coming out so we'll, draw one here, make another one here, another one here we're making them a, little bit longer as they come out and, then we'll draw one more here, not starting here i'm going to leave, some space i'm going to make a couple, little points that just go up and down, then i'm going to make a long spike, that's just going to curve up it's going, to come to a point and it's going to, come back down, same thing here we're just going to go, up come to a point then we're going to, come back down, we'll add a little line that comes up, and down for the eyebrow, so that's going to be our first head, now i'm going to put the second head, over here, so this one's going to be a little bit, more of like a profile view more a, little more at the side, so i'm going to start right here and i'm, just going to begin by drawing a little, line that's going to come down and up, and then a little line that curves, around here for the eye with a couple, little lines underneath it, i'm going to bring this line up a little, bit, then i'm going to bring this line out, and we're going to curve this up and, down for the nose, then we'll add a little curved line in, here, kind of like a question mark shape, next we're going to bring this around, and we're going to draw a little line, that's going to come down, i want to make it kind of wavy and come, back like this, then we're going to draw this line down, to here, and we're going to make come back just a, little bit for the lip, next we're going to make lines going to, come down, we're going to come back all the way up, to here with the jaw, then we'll add a little curve line here, with a couple little lines for the back, of the mouth, now this time we'll draw the teeth first, so we're just going to add some sharp, teeth on the bottom and on the top as, well, draw a long line it's going to come out, and then come back, line that's going to come out to a point, in back, out to a point back, out to a point back and then out to a, point and then back, i want to make some little points on the, top, and then we'll make a long, wavy horn at the top, next we'll do the next head right over, here, so right here we're just going to draw a, little line that's going to come down, and up, and then we'll draw a low line it's, going to curve down and up here, next we're going to make a little line, that curves around here, a little line that's going to come down, with a little curved line here, we'll draw another curved line right, there, next we'll make a little line that's, going to come down, we'll add a couple lines underneath the, eye, now right here we're going to draw a, line is going to go down it's going to, come around, we're going to make it wavy and come, back to here, next we're going to draw a line that's, going to come down, and then we're going to start adding the, teeth so let's add some sharp pointy, teeth to here with a little curved line, and then we'll add more teeth over here, at the top, then we'll add a little line that goes, down and up and back for the tongue, and we'll draw a little line for the, back of the mouth, starting here we'll draw a little line, that comes across for the lip, it'll make a little lines going to come, down and that's going to come back here, next we'll add our spikes so we'll add, our long pointed spikes on here, and then starting over here we're going, to add some little pointed spikes at the, top of the head, then right here we're going to draw a, long line that's just going to do the, same thing we just kind of come up, go down a little bit and come back up, then we come back for the horns, then i'll add a little line up here, so now that we have our ghidorah heads, we're going to work on the rest of, ghidorah, so the first thing we want to do is, start the neck so i'm going to begin by, drawing a long line that's just going to, come down here, and then i'm going to make another long, line that's just going to come down to, here, this one will draw a line that's just, going to curve down, and then we'll do that same line right, to here, this one we're going to start at the top, and this one's going to curve down to, here, and then we're going to curve this neck, right into here, and then we're going to bring this line, down, now starting here we're going to draw a, line is going to come down and in for, the chest, and we'll draw another one that's going, to go kind of up here, we're going to draw a line that's just, going to come down, and then we're going to make the legs, so start really high we're going to draw, a line is going to go down and that's, going to come in, then we're going to come out at an angle, we're going to make a long line that's, going to come out to a point and then, back, make another one here it's going to come, down to a point and then back, and then we're going to leave some space, and i'll make another little point here, that's going to come down and then we're, going to come up, next we're going to bring this line up, and then we're going to curve it up to, here, starting here i'm going to curve a line, down, and then we'll curve another line down, towards it as well, i'm going to make a couple curved lines, here, then a line that's going to, come out, and another one is going to come out, like this, this one will make a little curved line, that comes down here for a toe, they'll make one that comes down to a, point and then up, make another one that comes down and, that's going to go up and then connects, now starting here i'm going to draw a, little line that's going to curve in, and then we'll make a little line that, comes up here, and we're going to connect this line, down, now right here is where we're going to, kind of start the wing now sadly we, won't be able to fit the whole wing in, here because it's going to go off the, paper just because the door is so big, but we'll fit in as much as we can, so starting here i'm going to draw a, little line that's just going to come up, and then we're going to bring it up here, this neck is going to be kind of in, front of it so then we're just going to, bring this up and then we're just going, to take this out, i'm going to bring this line up, and we're going to come up and we're, going to go out to here and then down, and then in, i'm going to make this come out here, towards the top of the paper and then, back we'll make another one that goes, all the way out, and then comes back and then one more, just goes out, starting here we're going to draw a, little line that's going to come down to, a point, it's going to come up, down to a point and that's going to come, out and off the paper, then we'll draw a little line that's, going to curve down and then one more, next we're going to draw a little line, that's going to come back and another, one's going to come back, and we'll do one here, and another one here, and then we'll make one more come out, this way, now for this wing we're going to start, it up here so we're actually going to, draw a long line that's going to come up, to a point, and then it's going to come back, we'll make another one that's going to, come out to a point and then it's going, to come back, and that's going to kind of jump behind, this neck, we're going to draw a line that's going, to curve down to here, and then we're going to start a couple, more little points out here, that way they look like they're kind of, connected here we'll make a curved line, down, and we'll bring this line in a little, bit, now i want to add the tail and i'm just, going to kind of start the tail out here, we're just going to kind of draw a line, that's just going to curve, up we're going to bring this line down, and then we're just going to curve it, out to here, and we'll make it kind of pop out back, here, now here's our basic g door now we just, want to come in here and add all the, different details, so let's start up here we're going to, add some spikes right down the back of, the neck, so we're going to do this to each one, we're just going to add spikes that come, all the way down the back of each neck, so we're just going to bring these all, the way down to here, i'm going to make a long line that's, just going to come down and we'll do, that on each neck i'll bring this one, down here, and then i'll bring this one down to, here, and then we're just going to kind of, round them off at the end, now these are going to have lots of, little lines in here this is kind of, like the scaly texture pattern, underneath the neck so we're going to, draw this kind of scaly line pattern all, the way underneath here, and we're going to do this to each one, next we're going to add a couple little, broken lines on here for the chest, we'll add some curved lines on, each of the claws, and i always like to add a little line, or two right around it just to really, make it look like they're sitting in, there, make some little kind of, lines that go across for the knees and, then a couple of broken lines around, here with a couple more by the feet as, well, we'll add some more broken lines around, here, you want to add some long lines that go, right along the neck, and we'll add some here, we'll add some little curve lines coming, up the horns too, and we're going to add some right along, here as well, we'll add some broken lines, we'll also add some claws up here on the, wings just on the tips of each wing, i'm going to add some broken lines kind, of right around the mouth and everything, and then just a few more kind of little, detail lines everywhere kind of add some, right along the arms, i like to add these long, broken lines coming out of the wings, just so it looks like the material in, between them is kind of like stretching, we'll add just a few more lines over, here by the body, and just a couple more on here as well, and there you go there is your drawing, of king ghidorah now i'm sorry this wing, got cut off we just kind of ran out of, room to put everything in there but the, next step in here is to come in here and, color and i'm going to show you guys how, to do that as well, okay now to start off with coloring our, kingidora you're going to want a variety, of different kind of yellows, some light tans some browns different, things like that because that's mostly, what he has a lot of these kind of like, yellow and goldish colors on here, so i'm actually going to start with this, y423 and this is kind of more of a brown, color and when kind of coloring him we, want to go in for some of the darker, areas first, so you'll see some of the darker areas, on spots kind of like on the back of the, neck here, so you can get each neck with one of, these darker brown colors, i'm also going to kind of get the bottom, of his spikes as well with a little bit, of this and along the bottom of his face, too, so do that on each one of these kind of, get the bottom of the spikes, and then we'll just kind of get the, bottom of this face, and this is just so we can kind of lay, in some shadows, we're also going to see this on kind of, this part of the leg we're getting the, back of the leg and i'm going to come, right down here as well, i'm also going to kind of get some of, the sides of the toes as well, this is just so we can kind of lay in, some of these dark shadows, we'll kind of go around the knee a, little bit, go around the bottom of the toes and, everything, then go to around the top of the leg, hit the back and then kind of right, underneath the chest area too, so many spots just kind of show where, there's going to be a little bit of, darkness, i'm also going to go and do this right, along the bottom of his tail, so we're just going to kind of hit some, of these spots, right along there, i like to do a darker color right, underneath the eyes too that really, helps make them pop let's do right, around there kind of right around the, back of the eyebrow, we can do it right along the bottom of, the top part of the mouth too so we're, just going to kind of hit some of those, and then i'm actually going to color, quite a bit of, their ghidorah's horns with this brown, as well so we're just going to get quite, a bit of this, with some of this brown in here, i'm also going to go and do the bottom, of his arms, and all these little long kind of finger, parts on the wings as well, so we're just going to get all of these, and we're just kind of laying down that, shadow, so let's just kind of hit all those, first, now after you do that you want to come, in with something that's going to be a, little bit lighter i like to go with, this y325 this is kind of like a darker, yellow color, and i'm just going to go right up, against a lot of those, a lot of that color that i just put down, we're just kind of giving a gradual, color change i'm going to color all of, the horns with this, so i'm going to get all the horned areas, with this, color, and this is just kind of like a really, dark dark yellow color, you almost kind of call it like a light, brown too and we're just kind of going, right next to, that first color that we put down, and it's just going to give us a nice, gradual change, you kind of fill in some areas with this, as well i like to kind of get some of, these little, spots where there might be a little bit, of darker, areas might not see a lot of light so we, can kind of hit underneath the neck area, there, go a little bit along the top here, of the head just kind of filling in some, different spots, kind of go right around this neck too, we can definitely take this up the arm, and kind of get some of these spots here, i'm only going to do a little bit up, here because i'm going to use some of, this color for when i do the actual, wings too, so let's get the tail too, well we can also hit these two i forgot, about these little spots here, and we can get this area right between, the neck, now once you're done with something like, that then you want to come in here with, uh, something a little bit lighter i'm going, to go with this y315, this is a nice color it's like a nice, dark yellow, and this is something that we can do, most of ghidorah in, now the trick is when coloring with, these markers is i'm actually going to, go and i'm going to color over a lot of, the parts that i've already colored this, way that they this way it kind of like, helps these markers blend together, because these markers are really really, nice because they are an alcohol-based, marker something you kind of find in, like rubbing alcohol stuff like that, and they just blend really really well, not like your traditional water-based, markers, so these things are really nice and i'm, just going to kind of color over a lot, of the areas, i'm going to fill up most of ghidorah, with this yellow color i'm going to, leave some areas, white for right now because we'll come, in with another yellow, but you just really want to color over, everything you've already colored, and that just kind of helps these colors, blend and work together you can really, see we're starting to get some different, blending in here and starting to look, really nice already, so we're going to come in here and just, kind of get all these spots, and this almost kind of works as like a, blender you're just kind of going over, bringing all these colors together, so we're just going to kind of hit all, of these, i'm going to go ahead and use all this, for like the, little kind of long finger parts, on the wing, i want to get most of the head in here, with this color, and we're just going to kind of get all, of this, one that tricky spots is kind of getting, right around all these little spikes, these markers are nice because they, definitely have a second tip on them and, that really helps for getting these, small areas but i'm just kind of gonna, go ahead and fill it in, and do my best to stay inside the lines, so we're gonna go and just get all these, right along here, just like that, now i filled up mostly ghidorah with, this, y315 and i'm just gonna come in here, with something a little bit lighter i'll, go with this y204, and i'll just kind of use this just to, kind of hit some of these little empty, spots these are just going to kind of be, some highlights on the dora, so i'm just going to come in here and, fill up everything, on his body and the skin with this y204, and this is just a nice light yellow, color nothing really bright i don't want, to do like a really really bright yellow, but this is just something nice that's, going to give me some nice kind of, little bright highlights here and there, it's kind of making the skin glow in, some spots and just a really nice, blending, color to go with so it's going to kind, of hit all these little spots, these are nice you don't even really, have to color over everything like we, did before, because, it's so light that just kind of fills in, those little areas, so that's a nice little kind of color, that's just the basic skin color of, ghidorah, now, when it comes to out here on the wing, part there's a few different things you, can do, i'm going to go in with this y423 again, and i'm going to color, in here with that, and i'm going to get, some of these big areas here like some, of these lines and whatnot with this, i'm just going to come in here and, kind of fill these up, i'm kind of getting areas that are right, underneath these long finger parts, spots where you might see some shading a, little bit more darkness, so we're going to get quite a bit in, here, with these markers you want to kind of, color over it just a second time, what that does is it just kind of gets, rid of some of those extra little lines, you might see, you know the more expensive the markers, you get sometimes you don't have to see, those lines but the nice thing about, these biannual markers is that they are, really, inexpensive but they work really well so, we're just kind of getting some of these, different areas in here, kind of hitting them all just going to, keep filling in right underneath these, finger areas, and we're just kind of getting all this, just like that still leaving a lot of, white spots in there because i'm going, to come in here and fill this in, and i'm going to come back in here with, this y325 and i'm just going to fill in, the whole wing area with, this color here, that way it's a little bit darker than, the rest of the body we don't have some, of those lighter yellow colors, but it's not so dark that it doesn't, really match in there because, really when you look at ghidorah's wings, the colors are very similar to what's on, his body, so i'm just going to come in here and, i'm just coloring in these nice little, circle motions getting all of these wing, areas, and just like i said really want to, color on top of that that way it can, really blend nicely, and you just get a really cool effect, too once you're all, said and done with that so we're gonna, come in here and get all these wing, areas, okay now once you have that wing color, in there then the next step is we want, to work on some of these little spots, like right underneath the neck here so, i'm going to go with a, y204, and i'm just going to go and, just kind of, get right around the side of the neck, here with this going back and forth on, it a few times this is going to be a, little bit lighter than some of the, other parts of the body so we're just, going to get these, around like more the top side, and then i'm going to do it under, most of these little lines here, so we're just going to hit underneath, right and all these little lines, just so we can kind of see a little bit, shading i'm doing right underneath the, top of each line, i'm going to come in with this y003 this, is like one the lightest of all the, yellows i'm just gonna, kind of fill in this area, this just kind of gives it a little bit, of like a lighter, look and just kind of helps separate the, body a little bit, now i'm going to come in here with my, y648 this is going to be one of the, lighter browns, and what we're going to do is i'm going, to actually use, this, smaller tip and i'm just going to kind, of color in right along the bottom, of all of these little spikes on the, back, so i'm going to get the bottom of all of, these i do kind of right up against the, neck and then the very bottom, and this just kind of adds a little bit, of shading to it, i'm also going to do the bottom of the, toes as well so i'm going to do the, bottom and then just kind of come up the, side of each of the toes i want to give, them these kind of brown claws, so we're just going to do this right, along here and the smaller tip is just, nice just kind of helps get those little, areas, and then so i'm going to do this right, along the back of here as well, now after we do that i'm also going to, go and get the claws on the tips of each, of the wings so we're just going to kind, of get the bottom of them, we're just going to do this right over, here and once again i'm sorry that we, kind of had to cut off the wing a little, bit just ran out of room he's just such, a big character to draw, now i'm going to come in here with this, y529 now this is a really nice one, and this just kind of is a, mix of like a lighter brown kind of like, but darker than a tan, and it's just a really nice color ties, in with all these yellows really well so, we're going to kind of, come in here and color in all those, areas, with this just kind of going over the, top of them and then just kind of, filling this in so i'm going to get all, these spikes, i'm going to do the tips of each of the, wings with this, and this is just going to kind of really, tie in nothing too dark that we can't, really see what's going on but this is, just a really nice color to add into, here, now once you're done with that i'm, actually going to go and just run this, right along the bottom of some of these, horns here, just to give it a little bit of a darker, color just to make them stand out just a, tiny bit, now once you're done with that you want, to come in here with a, r107 i'm going to use the tip this is, our red color and i'm just going to go, ahead and color, the eyes red, give this nice red color here, and then i'm going to go with my r218, it's going to be a little bit darker red, and i'm just going to color right along, the top, just adds a little bit of shading in, there, now i like coming in with my r126 this, is a good color this is going to be, really dark and i like to do, the inside of the mouth with this color, this is like a really, deep dark red kind of like a maroonish, color this is good for like the inside, mouth colors this is what i use on a lot, of my godzilla drawings, next i'm going to come in with r213 this, is a nice color and this is like a dark, pink and i do like the, bottom of the tongs i do the top of this, back area of the mouth with this anytime, you see me doing, any coloring on this especially with all, these titan drawings i'm always using, this for this part of the mouth because, it's just a nice color, the last one we're going to come in here, with is r502 this is our pink, and this is just going to kind of, blend and tie all those little reds, together, and we're just going to kind of fill in, the tongue and the back of the mouth, area with that, and then i see i forgot these little, claws right up here so i'm going to go, in there get my tan in there, and then something i like to do is just, with these, pictures i just kind of come in here, with like a light color and i hit any, little white spots, that i don't want to leave, just want to get any of these it's, always good to kind of look over your, picture and just see if you got in those, small white spots, i'm going to come in here and get these, claws too that i forgot so we're going, to get all of these, and just see one more little area i want, to get up here, and there you go there is your drawing, of king ghidorah and how you color it, lots of colors in this one but if you, use them all they do turn out really, nice and i definitely recommend you guys, check out those biannual markers because, they can really make your drawings pop, out, but there you go thanks for watching, hope you enjoyed
Reddit Images 54

S.H.Monsterarts Mecha King Ghidorah Special Color Version 0
Just got the special color version of King Ghidorah 2019. It’s so awesome! It towers over the rest of my monsterverse figures 1

Got him fixed up. Here the is alongside the SHMA King Ghidorah 2019 special color version. 2

Here’s my special color variant King Ghidorah from Godzilla King of the Monsters. 3

The inked then final colored version of my King Ghidorah tattoo idea. I plan to add a background to it, but this is what I have for now 4

The inked and final colored version of my King Ghidorah tattoo idea. I plan to add a background but this is what I have for now 5

So this is a very minor question, but what was King Ghidorah doing between 1954 when the dorats were placed to mutate into him and 1992 when he was sent to destroy Japan by the Futurians? Was he just floating around the sky for all those years and somehow nobody noticed him? 6

Stupid Question Sunday: How do the Futurians know that 3 Dorats + a Hydrogen Bomb = King Ghidorah? Did someone nuke a Dorat in the future? 7
King Ghidorah Deathwing! 8

Who would legitimately win? King Ghidorah VS Hedorah (both Showa). feats in the comments below. 9

Times when Godzilla,Camera,Baragon and King Ghidorah were in dragon ball 10

Deathwing (World of Warcraft) vs King Ghidorah (Godzilla) track art 11
King Ghidorah Size Comparison. Sizes in the comments 12
King ghidorah cameo on Stranger things 4, its fanmade but it was posted on a news account and yes some people thought that it was real 13

My son wanted to see King Ghidorah. I showed him Planet X! 14

here's some nightmare fuel for you. prey animals tend to have eyes on their side and predators have eyes on their fronts. and while monsterverse king ghidorah's eyes can face forward, they face predominantly sideways. what in the name of Lovecraft evolved to be this things predator? 15

King ghidorah, me, color pencil and chalk on black paper, 2021 16

Bought a new King Ghidorah figure, but I don't think it's authentic 17
![Ghidorah, King of the Cosmos by Nicholas Gregory [1078 × 1354]](https://i.redd.it/6pw3wz5zkrr91.jpg)
Ghidorah, King of the Cosmos by Nicholas Gregory [1078 × 1354] 18

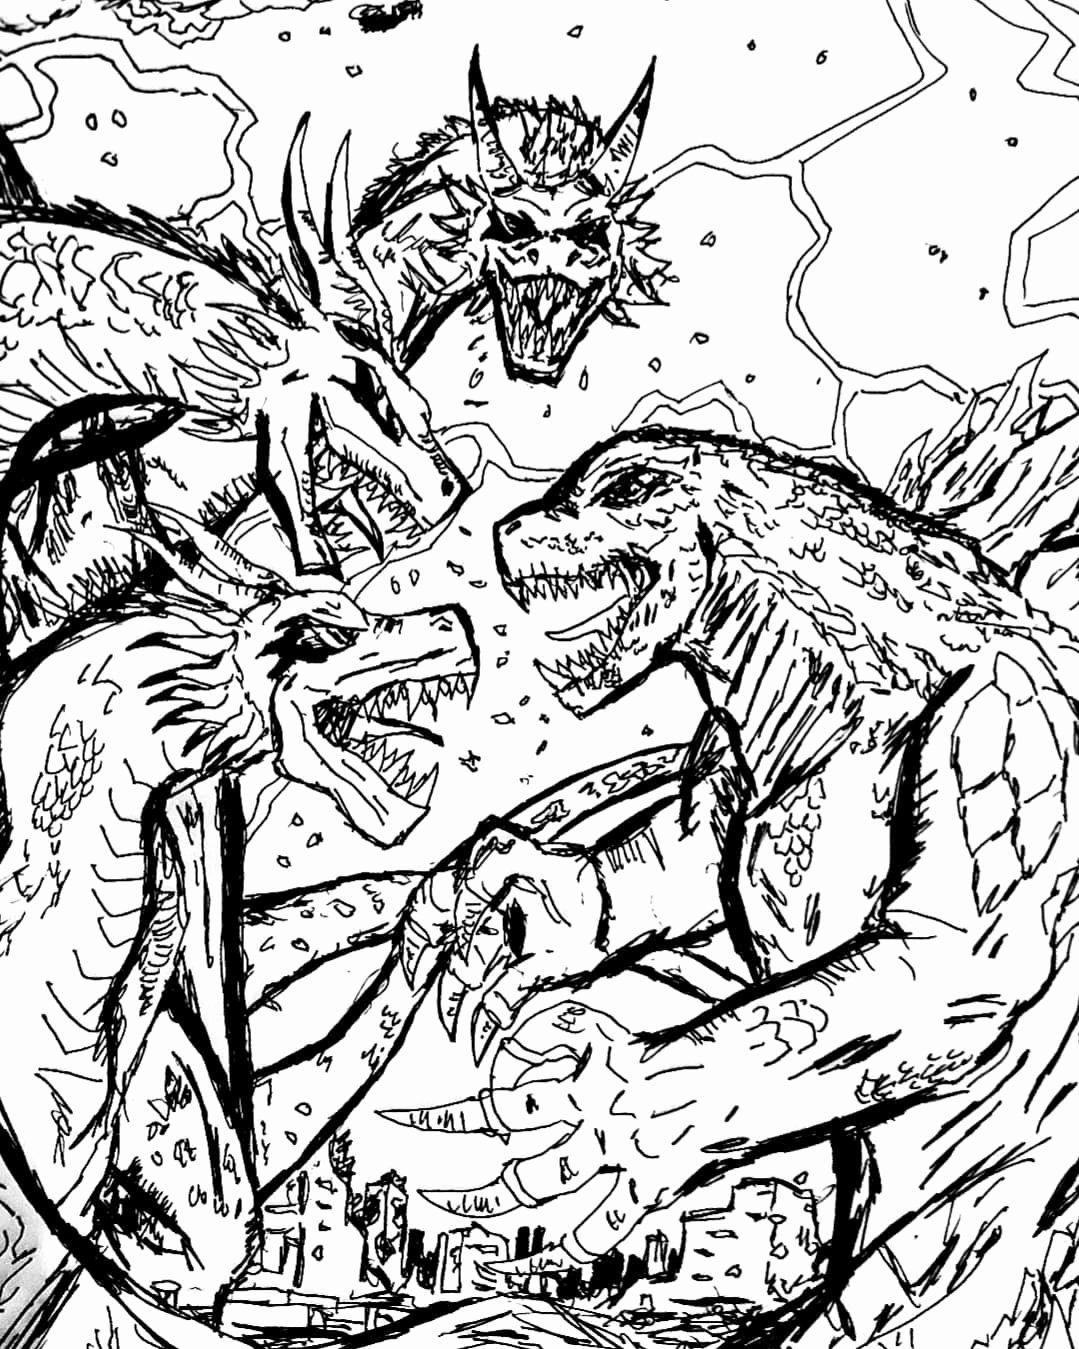
King Ghidorah bout to get a epic beatdown 19
What is Ghidorah coloring pages?, What is Ghidorah coloring pages?, Who is King Ghidorah?, Who is King Ghidorah?, Did Godzilla chew on King Ghidorah?, Did Godzilla chew on King Ghidorah?, Is King Ghidorah immune to Godzilla's atomic breath?, Is King Ghidorah immune to Godzilla's atomic breath? , What is Ghidorah coloring pages?, What is Ghidorah coloring pages?, Who is King Ghidorah?, Who is King Ghidorah?, Did Godzilla chew on King Ghidorah?, Did Godzilla chew on King Ghidorah?, Is King Ghidorah immune to Godzilla's atomic breath?, Is King Ghidorah immune to Godzilla's atomic breath?


Comments
Post a Comment