71 john deere gator coloring page
john deere gator coloring page
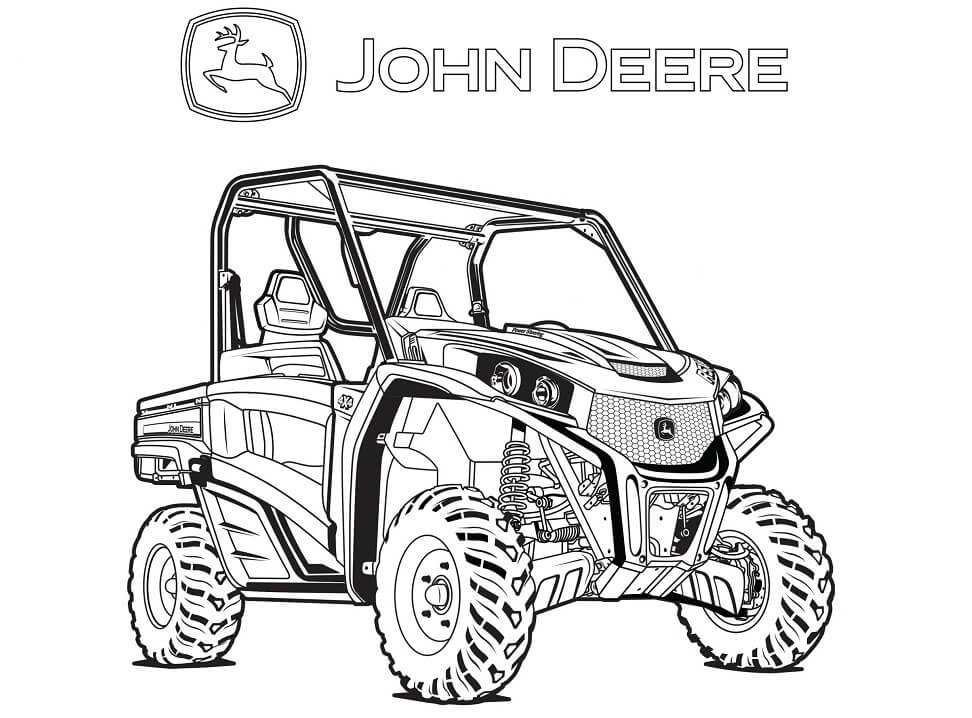
John Deere Kids is full of activities, videos, and guided curriculum to help kids develop their love of the land. ... then download these printable John Deere coloring pages. 544L. Download … 0

John Deere Gator Coloring Pages 1

Title: Gator RSX860M coloring page Created Date: 3/24/2020 2:59:00 PM 2

John Deere Gator Pages Coloring Pages 3

John Deere Gator Pages Coloring Pages 4

John Deere Gator Pages Coloring Pages 5
John Deere Gator Pages Coloring Pages 6
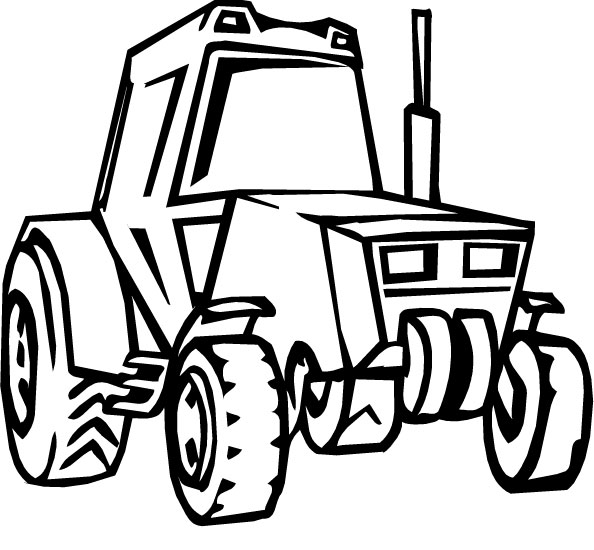
Printable coloring of John Deere Tractors 5003. These Bold 'n Bossy Deere Tractor Coloring Pages Are Ready For You To Print Out and Color: Tractor Coloring: 9560r - 8430 - 8530. … 7
Browse john deere gator coloring page pictures, photos, images, gifs, and videos on photobucket white tiger by deepak kaushik another task can be to find where the model … 8

Gator Utility Vehicles ... Coloring-Pages; John Deere Kids Coloring Pages. Find your art supplies, then download these printable John Deere coloring pages! Download. Download. … 9

John deere combine coloring pages.little ones can splash the gigantic vehicles sketched in the printable pages with generous doses of dark and light green as per convention or use any … 10
Title: Gator RSX860M coloring page Created Date: 3/24/2020 2:59:00 PM 11

Coloring Pages - Bramlett Implement 12

www.fluidsystemsengineering.com 13

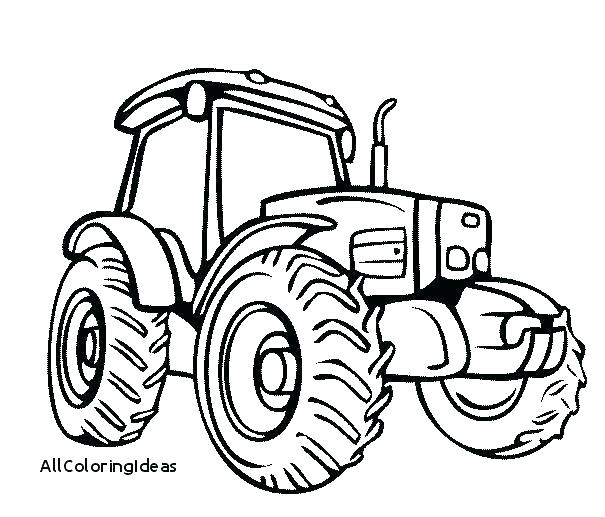
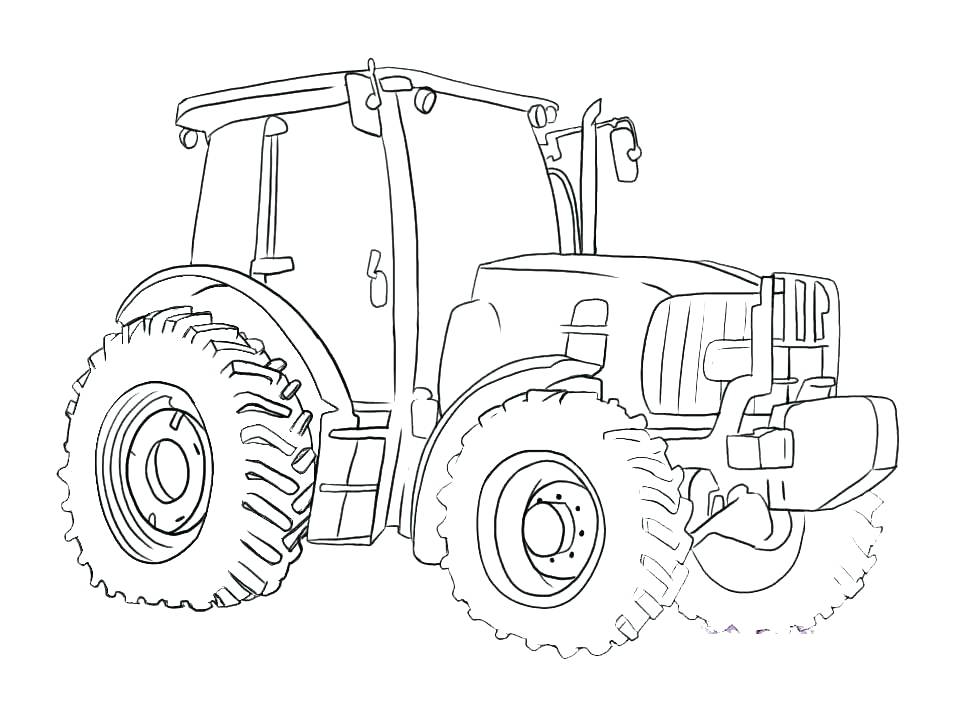
John Deere Tractor Drawing at GetDrawings.com | Free for personal use John Deere Tractor Drawing 14
John Deere Combine Coloring Pages at GetDrawings | Free download 15

Daring John Deere Coloring | Free | John Deere | Tractor Coloring 16

John Deere Coloring Pages 17

John Deere: Coloring Pages & Books - 100% FREE and printable! 18

Daring John Deere Coloring | Free | John Deere | Tractor Coloring 19
Website for Kids | John Deere Australia 20

John Deere: Coloring Pages & Books - 100% FREE and printable! 21

John Deere Gator Pages Coloring Pages 22
John Deere Tractor Drawing at GetDrawings | Free download 23
John Deere Combine Coloring Pages at GetColorings.com | Free printable colorings pages to print 24
John Deere: Coloring Pages & Books - 100% FREE and printable! 25

Pin by WecoloringPage Coloring Pages on wecoloringpage | Coloring pages for boys, Boy coloring 26
John Deere Combine Coloring Pages at GetColorings.com | Free printable colorings pages to print 27

122 best images about Coloring Pages on Pinterest | Coloring, Free printable coloring pages and 28

John Deere Gator Coloring Pages | Coloring Pages 29
Tractor Drawing Outline at GetDrawings | Free download 30

John Deere Coloring Pages at GetColorings.com | Free printable colorings pages to print and color 31

John Deere : Gator – Storyboards – Max Forward – Digital Storyboards 32
Learning & Playtime Activities | John Deere for Kids | John Deere IN 33
John Deere Combine Coloring Pages at GetColorings.com | Free printable colorings pages to print 34
in this video i'm going to show you how, quick and easy it is to install the turn, signal and hazard light kit on this john, deere xuv835m, now also keep in mind that if you're, wanting to install this kit on your, gator you're going to want to make sure, to have that front attachment wiring, harness kit and if you don't have that, or want to see how to install that make, sure to check out the links in, description below to check those out if, you'll stick with me here guys, we'll get started so first things first, let's go over what parts are going to, come in the kit and then also the tools, we're going to need to do this install, the kit itself is going to come in a, pretty small box that's just going to, have our two turn signal lights our, hazard light switch and our turn signal, switch and of course an instruction, manual here that you can use along with, this video to make sure that you're, doing all those things properly now as, far as tools go we are going to want, that drill we're going to want our t40, star bit socket here and an eight, millimeter socket now the tools are, mainly just going to be used for taking, that dash that top dash panel off so we, can get back behind to do the install of, our switches as far as installing the, lights goes this flat head screwdriver, is going to come in handy as we will, have a couple of pop-outs that we'll, need to take out of the front as we can, see right here in this diagram we have, our headlight there to the right and, then to the left of that is going to be, the pop out that we're going to remove, from the front of the machine so we can, install these lights so from here guys, we'll go ahead and jump in the machine, start taking off that top dash panel so, we can install those switches so, removing this top dash panel and by that, i mean this piece right here that's, going to have your cup holders sits, right behind your dash has your, windshield clasp on it this piece here, is the piece we're going to need to, remove so we can expose the back side of, this dash to be able to get to those, plugs that our switches will go into so, we can control our turn signals or our, hazard lights so first thing we're going, to do is grab our drill and our eight, millimeter socket here, this is going to be the size we need to, remove our windshield clasp we just have, two bolts here, we'll go ahead and pop those off, all right make sure to put those in a, safe place so we don't lose them and, then next we're going to go ahead and, grab that t40 star head bit and we've, got six screws in this front panel, one on each corner and then four here in, the middle that we're going to need to, remove and then after that we'll have, two pop-out clips on each side on the, front side of this dash that will show, that will fully release this top panel, so we'll go ahead and remove these, screws all right now that we've got, those loose we'll move around here to, the inside and show you how to remove, those pop-out clips pop-out clips that, i'm talking about are going to be these, two that sit right here above our, switches to the left-hand side of our, steering wheel as you can see there are, two right there that are connected to, this top dash panel and then we'll have, two also across the way over there to, the right hand side of our glove box now, this is where our flathead screwdriver, is also going to come in handy here, that's what we're going to do is wedge, that between the top button and the base, there of our clip and we're simply going, to wiggle that top button up and out and, once we get that up and out we'll go, under the base of that clip and then, just simply pop that out and then we'll, just do the same thing for all four of, those, all right we'll move around to the other, side same thing over here like i said, just to the right of our glove box, all right now once you have all of your, screws on top and your four pop-out, clips removed next what we're going to, do is start to lift and pull off this, top panel first thing you're going to, going to want to do is start over here, on the right-hand side and open up that, glove box, as that will be covering part of this, top panel and then we're just going to, grab right there where those pop outs, were and start to pull this up and out, it's going to be real gentle make sure, we're not going to break any of this, plastic here, okay we'll get that up and out get, everything loose over here then we'll, come back across to the side we started, on and we'll start to lift up and out as, well now we want to be careful when, we're on this side as we do have our, instrument cluster here and the hardest, junction to get loose is right here to, the left side of our instrument cluster, we just want to be very careful that we, don't damage anything there, so just nice and easy, get it popped up and out, and same thing here, all right once we have everything loose, there, we can simply remove this piece, get it out of our way, and now we can start to install those, switches now that we have everything, exposed on the back side here like i, said in the beginning to do this install, we have to have that front attachment, wiring harness because that's going to, be the harness that supplies the plugs, for these various attachments for, instance here we've already installed a, horn kit on this machine and also a dual, beam headlight kit or deluxe headlight, kit so another open switch or plug that, will have is going to be this screen one, here rather that is going to have the, symbol that matches our switch here for, those turn signals so what you'll do, next is we'll reach back behind as this, turn signal switch will go right here, we're going to pop that out and then, we'll take our switch, and we'll match up, the prongs of our switch, with the terminals, in our plug now you'll notice that the, terminals that are being used do have, that grease there in them so we just, want to make sure and match up those, prongs, with the terminals on our plug, then we'll simply slide, that through and we'll take our switch, plug it in and push it down in firm, until it seats onto this the plug here, you'll hear that click so once we have, the switch push down onto the plug you, want to leave it just as it is leave it, open here don't go ahead and seat the, switch down into the panel because next, we need to go and install, our turn signal lights and then check to, see if we're in the right direction here, as it will not show you in the manual, which way to turn the plug or the switch, to make sure that you're going to the, left or the right side so leave this, open go ahead and leave your top dash, panel open so you can get to everything, and then from here we're going to go, ahead and move to the front and install, those turn signals so our first step to, installing these turn signals is going, to be removing this reflector and also, the pop out that sits behind it so just, grab that flathead screwdriver and peel, back that reflector as you won't need, that anymore, and then you'll see here that this is, already cut out partially so what we can, do is we can take our screwdriver stick, it in between there and start to push in, on this pop-out and just start to work, that out need to go around it's, connected in multiple places here so, we'll just work that out now we want to, make sure, and not damage, the existing outlet there so another, good option here just being very careful, would be either a razor knife or a, pocket knife cut those out, all right just like that we've got one, out now we're just going to make sure, and do that on both sides then our next, step will be going in with our turn, signal now what you'll be looking for is, a plug on the back side which we'll show, in a minute it is a three prong that, matches what we have here on this turn, signal and also you'll notice there are, a couple of these clips here on either, side that we are going to have to match, up you'll have two notches on either, side that those clips will match up to, so you'll just go in, with the light until you feel them click, into place, right there and right there just make, sure to do that on both sides, all right so next we want to go ahead, and hook these lights up to that harness, now what we're looking for is this, tannish color plug here that matches the, housing on the back of our turn signal, light so all we need to do is simply, find the clip side which will look like, this to match up with our clip here on, the bottom, and then we will just simply, install that, by going on, until we hear that clip make sure it's, snug into place and just make sure to do, that on both sides okay so now that we, have the lights installed we have the, wiring hooked up onto the back of those, lights remember that this is the part, that we want to make sure and check, before we close up this panel and before, we install our hazard light switch is to, make sure that our turn signal switch is, going in the right direction so you're, going to turn the key on there give the, machine power now here i'm going to be, pushing the left arrow as we see there, are left turn signals on and then we'll, go ahead and try our right and it is on, and also while you're here guys this, machine is wired up with the bed that it, has it will have those rear turn signals, as well so we want to check those as, well to make sure that they're on so go, ahead and turn those on and then run, back there to the back we've got our, left, and we've got our right now from here we, can install that hazard light switch and, make sure that it's working as well okay, so last step to getting the installation, done before we button everything up is, installing our, hazard switch and also making sure that, those hazards are working like they're, supposed to so since we have the dash, all exposed here we're gonna reach back, and what we're looking for is this red, plug here that has the hazard symbol, just like what is on our switch and then, next what we will do is we'll pick which, pop out of these six here on the front, of the dash that we want to use so we'll, go ahead and reach behind and pop out, this top middle or whichever one you, prefer next we'll go ahead and look here, at our terminals and look at our switch, just to make sure that we get those, matched up correctly and then we will go, through, the front side of the dash with that, plug and once we get that through then, we will go on with our switch, once again just making sure that that, switch, seats firm into the plug and goes all, the way in until it snaps in, and then we can just simply push our, switch in just like that and then from, here guys we can go ahead and move out, to the front of the machine make sure, that those hazards are working and if we, push our switch here we can see right, there on the brush guard itself that we, can see those lights flashing so we know, that those hazards are working all right, guys so that's it that's all it takes to, install the turn signal and hazard, lights onto the john deere, xuv835m now if you're watching this and, you're thinking this is something that, you definitely need for your machine, maybe you're using it on the roadways, you're going from place to place and, just want to have that safety feature, i'll make sure to leave a link in the, description below where you can go to, purchase this kit it's part number, buc10608, so make sure to check that out if you, think this is something that you need, and then also guys remember like i said, in the beginning of the video if you, don't have that front attachment wiring, harness or if you have it or you're, planning on getting it and want to see, how to do it i'll leave two links in the, description below where you can go to, either purchase it or also watch the, video of how to install it now also guys, if you watch this video if you like this, video and it helps you out we just ask, that you please give us a like and, subscribe to our channel as that helps, us out as well and as always guys thanks, for watching we'll see you next time hey, guys make sure to go buy your parts, right here and subscribe right here
Reddit Images 49

John Deere Gator, official car of... 0

Back when me and this guy were cherry Infantrymen the US Army didn't trust us with a John Deere Gator. Look at him now on his Final Flight. 1

USAF's Mini C-17 built and used by the 315th and 437th Airlift Wing for PR and recruiting. It started life as a John Deere Gator and does not fly. 2

The John Deere Gator to replace your vehicle - and priced higher than your vehicle too ($35k).... 3

John Deere Tractor Coloring Pages 4

Didn't want to pay for some over priced john deere gator 5

freeloaderFPV - John Deere Gator orbits 6

How John Deere plans to build a world of fully autonomous farming by 2030 7

John Deere Recalls Gator Utility Vehicles Due to Crash Hazard 8
Does John Deere make a side by Side Gator?, Does John Deere make a side by Side Gator?, What can you do with John Deere Kids?, What can you do with John Deere Kids?, How many horsepower is a UV Gator tractor?, How many horsepower is a UV Gator tractor?, What kind of equipment does a Gator utility vehicle have?, What kind of equipment does a Gator utility vehicle have? , Does John Deere make a side by Side Gator?, Does John Deere make a side by Side Gator?, What can you do with John Deere Kids?, What can you do with John Deere Kids?, How many horsepower is a UV Gator tractor?, How many horsepower is a UV Gator tractor?, What kind of equipment does a Gator utility vehicle have?, What kind of equipment does a Gator utility vehicle have?


Comments
Post a Comment