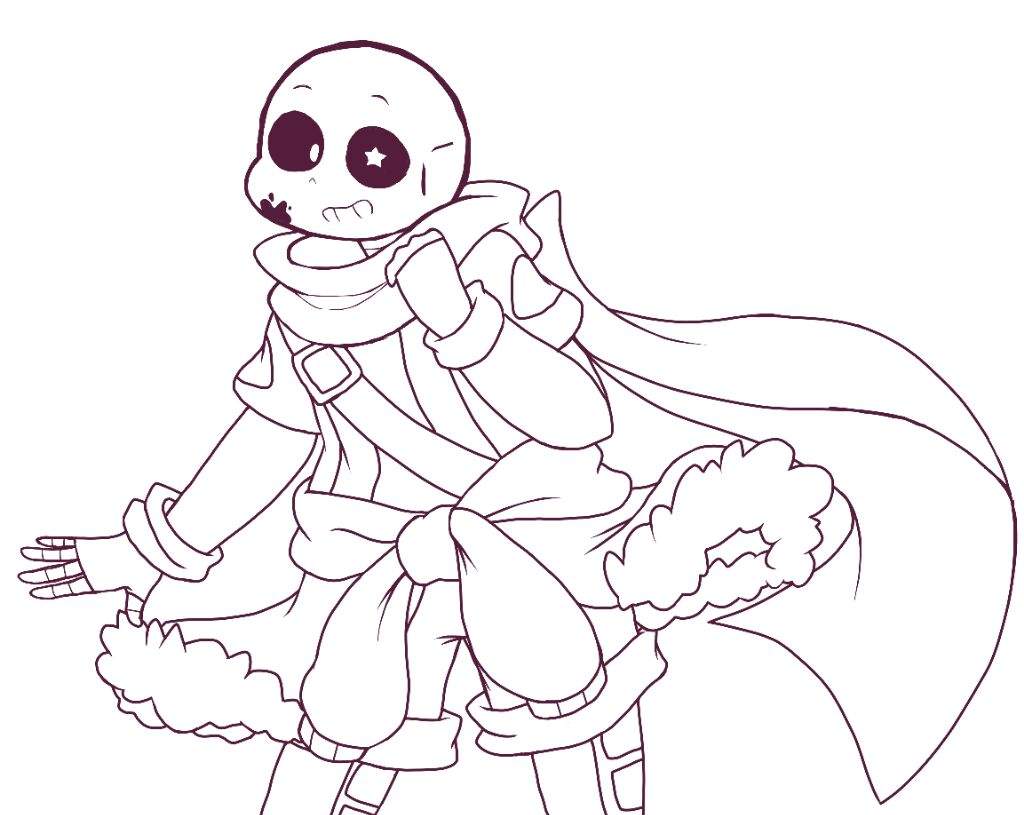
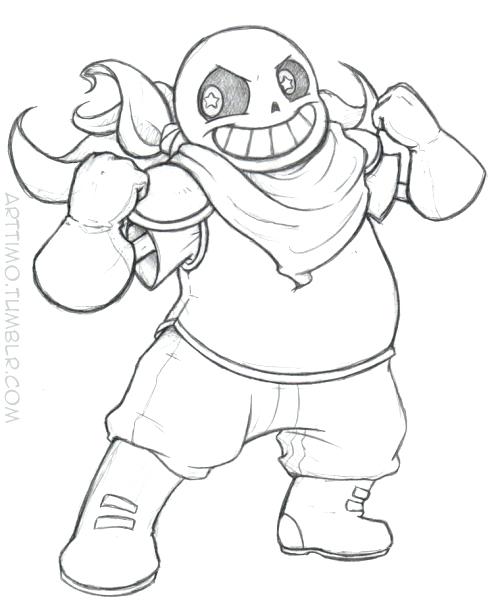
12 ink sans coloring page
ink sans coloring page
Ink Sans Coloring Pages - Sans Coloring Pages - Coloring Pages For Kids And Adults 0

Download and print free Ink Sans coloring pages. Sans coloring pages are a fun way for kids of all ages, adults to develop creativity, concentration, fine motor … 1
Sans Coloring Pages Download and print these Sans coloring pages for free. Sans coloring pages are a fun way for kids of all ages to develop creativity, focus, motor skills and color … 2
Sans Coloring has therapeutic potential to reduce anxiety, create focus or bring about more mindfulness. They are not only designed for children but also designed for adults because they need the entertainment channel after the hard-working hours. At our website, you can enjoy everything related to coloring pages and Sans Coloring is a new field. As another coloring on our website, we will collect all images related to Sans coloring … 3
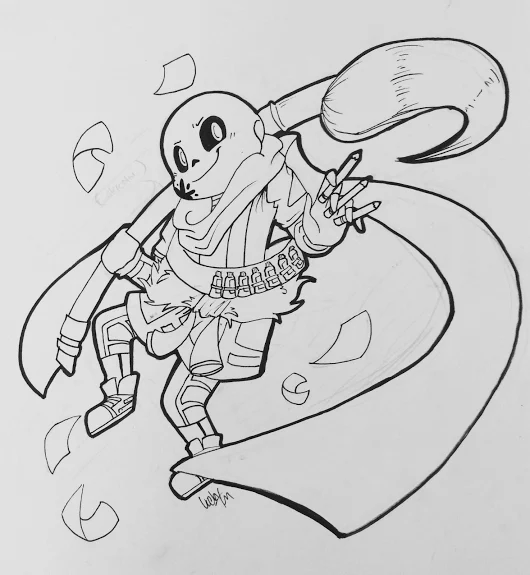
Ink Sans Drawing!! | Undertale Amino 4
Ink! Sans (•̩̩̩̩_•̩̩̩̩) | Undertale Español Amino 5

Ink!Sans WIP by RandomColorNice on DeviantArt 6

Ink Sans! by Mearu-Lady on DeviantArt 7
Ink Sans Drawing!! | Undertale Amino 8

Ink Sans(Original drawing style) by Stella-X on DeviantArt 9

Expressions Ink Sans by XJunjoX on DeviantArt 10

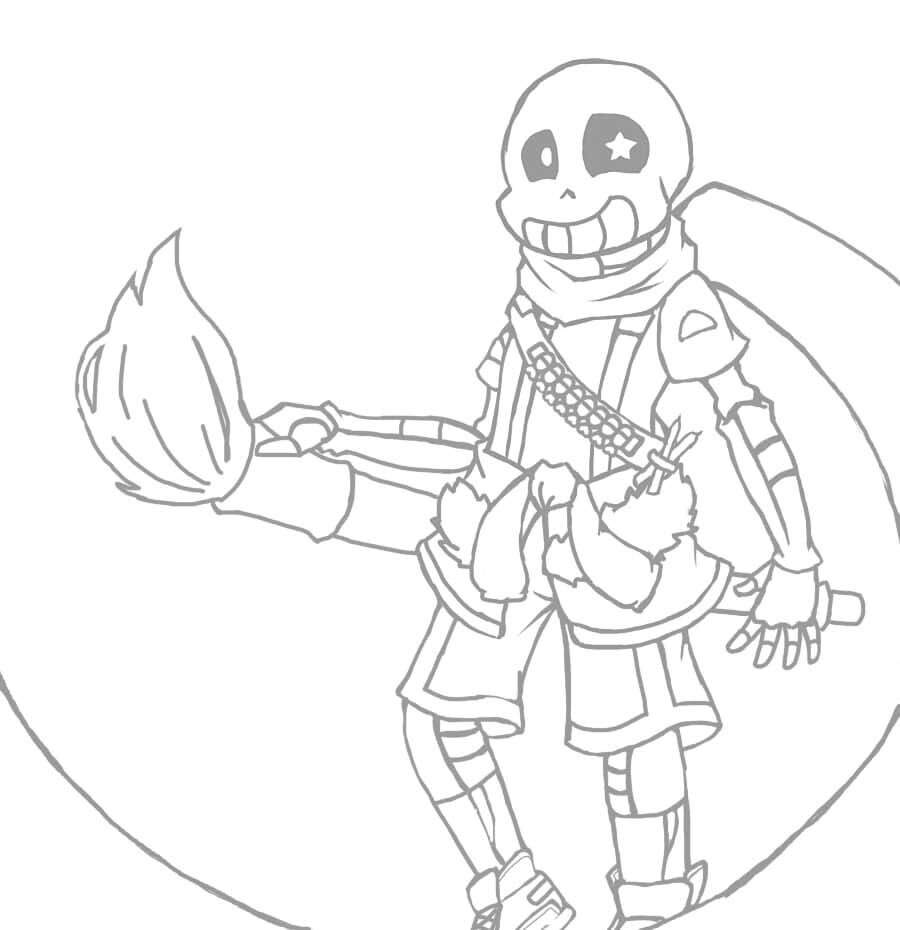
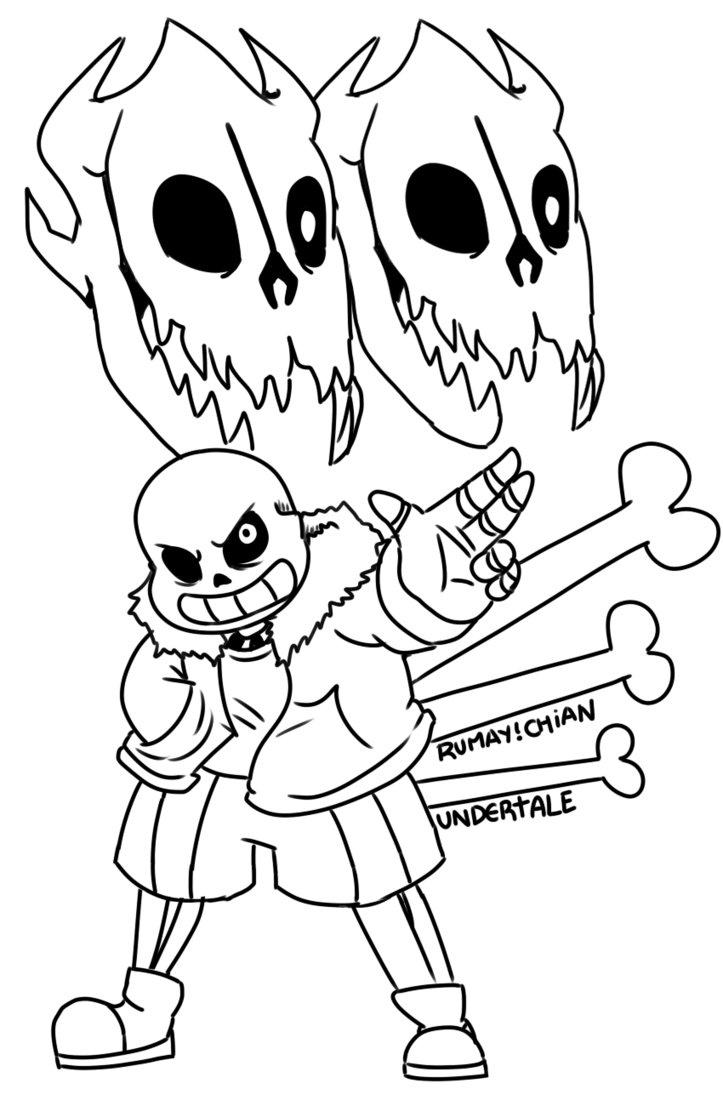
Ink Sans Error Sans Coloring Pages - kidsworksheetfun 11

Pin on G: Undertale 12

Ink Sans Error Sans Coloring Pages - kidsworksheetfun 13

Ink Sans Error Sans Coloring Pages - kidsworksheetfun 14
InkSans Undertale AU by random-scientist on DeviantArt 15
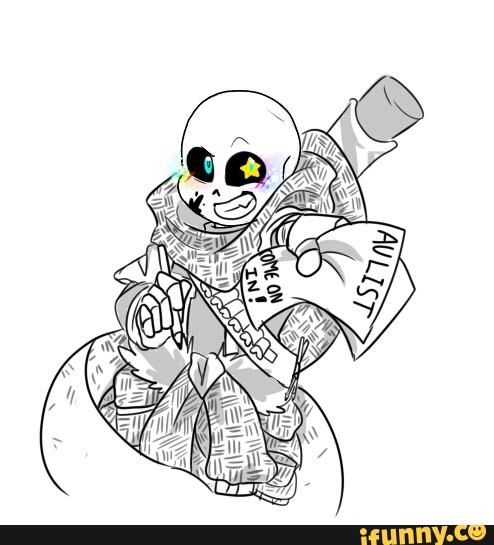
Ink sans | Undertale Amino 16
Ink Sans Gif | Undertale Amino 17
Ink Sans Coloring Pages | divyajanani.org 18
Dreamtale - dream sans | Undertale Amino 19
Ink!Sans Drawing (This took me way too long) | Undertale Amino 20
19 Ink Sans Coloring Pages - Printable Coloring Pages 21

Pin on sans 22

Sans - Undertale by Aoshi7 on DeviantArt | Dessin 23
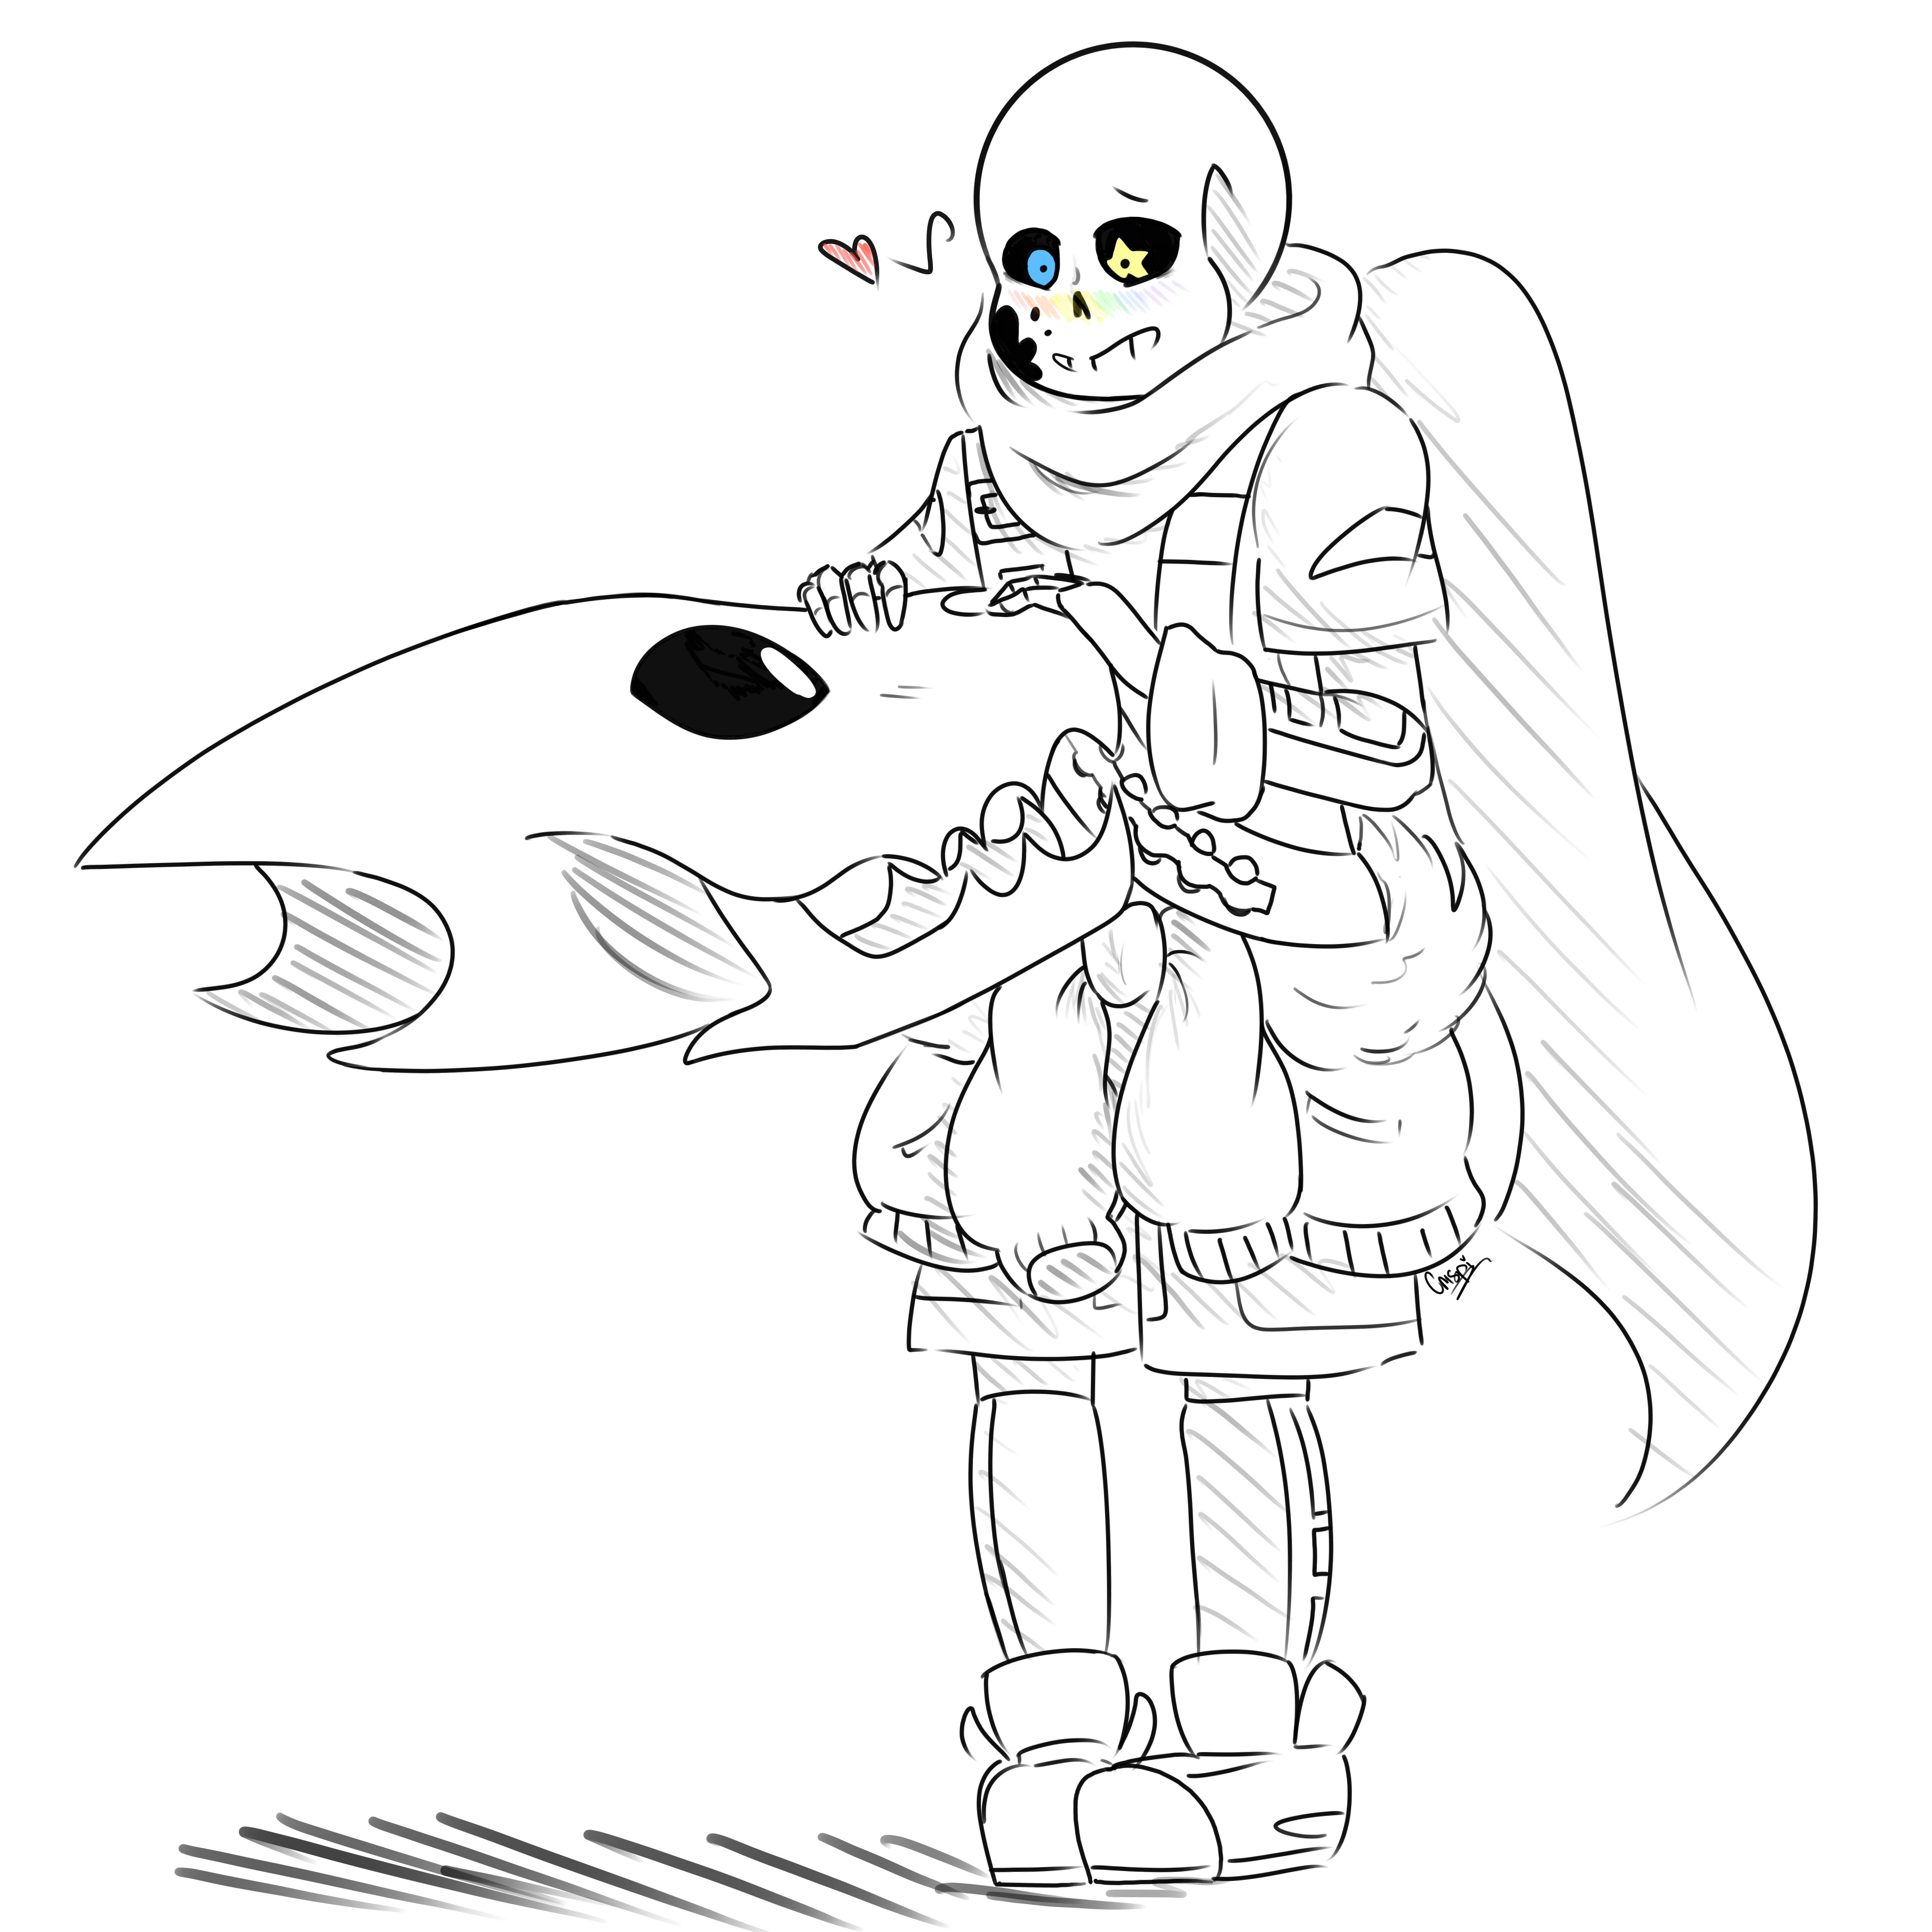
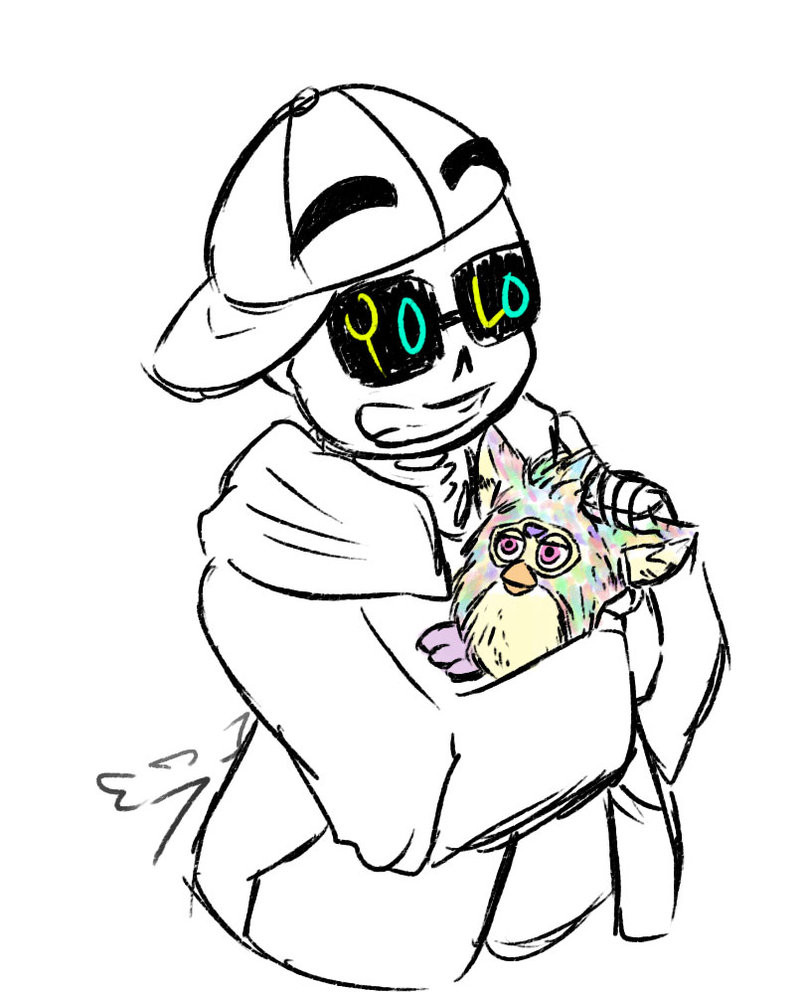
Ink Petting a GB by crispicroissant on DeviantArt 24

Ink Sans Sketch by SmileyFreakFace on DeviantArt 25
Cool Sans Coloring Page - Free Printable Coloring Pages for Kids 26

Inktale Sans | Undertale Amino 27

Ink Sans And Flowey by wafflefeather on DeviantArt 28
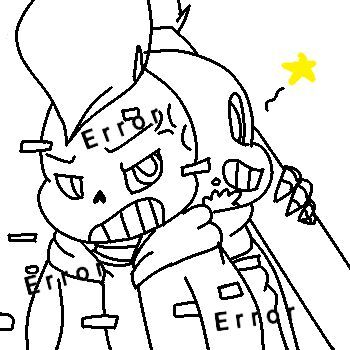
Ink sans and error sans | Undertale Amino 29
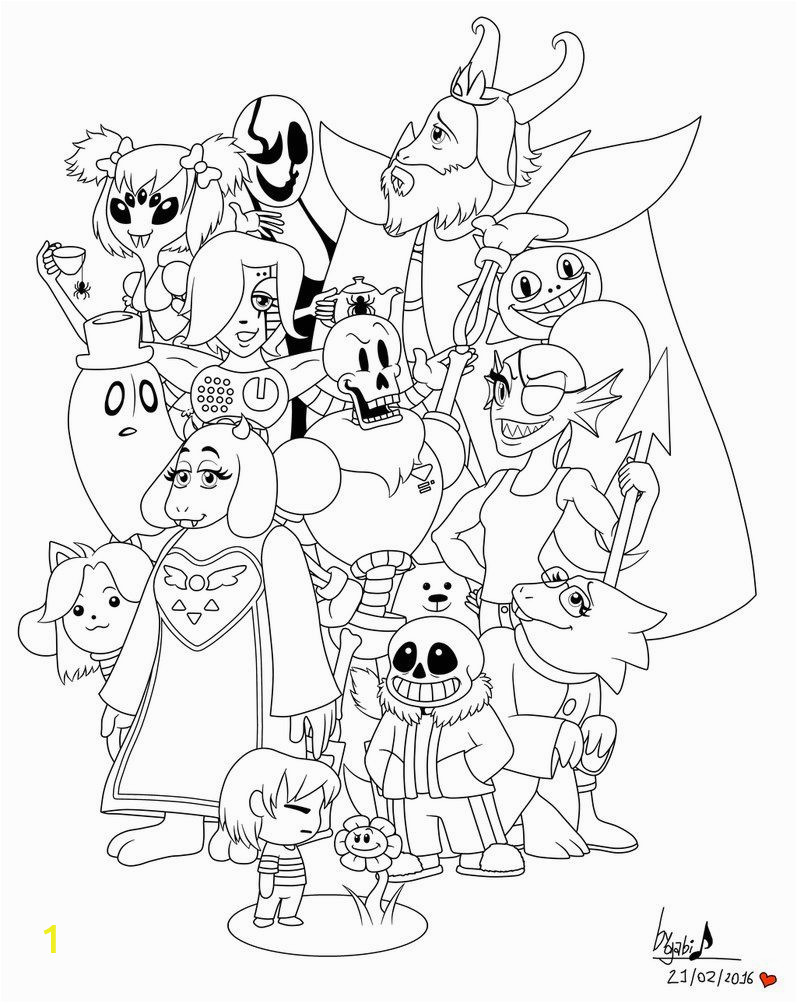
Sans And Papyrus Coloring Pages at GetDrawings | Free download 30
Ink Sans Coloring Pages | divyajanani.org 31

Ink Sans Coloring Pages - Thekidsworksheet 32
Ink Sans Coloring Page / Image About Undertale In By Shasha On We Heart It : Grab your paper 33

Ink Sans Undertale Espa Ol Amino Hard Coloring Pages - LowGif 34
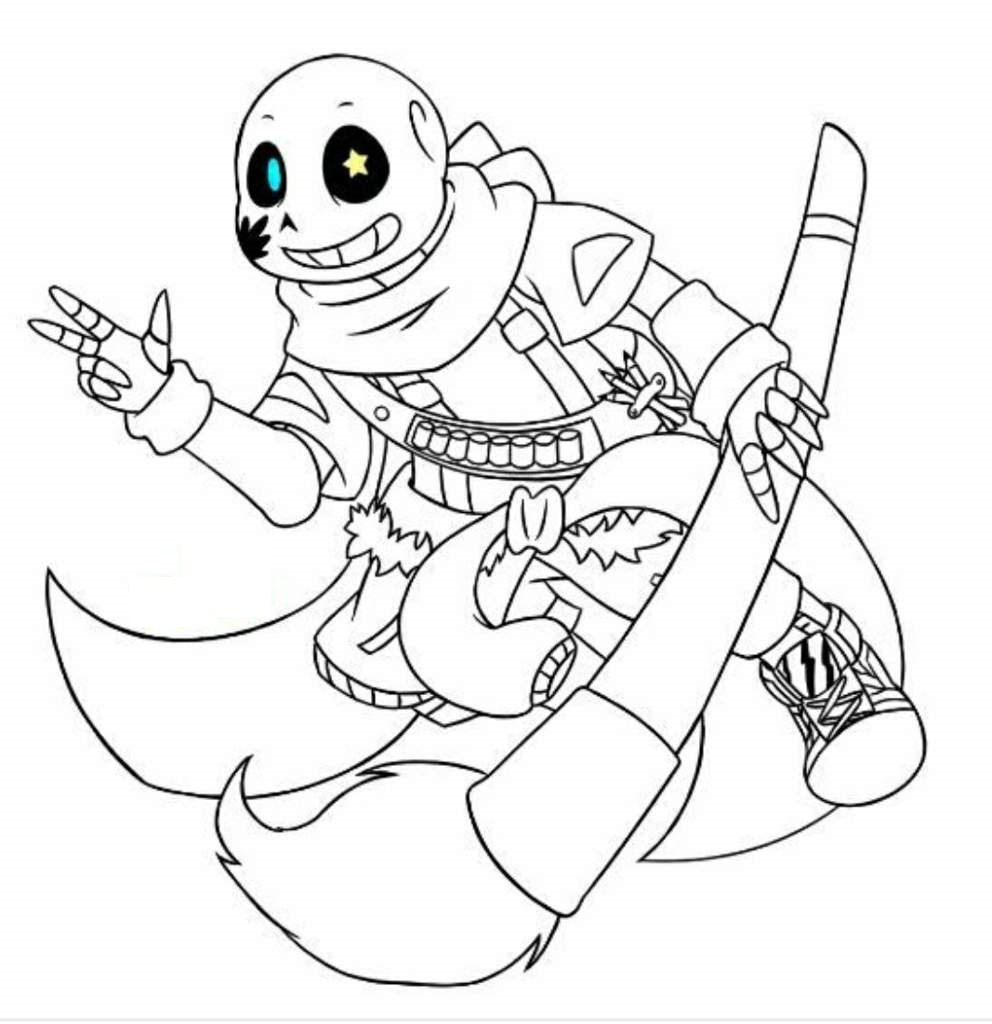
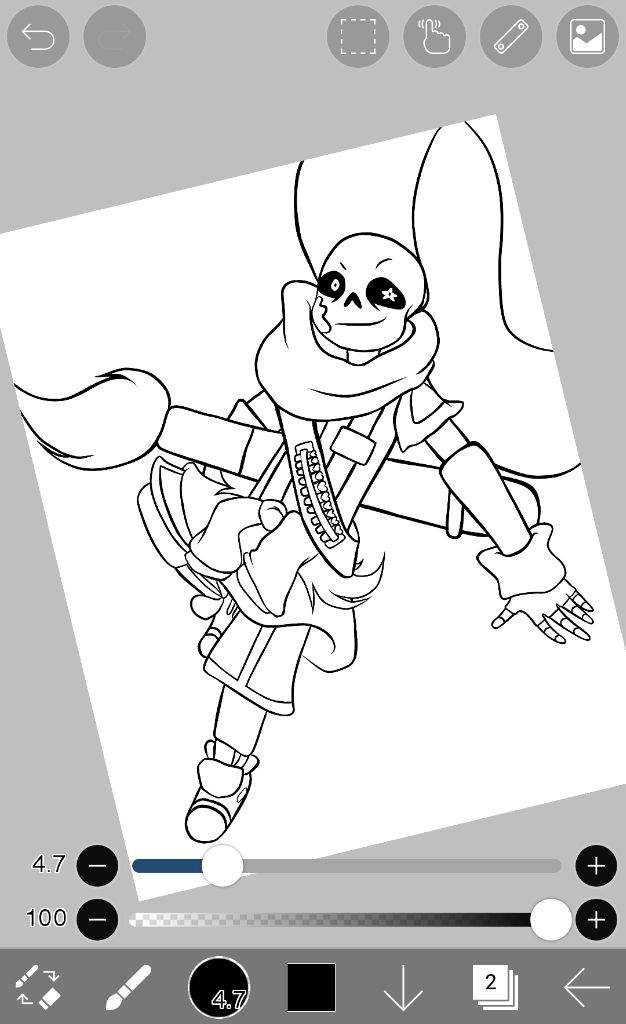
hey everyone and welcome to the club, today i'm going to be showing you how to, draw ink sands from undertale, [Music], let's get started at the top of our page, with the eyes i'm going to start with, the brow line from the left and center, and curve down and then up towards the, left we leave a gap and do the same, thing on the right coming down, and then back up, from this point when curl the top of the, eye almost like drawing a circle and, then back up underneath the frown line, so starting left we're going to curve up, and out, round out the side of the eye, we're just going to pull that up towards, the bottom curve of that frown line, we'll do the same thing on the right, coming up and out, rounding out the, eye, and then pulling that up and then in, on the inside we're just gonna add a, wrinkle from the left side we're gonna, curve down and then out, [Music], now on the left side we're gonna draw an, oval for the pupil starting from the top, work our way around to the bottom and, back to the top and draw a smaller oval, on the inside, [Music], now on the right side we're going to, draw a star starting from the very top, we're going to angle down towards the, left and right, and we go straight across towards the, side of the star, we're going to come down and then in, [Music], these ends are going to come down at an, angle we're going to come back up, towards the center point, now let's just trace that star out on, the inside leaving an even space gap all, the way around, [Music], let's add the nodes right in the middle, so in between the eyes let's start with, the point, from that point we're going to curve out, and down towards the left, [Music], and the right now we're going to curve, to connect those two points we're going, to go up in the middle, and then back down, let's add in the mouth so directly, underneath the left eye let's start with, the curve coming down underneath the, nose, and back up on the right we're going to, round out the side of the mouth and then, come down towards the bottom of the, mouth, [Music], round these out, [Music], and then connect it with a curve, let's separate out the teeth starting, with the center we draw a straight line, coming down from top to bottom, we'll move over to the left and then, draw an angle line going out, and draw that one more time now on the, right we're going to go in the opposite, direction, now that we've drawn the face let's draw, the top of the head so in line with the, bottom of the eye we're going to step, out, right out here and draw almost like a, half circle going all the way around to, the top of the head, and work our way back down on the right, side, now from the left side i'm going to bump, out the cheek and then just come down, underneath the mouth, and from here and work our way back up, towards the right side, [Music], on the left cheek we're going to add an, ink stain starting up here we're going, to go up, and down, and curve back out with a slightly, longer line, round this out come in, i'm just going to wave this back in, towards the side of the head on this, side here we had a small circle, now let's move down and draw in the, scarf and the neck so in the center we, step down draw a curve from left to, right coming down, and then up we leave a gap in the center, and draw two straight lines coming down, on the left and right, along the neck starting on the left, we're going to curve down and then back, up, now let's add the outside of the scarf, we step out draw a curve coming down and, in, now we step back out, curve down to create a wrinkle, and back up on the right side, let's draw the sides of the body, starting on the left underneath the, scarf and curve out, and then down towards the hip, [Music], now from this point in the hip we're, going to curve out and then up towards, the base of the scarf on the left side, now we'll step up and draw that same, curve, [Music], now i'm going to add some colorful, crayons along here, starting in between these two points we, draw a straight angle line, we'll do the same thing along the bottom, leaving a gap on the bottom and top i'm, going to connect these two points with, that same curve, now we're going to separate this by, adding some vertical lines just going, all the way across from top to bottom, [Music], now in between the hips right in the, middle we're going to add the knot of, the jacket stepping down, and go up, round out the bottom, and we're just going to pull that back, in, let's add the arms of the jacket on the, left side curve out and down, and the same thing on the right and i'm, going to curve back up, and from here we'll pull that back in, behind the knot, [Music], let's add a wrinkle just about halfway, down here we're going to curve out and, down on both sides, [Music], now from the hip i'm just going to curve, down in behind the knot, and then we'll go back up on the right, side, let's add the suspenders along the side, so on the left side here we draw a, straight line coming down, we draw that twice coming in, now take that and draw the same thing, back here on the left side starting with, the outside line going in behind the, strap, and then down, and we'll add a buckle on the top left, side here so two straight lines going, across, [Music], let's add that same buckle on the right, just lining this up, now let's add the jacket tied around the, waist from the hip i'm going to step up, curve around the hip and then in, do that on both sides, now from this bottom side here we're, going to curve out and then down, now from here we want to curve and pull, this up underneath the knot so we're, going to start on the left, go across and up, in behind this arm, and towards the center, now right in the middle underneath the, knob would step down draw a curve from, left to right for the lower torso, on the left side i'm going to step in, draw an angle line coming out towards, the left and right towards the bottom of, the shorts now from here i want to curve, out and up underneath the jacket, [Music], underneath the pants we're going to draw, on the leg so unless i'm going to draw, two straight lines coming down, do the same thing on the right side, now we're gonna overlap these two lines, with a curve starting from the left, we'll come down, and back up and then from the ends we're, gonna curve in the opposite direction in, behind the length let's do the same, thing on the right side, [Music], now we're just going to split the top, half of the legs drawing a straight line, coming down, let's add in the shoes from this top, point we're gonna go straight down, towards the heel on both sides now let's, round out the bottom of the foot, coming down, and then back up towards the toe, from the toe i'm going to curl the top, of the foot, and go up, and we're going to pull it down aiming, towards the heel we're going to stop, right about there, same thing on the right side, [Music], now from the outside of the ankle we're, going to come straight down on top of, the foot, let's thicken up the sole you take this, curve and just duplicate that, right up above, then we're going to add a toe cap on top, of the foot we're going to curve in, and then down, [Music], now from the outside of the foot i'm, going to step in just draw a short line, coming down just for the edge of the, laces, now let's move back up and draw the arms, let's start with the sleeves first so on, the side of the scarf, out, and down towards the left, and then the right i'm going to curve, down and in behind the, body on the left sleeve we're going to, add a half triangle so we're going to, come down at an angle, and we're going to go up towards the top, of the sleeve, now let's draw in the arms starting from, this point i'm going to curve out, and then down towards the wrist, from here let's draw on the thumb a, small half circle, now from the bottom of the thumb we're, going to curve up and in towards the, wrist, let's add in the fingers, at the bottom of the thumb i'm going to, come around, and go up, we'll step down curve out, and then up, we'll draw the third finger going out, and we're going to pull that up, underneath the sleeve leaving a little, overlap on the end let's separate out, the fingers of the glove on the index, finger when you come down and up, and do that same thing to all the, fingers, let's do the same thing on the right, starting from the inside of the arm out, and then down, draw a half circle for the thumb, pull that up towards the thumb now at, the bottom of the thumb and go around, and go up for the first finger, on the side will go out and up again, and then the third finger is going to go, up underneath the sleeve now let's, separate out the fingers, [Music], let's add the wristband from the inside, of the wrist we're going to go out, and up, we step up and just follow that same, curve going in, do the same thing on the right, [Music], now from here we're going to add a large, brush going across the back starting at, the base down here we start on the, outside we're going to go up in an angle, in behind the hand, and then in behind the body now we're, going to follow this, all the way up, on the right side, now we're going to step down and draw, that same angle line but we're going to, taper this as we come up so it gets a, little bit narrower, as you come up towards the top, we'll close off the top with a small, half circle i'm going to add a band, along the top, curving around, step down and draw that twice, let's close off the bottom with a curve, i'm going to add the end of the brush, starting from the top would curve out, down and we're just going to flick that, out at the end from here we're going to, connect those two points with the curve, coming down, and back up, let's add some ink along the bottom of, the brush starting out here we're going, to come down, up, round this out come down again, we'll pull that back up, and here we're going to add a small, circle, let's add a puddle of ink just below the, brush starting on the left i'm going to, go across, pull that in, i'm going to go out again, round this out come back across, and go in and we're going to connect, those two points we're going to go out, and then back in, [Music], now the last thing we're going to do is, add the scarf on the left side so just, behind the cheek we're going to curve, out, around the arm, and we're going to flick it up at the, end, i'm going to curve the end of the scarf, and we're just going to pull that back, in behind the arm going across, and that's pretty much it there we have, it there's ink sands from undertale i, hope you enjoyed today's lesson make, sure you subscribe and send me your, requests in the comments below thanks, for watching and we'll see you again, soon, [Music], [Laughter], [Music]
Reddit Images 88
Since a lot of people liked my Toriel Drawing, Here’s a full page of Ink sans drawings i did for a friend last month 0

Weekly Doodle In Class: Some random AU thing including ColorInk sans and Bad Time Trio 1

Some of my favorite special interests are science fiction and fantasy, including and especially superhero comics. So I'm making one! On the top is my Pekar Page, which I sent to my artist friend Swapnil, who made the pencils in the middle, and then inked and colored it for the finished product. 2
My kids asked if they could color in my black and white ink-themed October cover page, so I made them coloring book pages 3
I turned a coloring page I drew into a watercolor painting. Watercolor, ink, and a tiny sticker. 4
![[ART] Rome Futari Gurashi Married Couple Ancient Rome Romcom color page by Tazawa Yutaka (Kimi no Okaa-san wo Boku ni Kudasai!)](https://i.redd.it/fvda8fr3cbl91.png)
[ART] Rome Futari Gurashi Married Couple Ancient Rome Romcom color page by Tazawa Yutaka (Kimi no Okaa-san wo Boku ni Kudasai!) 5

Page 2 colors/inks 6
![[Art] Colored the First 3 Pages of [Zannen Jokanbu Black General-san]](https://i.redd.it/vinr3jsrurk91.jpg)
[Art] Colored the First 3 Pages of [Zannen Jokanbu Black General-san] 7
![[ART] 'Meika-San Can't Conceal Her Emotions' color page to promote the release of Volume 9](https://i.redd.it/5rwg4s0o0yn91.png)
[ART] 'Meika-San Can't Conceal Her Emotions' color page to promote the release of Volume 9 8

This beautiful splash page from FF 172 is too big for my scanner- but still pretty enough to share (penciled by George Perez, inked by Joe Sinnott and colored by Petra Goldberg) 9

Home with Covid: my first attempt illustration on vintage book page (color pencil, pastel, charcoal and ink) 10

Ink Sans Shanghaivania phase 3 No HIT! I did this a while ago but never thought to share it with reddit! 11
![[ART] Alice-san Chi no Iroribata Volume 3 cover & Color page by Bunta Kinami](https://i.redd.it/yaxaqh1167o91.jpg)
[ART] Alice-san Chi no Iroribata Volume 3 cover & Color page by Bunta Kinami 12

Takamine-San's perfect outfit!(Coloring) 13
![[FOR HIRE] Comic Artist and Illustrator looking for projects and commissions. Covers, pages (ink and color) and character design. More info in comments.](https://i.redd.it/n4zjfu9gwfp91.jpg)
[FOR HIRE] Comic Artist and Illustrator looking for projects and commissions. Covers, pages (ink and color) and character design. More info in comments. 14

Ink is done! I'll begin erasing pencil lines and coloring tomorrow. 15

More recent pages. Pencils and inks and colors by me. 16

Ink Sans - skeleton study (idk, bones) 17

Finished my July Journal Page with Watercolors, markers and Fountain Pens (and a few Colored Pencil accents). Pens: Pilot Kaküno (M) with Herbin Cafe des Iles Ink and TWSBI ECO Jade(M) with Platinum Carbon Black. 18

How to get rid of this spot? While I was removing a pen ink with a rubbing alcohol on one of those colored things that's next to the pages, the cotton I used for it accidentally landed on the edge of the pages and have left this spot 19

No heal #3 (Ink sans shanghaivania phase 3)(5th ever no heal, my third no-heal)(I nad to no-hit the final gaster blaster circle cause 1 hp) 20
,


Comments
Post a Comment