19 hufflepuff coloring page
hufflepuff coloring page
Hufflepuff Coloring Pages - Coloring Home 0
You can Download, Favorites, Color online and Print these Hufflepuff for free. You want to see all of these related coloring pages, please click here: Harry Potter coloring pages. Format: png. … 1

Hufflepuff Coloring Pages Page Printablehufflepuff - Coloring Page Harry Potter Hogwarts 2
Helga Hufflepuff Coloring Pages Download and print these Helga Hufflepuff coloring pages for free. Helga Hufflepuff coloring pages are a fun way for kids of all ages to develop … 3

Printable Hufflepuff Coloring Pages By Number 4

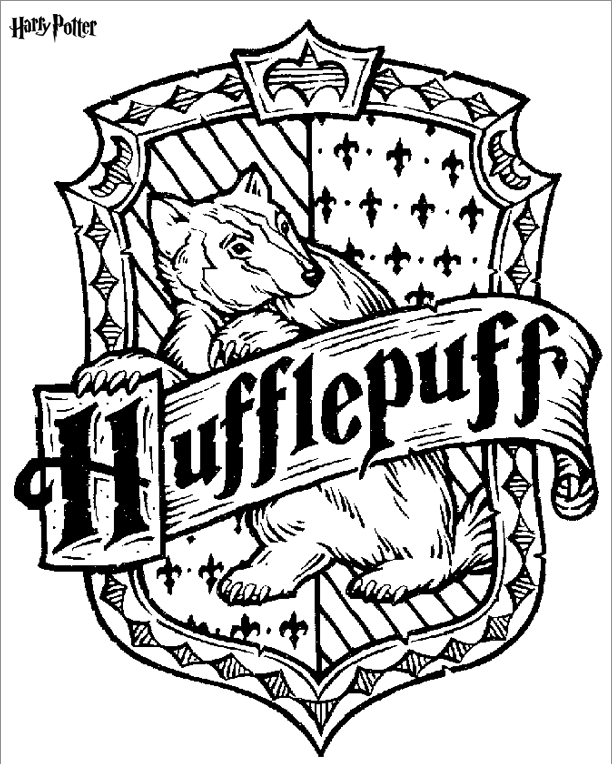
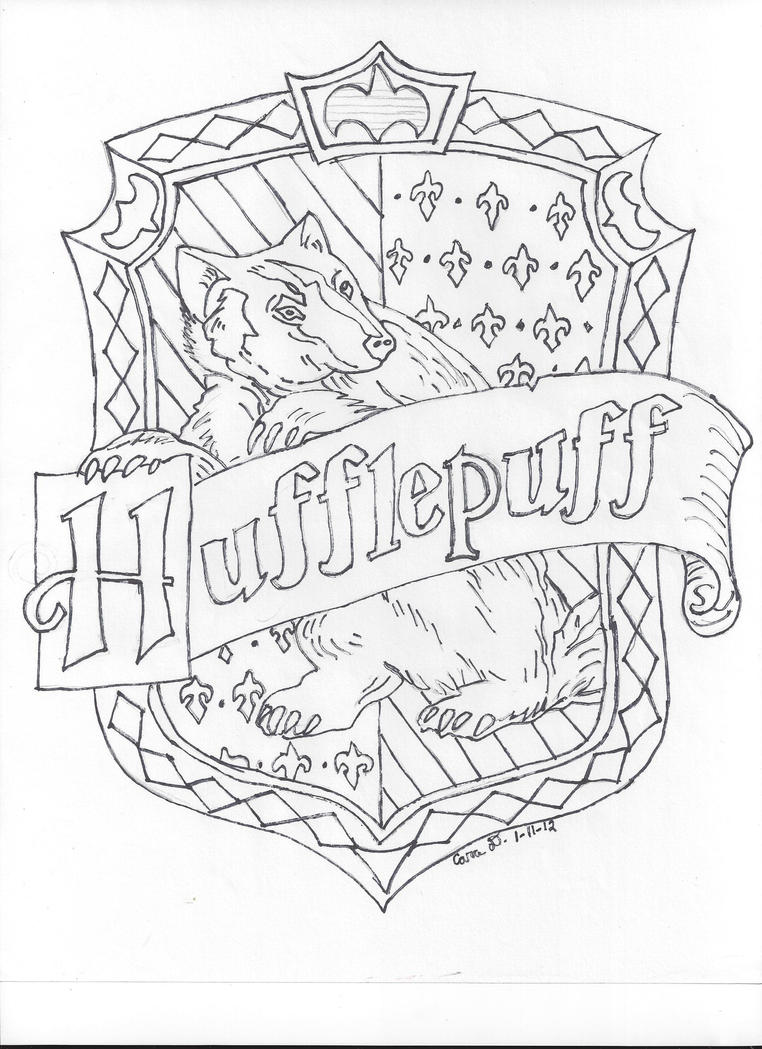
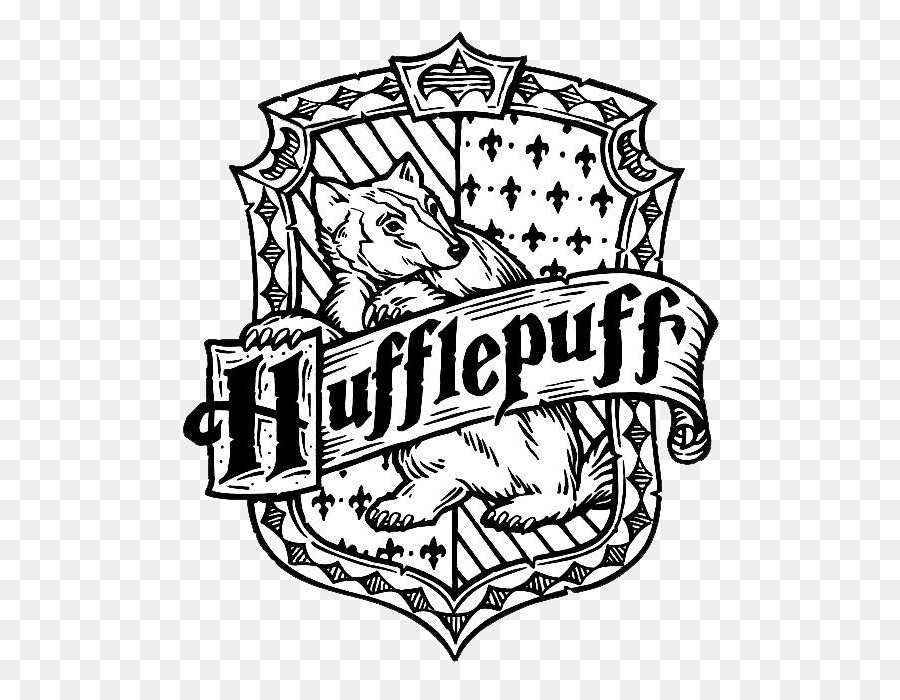
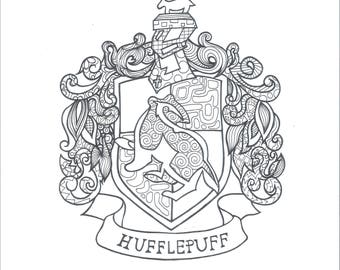
Hufflepuff crest. Coloring page to print or download and color for your kids. Download Now. Category: Harry Potter Tags: Harry Potter, Hermione, Hogwarts, Ron. ... Choose a coloring … 5
Harry Potter Hufflepuff Coloring Pages - 2 Free Coloring Sheets (2021) You can find here 2 free printable coloring pages of Harry Potter Hufflepuff. Harry Potter coloring pages … 6

Sociedad Hogwarts: Celebrando el “Hufflepuff Pride Day” 7
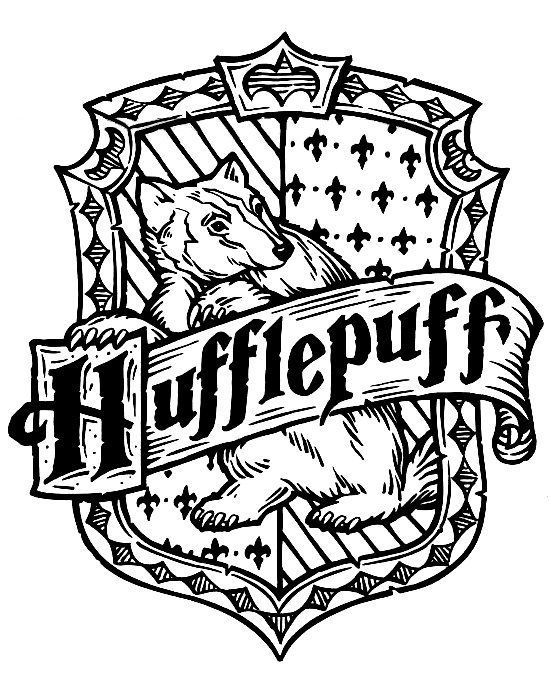
Hufflepuff coloring pages are a fun way for kids of all ages to develop creativity, focus, motor skills and color recognition. The head of hufflepuff is pomona sprout and fat friar is the … 8

Draw. Eraser. Undo 9

Pin on Harry Potter 10

Remarkable Hufflepuff Crest Coloring Page Decor Pinterest Harry Potter 821x1024 Beau… | Harry 11
30 Free Harry Potter Coloring Pages Printable 12

Harry Potter Hufflepuff - PDF Coloring Page | Harry potter coloring pages, Harry potter artwork 13
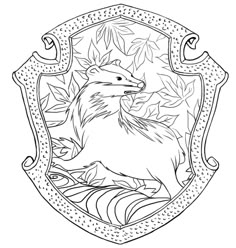
15 Hufflepuff Crest Coloring Pages - Printable Coloring Pages 14

Pin de T. Justus em Harry Potter party | Desenho, Desenho fácil, Molde 15
Hufflepuff Coloring Pages Coloring Pages 16

hufflepuff crest pottermore | Harry potter sketch, Harry potter drawings, Harry potter coloring 17
Hufflepuff Crest Coloring Page | divyajanani.org 18

Hufflepuff svg Crest Emblem Badge Harry Potter svg Hogwarts House Vector Illustration j k ro 19
32 Hufflepuff Crest Coloring Pages - Zsksydny Coloring Pages 20
Harry Potter Hufflepuff Coloring Pages Sketch Coloring Page 21

Hufflepuff coloring pages | Harry potter colors, Harry potter crest, Harry potter coloring pages 22

Hufflepuff Coloring Pages - Coloring Home 23

Hufflepuff Coloring Pages - Ravenclaw Crest by Redundantthoughts on deviantART | Harry 24
Hogwarts Coloring Pages 25
Harry Potter Drawings Easy Hufflepuff - coloring pages for kids 26

Harry Potter Coloring Page | Harry potter colors, Harry potter crest, Harry potter hogwarts houses 27
Harry Potter Hufflepuff Crest Coloring Pages Coloring Pages 28

Ravenclaw Crest Coloring Pages Thekindproject Fancy Hufflepuff Page | Harry potter coloring 29
19 Hufflepuff Coloring Pages - Printable Coloring Pages 30
Harry Potter Hufflepuff Crest Coloring Pages Coloring Pages 31

Free Printable Hufflepuff Coloring Pages — Stevie Doodles in 2021 | Hogwarts letter printable 32
Hufflepuff Crest Coloring Page 4267 Best Art Carvings Images | divyajanani.org 33
Hufflepuff Coloring Pages Coloring Pages 34
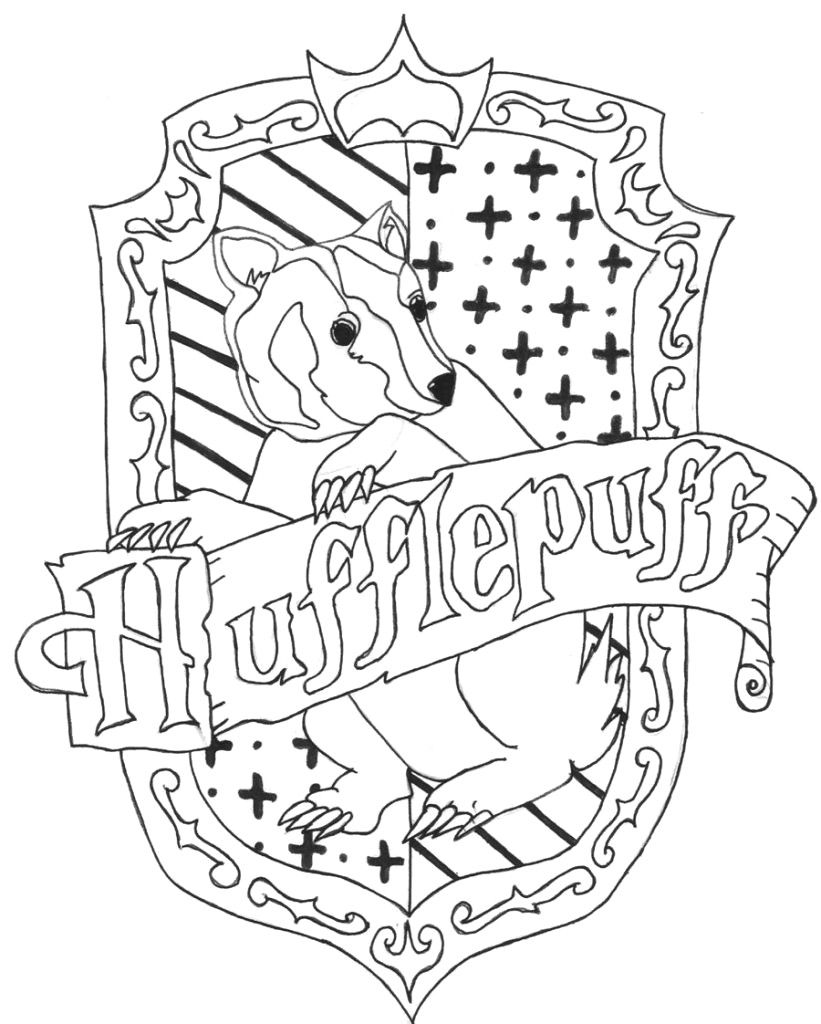
so we have a request from i hoping i, pronounce this correctly yesterday as, requested the hufflepuff crest um which, i realized, i've only done the gryffindor i should, do all of them so we're going to start, with the hufflepuff, and, fun fact about this so we all know that, hufflepuff's house is definitely, underrated and i have to agree even, though that almost my entire family is, hufflepuff, um, i am not i am ravenclaw, um and we all know their traits they're, being loyal, hard-working incredibly kind and sticks, to their friends so that's pretty much, my favorite, my family so, what you're going to want to do is for, sure for sure you guys want a ruler i'm, not kidding so go find yourself a ruler, go turn it off come back and come back, with a ruler this is going to help your, life, tremendously okay so, we're going to get started so write down, smack in the middle of your, uh, okay just do it down the whole middle of, the page draw a line okay, so then at the top, leave a little space for this part, you're gonna draw a line across it, doesn't matter how far because we're, gonna be, [Music], changing it up so, you're actually gonna go you're gonna, measure out, from here this is two inches, so we're gonna go, one two inches and make a line and then, go down a little bit, one two make a line go down a little bit, more one two make a line you're gonna do, this on the same on the opposite side, you're gonna do the same thing we're, just going to go all the way down, okay, then we are going to draw a, make sure all those lines connect, okay, we will a lot of erasing is going to, happen but this is just the how i got, the the basic look of this, okay, so now you are going to go so this right, here is, two and a half, so you're gonna go two and a half inches, and we're gonna i think that's about, right here, a line there same thing over here two, and a half inches, then, here down is going to be a little bit, different this one is, almost three and a half inches, so, let's draw this line across, now we're gonna bring this down to, um, uh it's about a little over three, a little over three and it's like a, three and a quarter inch here, okay just so we know because we want to, go below it a little bit because we're, going to connect this so from up here, you can make this straight if you want, to use your ruler, at the end so i'm just going to go from, that little corner, don't go all the way so i'm going to go, partial, way up, not all the way because now we need to, curve this part in, because you're going to make this curved, see there you go all right so on the, inside of here, is going to be the, badger, so what i did is i did a rough sketch, accommodated like an s, so it looks kind of like an s, and this is his long mouth, and then it's going to come around i, know this looks looks almost like, kind of like a chest piece of a horse, but we're going to make this look like, the badger, so now we can erase the center part we, don't need to this, in there so we can draw in our badger, okay so the badger um, he's got so his arm is gonna come down, right about here oh i think he actually, comes in a little bit more so we're, gonna make this come down right where, this comes in you can start bring it in, this is going to be his arm, and this is the one that's sticking up, so this is coming out, and you just can sketch this because, we're going to be putting hair and stuff, in there, i'm going to erase right here so it, looks like it's connected we will, definitely add to this and then for his, leg, i'm going to be coming in like this, and this is his back, and his front leg there and he's got, this cute little tail, coming right off of there okay so now, let's add, details to our badger so he's got, his little back of his ear there, and when it comes down, his little nose here, and make it come in so he's got his, other, ear right in front, and then bring this down like this, this is going to go up and over, and then we're going to put the eye, right in here, more people in there, and inside his ear so we're gonna make, this ear come down a little more, inside his ear we're gonna make a black, part inside the ear if i'm going too, fast for you, then just pause it, and catch up and then try again so now, we're going to put his hair it's going, all the way down so i'm making it, scruffy, it's going to come down, okay, so this will be sharpied in, so we will end up sharping all of this, in, this is so you can see don't you don't, you don't have to do this i'm just, showing you, this is kind of where it's going to be, black and then now you can add some, scruffies to this and it doesn't matter, um, because you're going to be sharpening it, in so you're going to see all that, and now, let's put some scruffies out here, we'll put some hair, um, something like this, so now you know i'm gonna put this at an, angle i think it needs to be angled a, little bit more it was looking too much, like a, a bear paw so now we're gonna put the, fingers in there so we have one paw, two paw three paw, and then we're gonna put this is where, the black mark goes you're just gonna, kind of wave it in there, put a scalloped edge and it's going to, bring it back, so this will be all, sharpied in, sharp shape sharpie and then we're going, to bring this up and do its claws like, it's furry little, claws, so um, the mascot is a badger and badgers are, look cute and meek but, if you provoke them they will fight so, that's almost like an actual real, hufflepuff wizard and witch because, they are the sweet ones the kind ones, but they will defend, when it comes down to it so don't don't, mess with them, okay, so now let's do this one, i'm shooting a little hair in there this, is a little paw, bring it down, and then we're going to make this part, dark, so this is going to be where we sharpie, i'm going to erase that a little bit, here okay, so that part is done and now let's, finish up this clock because it needs, this leg needs a little more love loves, all right so this will be all sharpied, in that looks better okay, i think we're good on the batcher, and so then when you do color this this, is of course going to be yellow yellow, and then i did him gray and i did both, of these black but a little lighter so, all right so how i made this hufflepuff, is you're going to come here in the, center, and you're just going to make like a, bowl underneath, wow it's hard to do i usually when i do, this i like to turn my page so it's okay, to turn your page, if you want to get a more exact, line here, okay and then this is where a ruler, comes in again if you look right here, this, is, one inch so you're gonna come here, and you're just gonna do, one inch just kind of make little marks, just so you know how far to go, so you can do the same thing on this, side, one inch, one inch okay, so now you're gonna combine this so if, you want turn your page like i do and, then now you can connect the lines it, just makes life so much easier, all right so what you're going to do now, is, we're going to make the end marks here, so just kind of like bloop, so we're going to race in here now for, the writing, we want to make this consistent so i, want you to make it, so this is going to be erased but at, least we know where the writing is going, to go, just make a little parallel, something around there okay, so, this part we're gonna make it look like, it's a flying, like this is it's just the, ribbon, well actually i love making ribbons so, super fun so you can do like this, make this connect here and then connect, here and then you will sharpie all of, this in and then, um, this is going to be just yellow i didn't, make this yellow yellow and black here, oh well, anyways i was going to do right here do, we that was a mistake, okay, so what are we going to do next, oh i guess we can write hufflepuff or, we'll do that in a minute okay let's do, this part so up here we've got the, the head piece so it's going to go past, that center line, come up and then now you want to make a, parallel see how this is like parallel, lines, and then now we want to, bring some and this is going to be the, center, we'll erase that we don't need that in, there, and in here he has like a little mark, here, looks like a like a very sad looking v, this is gonna just make it come up like, this just so we know where it is we're, gonna add to it okay, so we're gonna make this part, the center part see how it just connects, right there so everything's going to, come off of it so we have here it's, going to be, like a v, so you can do this side, and then do another piece here, this is gonna be where the eye, the eye part is, and then we're gonna make this poof out, just a little bit, poof, and make this poofy out proof, bring this down okay that is far too, many lines we're going to erase some of, these lines in here, because that just it's making my brain, hurt, um okay so now on top of here it's, almost like this feathery, piece here it's red and it's only red in, here just like a pop of red so make like, a look looks like a, a, loaf of like a french bread or something, and then now we're going to do, the lines in here so to make them kind, of poofy on the top, poofy on the bottom, okay, and on top of this is the, it's like a little badger right on top, so we're going to make this like a rock, that it's sitting on and then now we're, going to put the badger in there so he's, lies long snout, and it kind of comes up this is his back, come in, and that's like the badger on top okay, and then when you do end up sharping it, so this is the, i just put in some little black lines, because it was definitely darker there, okay, and oh i forgot this little piece back, here it's like a, rectangle and then inside there it's, going to be colored in sharpie, oh you know what do i want this to go, you know this is all going to be, sharpied in right here, sharpie this in sharpie this in, [Music], um we're going to make this line go up, here so we'll sharpen that in, i'm going to connect this, fabuloso all right fantastic let's do, the hufflepuff down here so right in the, middle is the e so we're going to start, with, a thick line you know what i'm just, going to do it with sharpie i'm just, going to jump in there do i want it, nasty but pencil first it's always good, to do with pencil just in case and on, that line we're going to make the top of, the e, the bottom of the e now if you look it, goes over so it's going to go over just, a little bit, and then right in the middle, make it not as long as these this is, going to be where the center is and then, these pieces, come out okay so this is the e, now we will do the p, we're just going to make it a little, extra thick, and, it's thicker right, in this part, and it's going to come over a little bit, and then you want to do the bottom part, okay, now you're going to do the u, so you're just going to do the shape of, where you is, and then this third part is going to be, thicker, just one side's thicker than the other, and then put the top part, and then the top part, now we want two more f's, okay let me go over a little bit let's, do one more f, over, what else do i know, ooh hippogriffs, have a great ghost they do every house, has a ghost they've got a great one do, you guys know what ghost, they have, there goes i'll give you a hint is, always happy, that's your hint there okay now we're, gonna do an l here, they've got fat fryer, they're like what is a fryer no not, they're not cooking not a barbecue, making french fries fryer this is a, fryer is like a, a monk it's like a religious person he's, got the fat fryer, he's always happy okay so we're gonna do, an f here, another f here i'm just putting it in, there there's going to be a u, and then the h it looks like i kind of, uh, was over on this side a little too much, so i think i actually see it's a good, way i can erase i made the l too far, over because now all these are too far, over, so we're going to bring that over a, little bit, that's that is a reason why we draw, lightly which i did not, so now it doesn't look good, oops, that's okay so now we want to do an f so, we're going to bring the f over here, i'm just getting the best thing to do is, kind of sketch it in first, just so you know what it's going to look, like, okay that's a little better, could be more squished together but, it is what it is so here's the f, and when you sharp you can make it look, good and clean it up, oh this has a back into it, okay they have a u, and the h which both sides are, thick with their toppers line across, okay i honestly would think the hardest, part on all of this logo, is going to be all of that curvy curve, yeah that was pretty challenging so we, can erase right here because we don't, need the ends anymore because we already, know where, that part is, but the sour part is going to be a, little more challenging, okay so, we'll start with the basics we're going, to come up here and we're just going to, go whoop, don't go all the way and then we're, going to do it again and this one we're, going to make you go all the way around, and stop, let's do the same thing on this side, we're going to come around, oh you know what i wanted to come here, and then make this go around this one, there we go, all right so now we're going to put, piece here, and then this one's going to be a real, big one coming from here it's almost, touching, the crest part but we're not actually to, oops see i got a little too close to it, it's like when you ride a bike you say, don't go in the ditch don't go in the, ditch don't go in the ditch and what, happens you think about it too much that, you go into the ditch, so i was like don't go near that and i, did so i'm just gonna make this go up, around, and then we're gonna follow this, so it's going to go up, around, and then curve that around, perfect, excellent, now we've got this one that's coming off, here so you should do a line, and then you come here and curve that, around, all right let's do the next curve so, it's going to come down, this is going to go, and then we're going to take this piece, to it and then touch it over here, and then bring it in, okay, and then we have one more curly q right, inside here so we're just gonna go like, this, yep that was fun, okay let's do this side same thing do, not touch this we want to get close, we're getting close close close don't, touch it, wow that was close that just barely, streaked it, now we're going to put the extra piece, to it, and then curve this around, right and it's going to come up we're, going to get a piece to it, and this actually, doesn't go all the way we're just gonna, stop right there okay so let's get the, other piece we're doing this one now, we're to go, so we're going to do this we're going to, go follow, right here and then we are going to make, this come around, and it's looking pretty good i'm trying, to try it here, okay, let's get a few more swooshes in there, so we're going to do another one it's, almost going to touch this, and then swoosh it around, and then we're going to make this, connect right here, that was tough okay, let's do the swirl over here so coming, off here we're going to do a, swirl and stop, and then we can actually bring it around, so it's going to look like a circle, then come to here and stop, so now we're going to make this one it's, going to come down so it looks like a, leaf, don't go all the way stop, and then bring this down and that's, going to come around, and then come back in, i know this part is challenging tell me, about it, okay we're going to go down, i was excited to do this until i was, getting into it i'm all cool this is, tough, and now we're gonna do this part here so, it looks like a leaf, and stop, and then now right here in the center, we're gonna make this giant it almost, looks like a slug, slug and then we're gonna make this, piece that's gonna connect it all right, here, okay, and there's another piece coming off, this slug right here, now as as up here we want to get close, but not completely close so we're going, to come down it's going to get close, here but it's not going to touch, it's going to come around, it couldn't make that look a little, smoother here so you want to get it, close but not touching, about that then you want to parallel it, and it's going to come over here and, touch, great job, ooh we're almost, done with one side fantastic, so this part, looks like this, and then swoosh it around, perfect and we'll do another one coming, here, swoosh it around and then this one is, touching right here, and then it's gonna make like this leaf, okay let's do the other side, that was challenging okay so we're gonna, go here, now we want to parallel connect it and, then there's an extra piece right here, we do, another one right here, and, another one, we're just going to connect this we're, just going to make it parallel parallel, this, do the big, thing right there, all right this is going to be oh what do, we have oh that one's that one okay, we're gonna come down here it's almost, like i'm making a heart, i'm bringing it up, and bring it down okay, another swoosh, come into a circle, and then you want to come back it's, going to have like a leaf right here, come back in, all right so we have a curlicue right, here, oh how do they do that no that's not, okay, come like it like this, and this part's gonna come up it's gonna, be like a leaf, okay, last part get close but don't touch, so it's gonna get really close, turn it into a curly, and then has a curly coming off of it, and i didn't make it connect but i'm, going to make it connect because i think, it looks better, connected okay, all right i think you can color this one, so just what i used is i sharpied, everything then i went around it with a, big sharpie like actually, i went around the whole thing with my, ultra fine sharpie and then i filled it, in with the fine sharpie and rare on the, outside i did the letters with the ultra, sharpie which i realized as i'm looking, at these letters, make sure that, it's the same distance, on all of these because it looks like i, kind of, came in, a little too low there so you're gonna, have to like fix that up but that's the, great thing about erasers, you can come in fix it all up, and make it look good okay and then what, i used was the golden yellow i colored, all the spots gold and yellow then, so i'm just going to give you an example, so i'm going to color this in, gold and yellow, so the whole thing golden yellow then, you're gonna take your tan and then come, in where it comes together and then, bring it out it's gonna make it look, more like goldeny, okay so all the spots, so let's say this is all, yellow, which is easy cheesy lemon squeezy what, else do i know oh, did you know each house has a different, gem and i found out that the gem for, hufflepuff is a diamond ooh, they got a good one and, hufflepuff has the fewest dark wizards, in history, liking me the hufflepuffs a little more, every time, just because they're just so nice, and good and loyal and hardworking that, they don't have time for that, dark hearts, schmuggity lugs, so you see how i just did that i just, kind of made it dark here and you can, just add some, dark pieces wherever you want and this, is really going to make it look warm so, after you sharpie it it's really going, to bring it to life and even down here, after i've sharpied it so let's say i'm, coloring all this in so you can color, all and after you've sharpied, then, i'm going to go along here just a little, bit right here, and i'm going to do harder along this, side and as i come in i'm going to get, lighter and lighter, and it's going to look cool like that so, you can do the same thing on both sides, anyways i hope you guys have an amazing, day peace out
Reddit Images 22

My fav color may be blue, but I'm still a Hufflepuff through and through 💛🖤💛🖤 what's your house? 0
Just finished another page of the coloring book. Page 6… I believe 1
page coloring for ch 171. 2
Konomi coloring by @Shazayumart (chapter 93 cover page) 3
![[No Spoilers] Digitally colored the cover page (not the actual cover of the book itself) of the Life Is Strange coloring book](https://i.redd.it/cdncsa6chuu91.jpg)
[No Spoilers] Digitally colored the cover page (not the actual cover of the book itself) of the Life Is Strange coloring book 4
![[Other] who is this villain on my son’s coloring page? It’s driving me nuts!](https://i.redd.it/ihia4i1szvi91.jpg)
[Other] who is this villain on my son’s coloring page? It’s driving me nuts! 5

HP barkbox add on. If you cut the bottom of the hat a colored tennis ball comes out. I picked hufflepuff.. 6
Randomly coloring one page of my coloring book 7

First page of the coloring book done! Any thoughts? 8
{Artwork} Finally finished working on the coloring of this mask-less Spider-Gwen. It's about 98% pencils, with 2% of it in gel pen. It's a page from Marvel's WOMEN OF POWER coloring book, w/original art by Emanuela Lupacchino from Spider-Gwen Vol 2 #6 (Cover B Variant). 9
My coloring of the cover page for Ch. 159 10

This took SO many hours and it isn't even technically the first page... Maybe I should have picked something easier for my first time trying adult coloring, but I've always been ambitious. 11
Colored a page in my Horror Coloring Book (with colored pencils)! Available on Amazon + 5 Free Downloadable Coloring Pages 💀 See links in comments, thank you! 12
I colored an Empires-themed page from the latest Hermits and Friends Coloring Book 13
coloring page! 14
HEAT 2 - coloring page 15
,


Comments
Post a Comment