96 heatblast coloring page
heatblast coloring page

Heatblast Coloring Pages Download and print these Heatblast coloring pages for free. Heatblast coloring pages are a fun way … 0

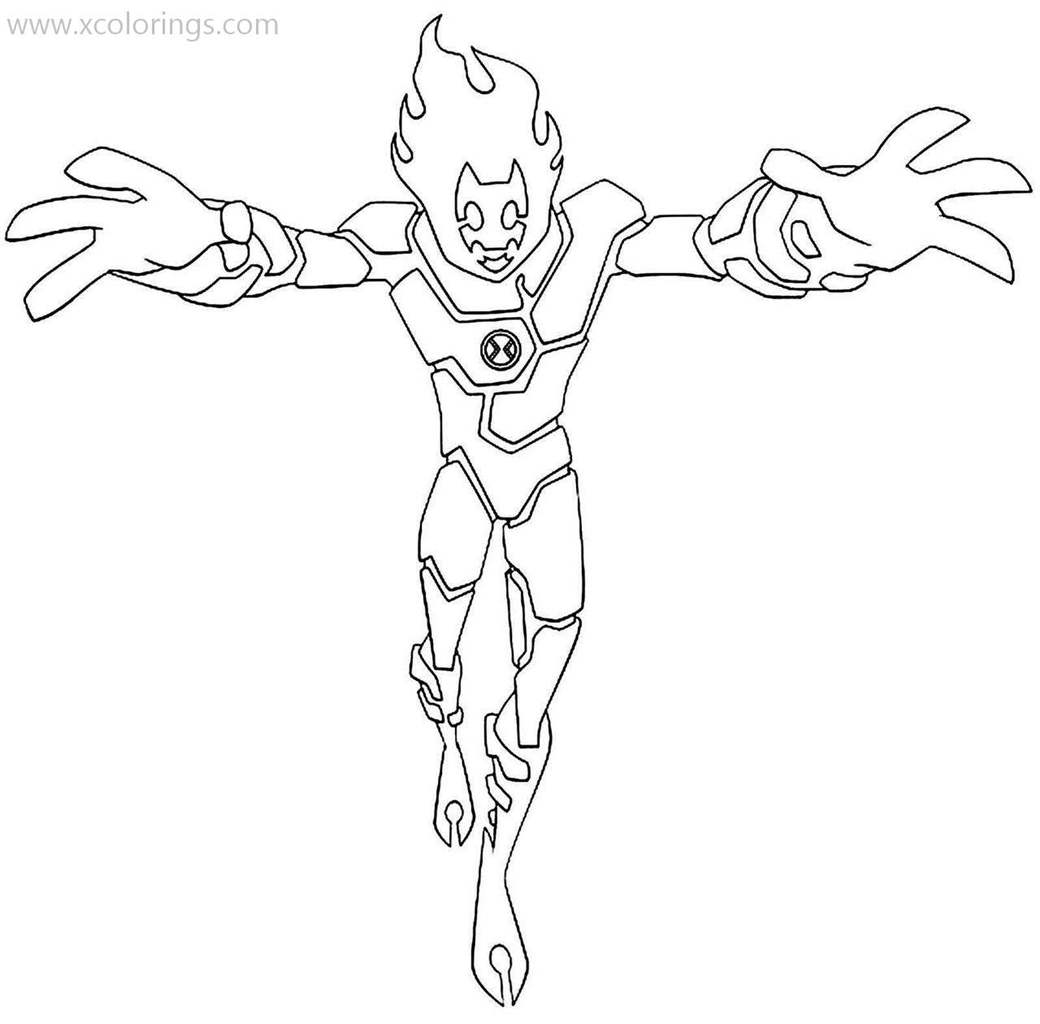
Ben 10 heatblast coloring pages. Heatblast is the omnitrix’s dna sample of a pyronite from the star pyros. Free printable heatblast from ben 10 coloring page, easy to print from any device and automatically fit any paper size. Free printable heatblast running coloring page, easy to print from any device and automatically fit any paper size. Ben 10 heatblast reboot coloring pages. 1

Free Dot to dot Heatblast, Ben 10 Omniverse coloring and printable page. ... Heatblast, Ben 10 Omniverse by dots coloring book * * * * Dot to dot Heatblast, Ben 10 Omniverse coloring page. More Ben 10 coloring pages. Follow @oncoloring. Pypus is now on the social networks, follow him and get latest free coloring pages … 2

Apr 2, 2020 - Ben 10 Coloring Pages PDF. Ben 10 is a manga, a character from a Japanese comic book. The original … 3

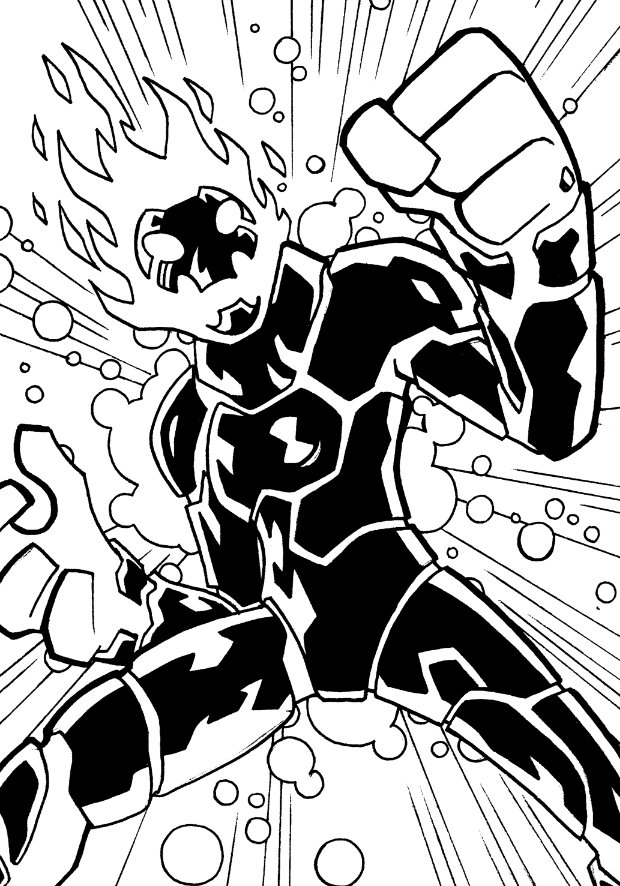
Heatblast Is Ready To Attack Coloring Page - Download & Print Online Coloring Pages for Free 4

Heatblast Winning Position Coloring Page - Download & Print Online Coloring Pages for Free 5

Ben 10 Heatblast by Sharlet on DeviantArt 6
Heatblast from Ben 10 Coloring Pages - XColorings.com 7

Ben 10 Heatblast Pages Coloring Pages 8

Ben 10 Heatblast Coloring Pages | Coloring pages, Detailed coloring pages, Mandala coloring pages 9
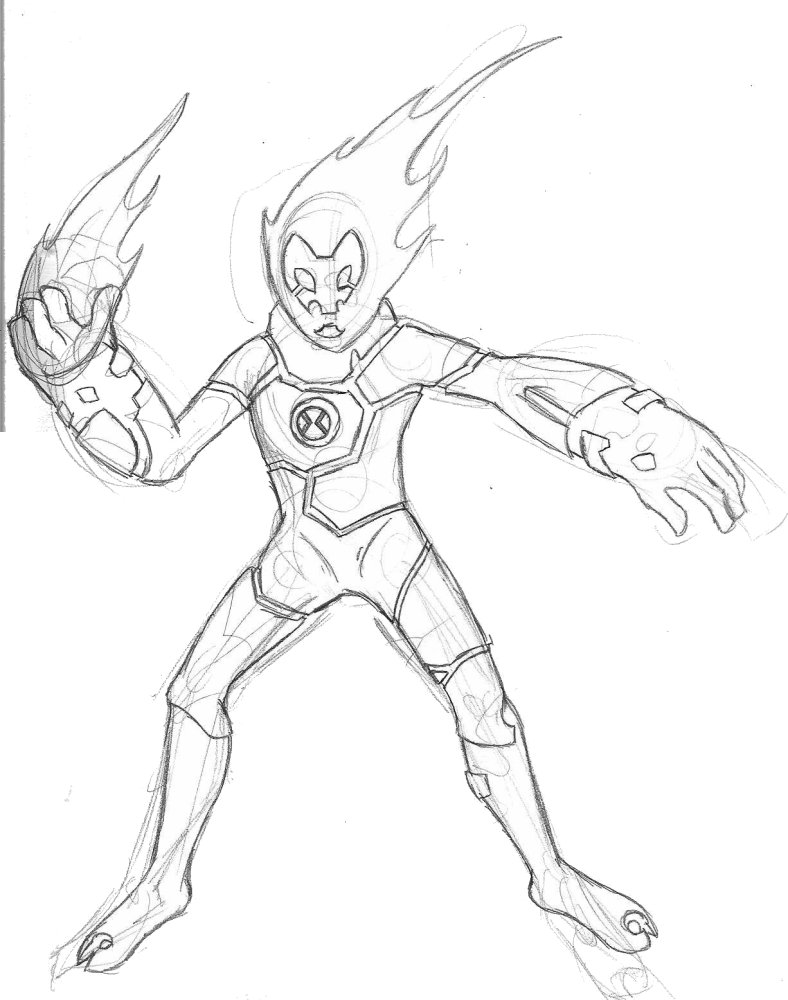
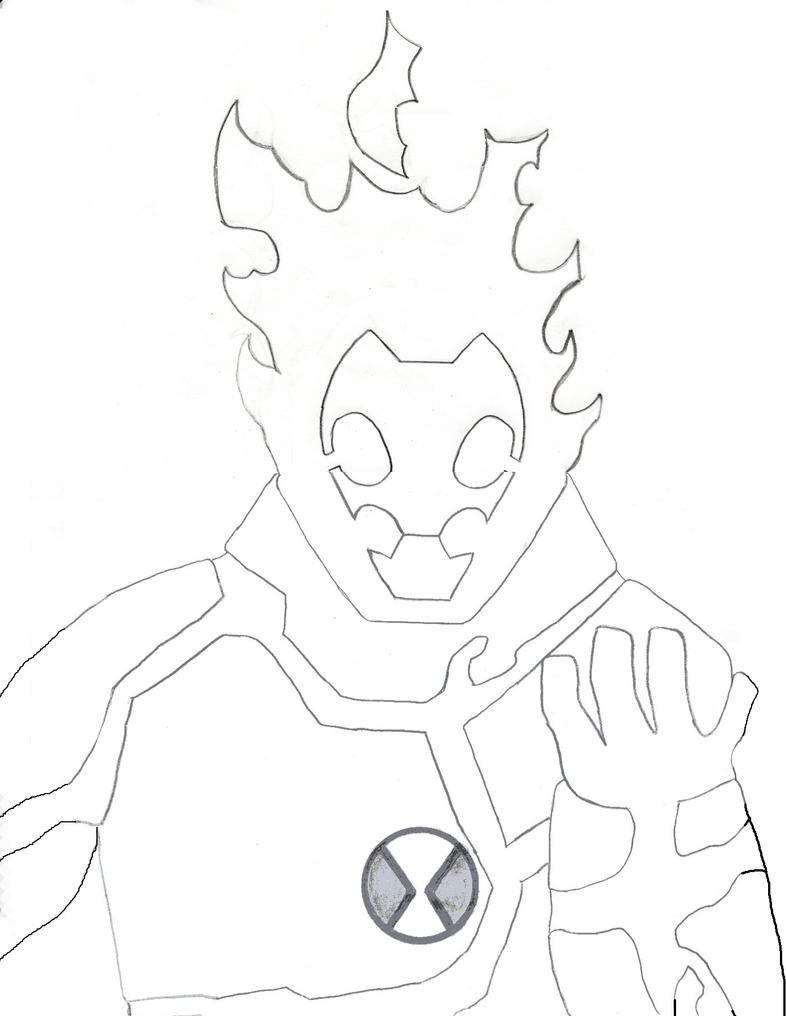
Heatblast- Sketch by Deems on DeviantArt 10
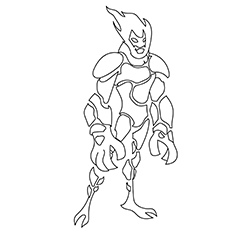
Ben 10 - Heatblast Alien coloring page 11

The Astronaut on the Outer Space Mission Coloring Page - Download & Print Online Coloring Pages 12
Heatblast Coloring Pages - Coloring Home 13

10 Heatblast Colouring Pages (page 2) - AZ Dibujos para colorear 14

Cartoon Network Heatblast Ben 10 Coloring Pages | Coloring Page Blog 15

Heatblast Coloring Page 16

Heatblast Ben Ten Coloring Pages - Thekidsworksheet 17

Ben 10 Drawings Story by Gary Baldwin (kinggarykong) | Photobucket 18

Cartoon Network Heatblast Ben 10 Coloring Pages | Coloring Page Blog 19
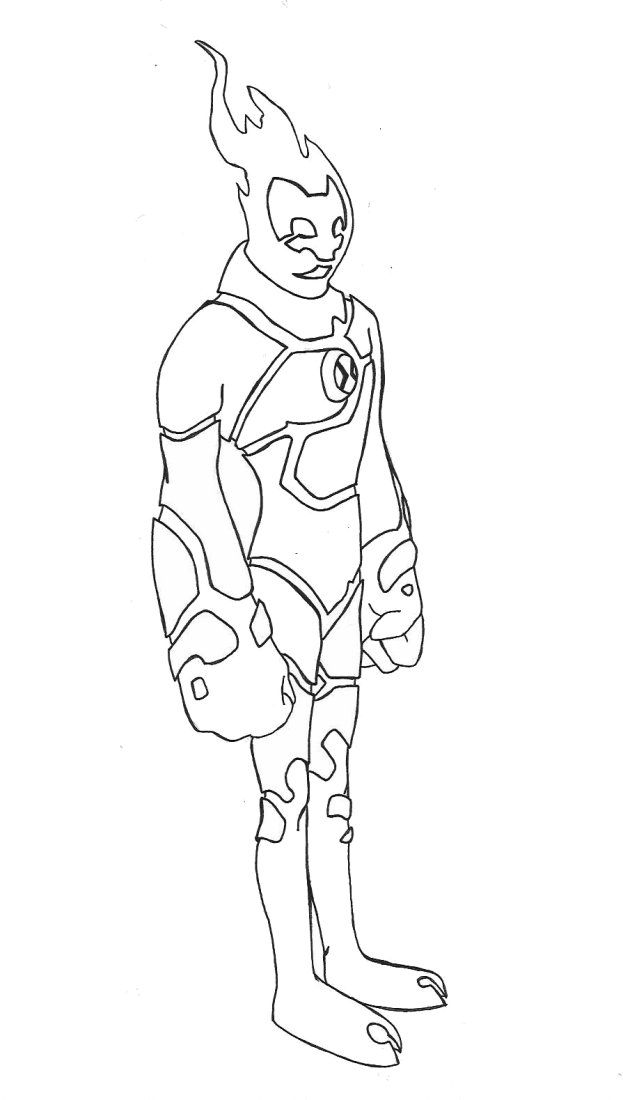
HeatBlast - No Colour by Drazzman1 on DeviantArt 20

Simple Alien Drawing at GetDrawings | Free download 21
Heatblast Coloring Pages - Coloring Home 22
Ben 10 Coloring Pages Heatblast | Hakume Colors 23
Heatblast Ben 10 Aliens Coloring Pages - Ferrisquinlanjamal 24

Heatblast Ben Ten Coloring Pages - Thekidsworksheet 25

Ben 10 Verse The Universe Omni-Naut Heatblast | Ben 10 Coloring Pages | Digital Coloring - YouTube 26

Heatblast Ben Ten Coloring Pages - Thekidsworksheet 27
Kleurplaten van Ben 10 / Leuk voor kids 28
Pyronite Lineart by DaniloHokama on DeviantArt 29
Top 10 Free Printable Funny Alien Coloring Pages Online 30

Ben Ten 10 Heatblast Coloring Page – Book PDF | Coloring pages, Printable coloring pages, Free 31
Ben 10 - HeatBlast by LucianoVecchio on DeviantArt 32
heatblast by ChaosMole on deviantART 33
Heatblast Pages Coloring Pages 34
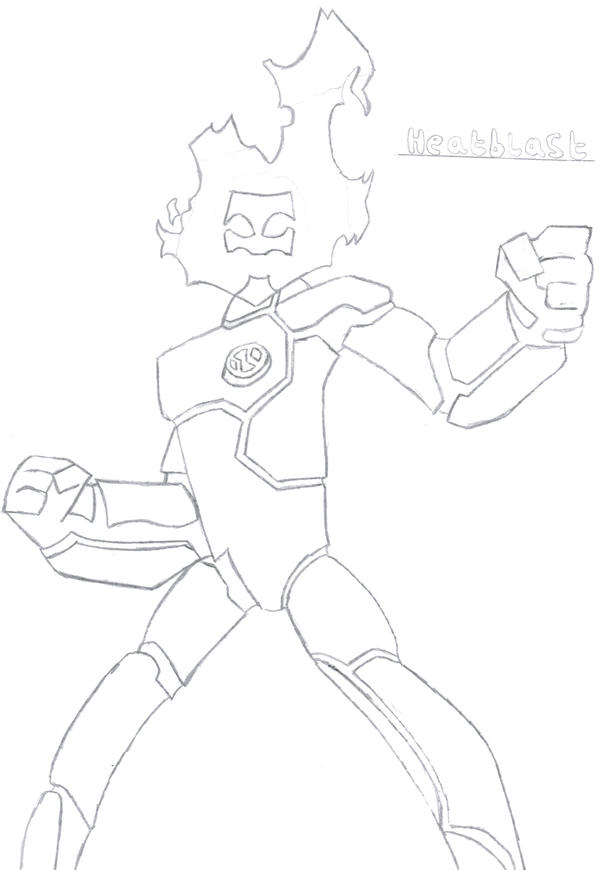
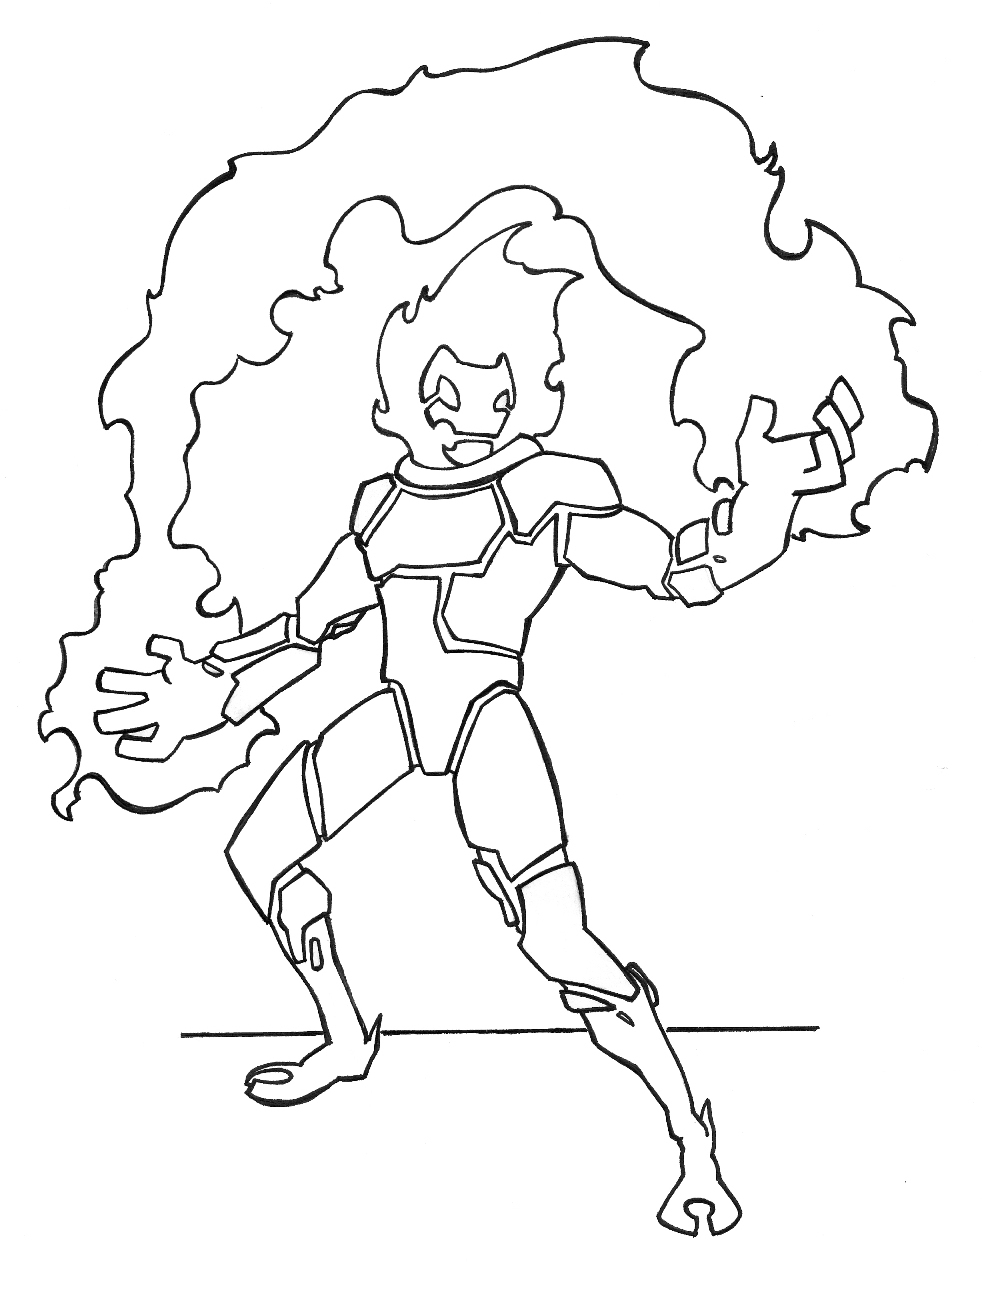
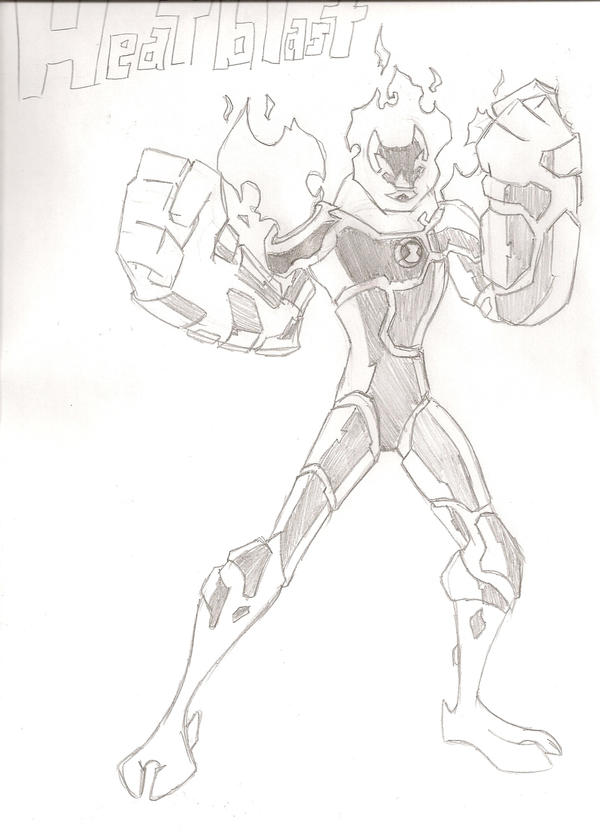
either and welcome to the club today, I'll be showing you how to draw, Heatblast, from Ben 10 so let's get started with, the eyes and draw an oval on the left, side we're going to leave the left side, edge open starting on the left curve up, drawing an oval coming down to the, bottom and leaving a little gap on the, left side let's do the same thing on the, right starting on the outside go up to, the top circle around to the bottom and, then leaving a gap open on the right, from here going to take the top edge, just draw an angled line coming down to, the side of the head on both sides from, here we want to curve up the side of the, head to the top so from the left we're, going to go straight up and curve in and, on the right we'll do the same thing so, I'm going straight up and then curving, in from here we going to draw two angled, lines coming in towards the center of, the head so just angling them in same, height they will draw a straight line, across to connect them okay let's go, back to the bottom of the eye and just, draw an angled line going out again to, the side of the head now from here we're, gonna draw two angled lines coming down, the side of the cheek coming down, towards the chin area from here one draw, sort like a half circle on the top for, the edge of the mouth so from here I'm, just going to curve around and come down, on the right we'll do the same thing I'm, going to connect those two points with a, straight line across for the top of the, mouth from here let's move on down we're, going to draw a straight line just below, it from here I want to curve out on both, sides the left and right well connect, those two points for the bottom chin, with a curve goes across like that okay, so we've got the center of the face, let's draw in the neck collar so just, below the chin I'm going to draw a, straight line across the bottom from, here going to curve up the sides of the, color towards the side of the head so on, the left I'm going to curve up just, along the side of the head up to about, the same height as the I do the same, thing on the right side now let's angle, down the side of the collar so coming, down in an angle on both sides now we're, going to pull this down following that, same curve down to the bottom of the, collar starting on the Left will curve, down on the right will curve, and now we'll connect those two points, with a curve along the center coming, down in the middle and back up on the, right, okay let's layer in the flame on top of, the head so from this point of the, collar let me draw a little way of going, out and then up we're going to circle, around so curling around like this and, I'm going to repeat that same shape it's, almost like an elongated s if you want, to go up to the top of the flame so I'm, going to bring this up to about here so, curving down up and then pulling it over, towards the right from here I'm going to, swirl around curving around with a, shorter cur so they're going to stop a, little bit lower than the top point now, we're going to do the opposite of what, we have on the Left curving down and, then swirling around and then up do that, again we're going to curve around, swirling around and then up now we want, to make our way back down to that side, of the collar so I'm going to curve in, towards the head and then just pull it, down to that point okay so we've got the, head area let's get into the body I'm, going to start with the shoulder line, first so just beside the head here, between the flame and the color we draw, a curve that goes out towards left and, then it goes out towards the right okay, so this is going to set up our body so, now from here I want to draw in the, chest so imagining it like almost like a, v-shaped upper torso on the sides of the, coal going to come down on the left side, right here this is where the armpits, going to be located on the right will, come down at the same height and draw a, point I'm going to curve in the top, chest area so curving in on both sides, now we want to draw the waist coming, down to the hips we're going to draw it, down to back here, so drawing a straight line with a slight, angle coming inwards from this point, let's layer in the arms so from the, shoulder points on draw the outside of, the upper arm so from this point going, to curve out and towards the left, let's join the inside part of the arm, I'm going to draw a curve that goes the, opposite direction curving in towards, the elbow from here let's draw on the, outside part of the hand and the arm so, here from the elbow we draw some really, big long arms with really big, and so from here turn out and then in on, this side we've drawn the opposite, directions we're going to curve down, towards the wrists down this way and, then we're going to route out a new, thumb so I'm going the office direction, out this way this cap off the thumb with, little straight line like this now this, is the head area right here right where, the wrist line is so we're going to take, this point curving up towards that, center point between the finger and the, thumb from here and curve down the first, finger, now let's cap off the first finger going, across with a straight line now we're, going to pull this in and up just sort, of tapering it so it gets a little bit, wider as it gets towards the knuckle, let's layer in one finger so I'm going, to step down here draw curve will cap, off that finger not here I want to draw, it just past the outside part of that, hand, so I'm just going to curve it up like, that we'll take this line and just, extend it so it gets tucked in behind, that second finger there let's take that, and draw the same thing on the right, side so we start with the outside part, of the arm first taking these shoulder, line down towards the elbow so curving, down will draw on the inside part of the, arm so from here on a Kermit inwards, towards the elbow point now from here we, can draw in the wrist area so we're, gonna take this point in the elbow, curving down towards the wrist coming, down probably make that a little bit, longer to match up the height now if we, hear one take the outside part of the, elbow and curved out the outside part of, the hand now we don't have to draw it, all the way through we just can draw a, curve just to start it off from here, with us drawn the thumb here going to, curve the thumb just like we did here on, the left cap off the thumb curved that, up up here curve the inside of the first, finger so curving down cap that off so, we're basing just mirroring what's, happened on the left side to the right, we'll draw this curve going up the first, finger now there's lower down draw an, overlapping finger cap that finger off, there and we're going to pull this up, and then we're gonna take this line and, just tuck it in behind that second, finger there let's go ahead and draw in, the legs so from the waist we're going, to curve down towards the knee which, I'll take down to probably about the, same height as, hands so from here and curved down and, out on both sides towards the knee, okay let's go down to the center lower, torso so below the waistline we're going, to come down to here and draw a short, straight line across the middle let's, draw the inside part of the leg so from, here I want to draw a curve that goes in, towards the knee curving in so we're, going to drop this little bit lower than, the outside part of the knee curving the, same thing on the right side let's draw, the front of the leg the lower leg so, from here we draw a straight line going, down right to the ankle on the right, we'll do the same thing straight down, towards the ankle now we're going to, draw the back of the leg of calf so if, we're here on a curve the muscle of the, calf out on the right we'll do the same, thing now I'm going to draw a little, curve that goes in towards the ankle and, straighten it out as we come down, towards the bottom so curving in and, we're going to straighten it out as we, get really close towards the ankle line, here on the right side we're going to, curve in and as you get close we're, going to straighten it out leaving a, little gap along the ankle let's draw in, the foot from this point we're going to, angle in for that little heel spike will, curve it down towards the bottom of the, heel now for the foot I'm going to draw, just like a curved line across the, bottom of the foot so right here at the, toe will curb up towards the heel now, from the toe I'm going to curve up now, I'm going to draw a little oval that, splits the two toes so I'm curve around, and then back to that point from that, toe I'm going to step up draw a short, little straight line across so it looks, like a toe is behind that first toe, there from this point I'm curve above, the Oval right tip up there in Reverse, that occurred going up towards the ankle, let's do the same thing on the right, side from the heel we'll do that little, heel spike I'm going to curve down to, the heel now we're going to draw the, length of the foot curving across making, sure they're roughly the same length I'm, going to curve the top of the front toe, going back we'll draw that little oval, now from the toe and the tip of the toe, we're going to step back draw a straight, line across we to curve about that oval, curving above the oval and it will curve, up, in towards the ankle just emerge that up, now we can go in and start creating the, little separations little plates along, the body down here in the center of the, chest we're going to start with that, circle dental insignia draw a circle in, the middle retrace that out on the, inside so drawing slightly smaller, circle inside now we want to draw that, little crisscross so on the left side, I'm going to go in and then back out, towards left on the right we'll go in, and back out towards the right now let's, start creating those little segments you, want to leave a little gap in between, the plates in between each of the plates, so on the left side here from the collar, I'm going to step back go out we're just, tracing around the outside of that color, from here we're going to draw a curve, now these don't have to be perfectly, symmetrical because you just miss shape, I'm going to go up and curve this out, I'm going to start on the left side arm, here so again I want to need an even, space gap between each of the place so, just tracing on the outside across the, arm around the elbow area here there's a, little separation so up here from the, elbow, will curve down then right into the, inside part of the elbow from the elbow, will curve down and go across so you can, see there's an even gap in between each, of the place up here you go across come, down towards the wrist and go across, again and here on a crate of another, little plate here across to the side of, the arm stroke one more on the outside, of a hand draw some random shape here, and then one little guy on the thumb, let's go to the right side and draw the, plates across the shoulder and the right, arm so up here again remove like yeah, we're going to go across I'm going to, come down now here I want to go up along, the shoulder and then down so from here, and go up come across and then up we, have this draw the chest area so up here, in the armpit and go across here now, this goes in behind this little insignia, in the chest we're going to go across, above that insignia across the body do, some jagged lines up towards the ribcage, when you one down here so again, following that curve or the line towards, the center of the body will go down here, towards the waist now I'm going to fill, this gap area in here so I'm going to, start up here way across down and then, again just tracing the inside edge will, go down to the lower torso step on this, hip and go across and then straight down, and try that lower torso go up at an, angle and just do a hard turn out let's, go back to the right arm just finish, this one on first so from the armpit, it's going to trace out that area there, so the elbow will go up that do one down, the inside part of the arm began doing, some hard turns down this way draw a, little one down here that's like a, square we'll draw one on the side of the, arm here let's go to the left leg and, trace this on the inside way down do a, little separation on long mini area here, back down the shin will go in the, opposite direction like that and then, here we're just gonna draw some little, bits along the bottom that let's go to, the right side so we just split up here, we'll do one in the back of the leg, going across maybe down the calf cost, like that here we'll trace this out, I'm going to draw one little plate down, here one more on the bottom and that is, pretty much it there we have it there's, Heatblast from then 10 I hope you, enjoyed this lesson thanks for watching, we'll see you again soon
Reddit Images 31

Ben 10 coloring pages heatblast 0

Not as clean as I would like but im proud 🙂( i used kuro’s heatblast design for the colors) 1
Not as clean as I would like but im proud 🙂( i used kuro’s heatblast design for the colors) 2

Coloring Ben 10 Reboot ''Xingo World Heatblast'' | Educational Colouring Video | Coloring Book Page 3

I saw someone else do OV Heatblast with Classics colors so I did it with the Reboots 4
You know… they really needed to do more to change how ultimate big chill looks other than just the color scheme (Ultimate big chill + heatblast) 5

Reboot Heatblast with OV color scheme... 6
Just finished another page of the coloring book. Page 6… I believe 7
page coloring for ch 171. 8

Oc All Heatblast Color versions (Art by me) 9
Konomi coloring by @Shazayumart (chapter 93 cover page) 10
![[No Spoilers] Digitally colored the cover page (not the actual cover of the book itself) of the Life Is Strange coloring book](https://i.redd.it/cdncsa6chuu91.jpg)
[No Spoilers] Digitally colored the cover page (not the actual cover of the book itself) of the Life Is Strange coloring book 11
![[Other] who is this villain on my son’s coloring page? It’s driving me nuts!](https://i.redd.it/ihia4i1szvi91.jpg)
[Other] who is this villain on my son’s coloring page? It’s driving me nuts! 12
Randomly coloring one page of my coloring book 13

First page of the coloring book done! Any thoughts? 14
{Artwork} Finally finished working on the coloring of this mask-less Spider-Gwen. It's about 98% pencils, with 2% of it in gel pen. It's a page from Marvel's WOMEN OF POWER coloring book, w/original art by Emanuela Lupacchino from Spider-Gwen Vol 2 #6 (Cover B Variant). 15
My coloring of the cover page for Ch. 159 16
,


Comments
Post a Comment